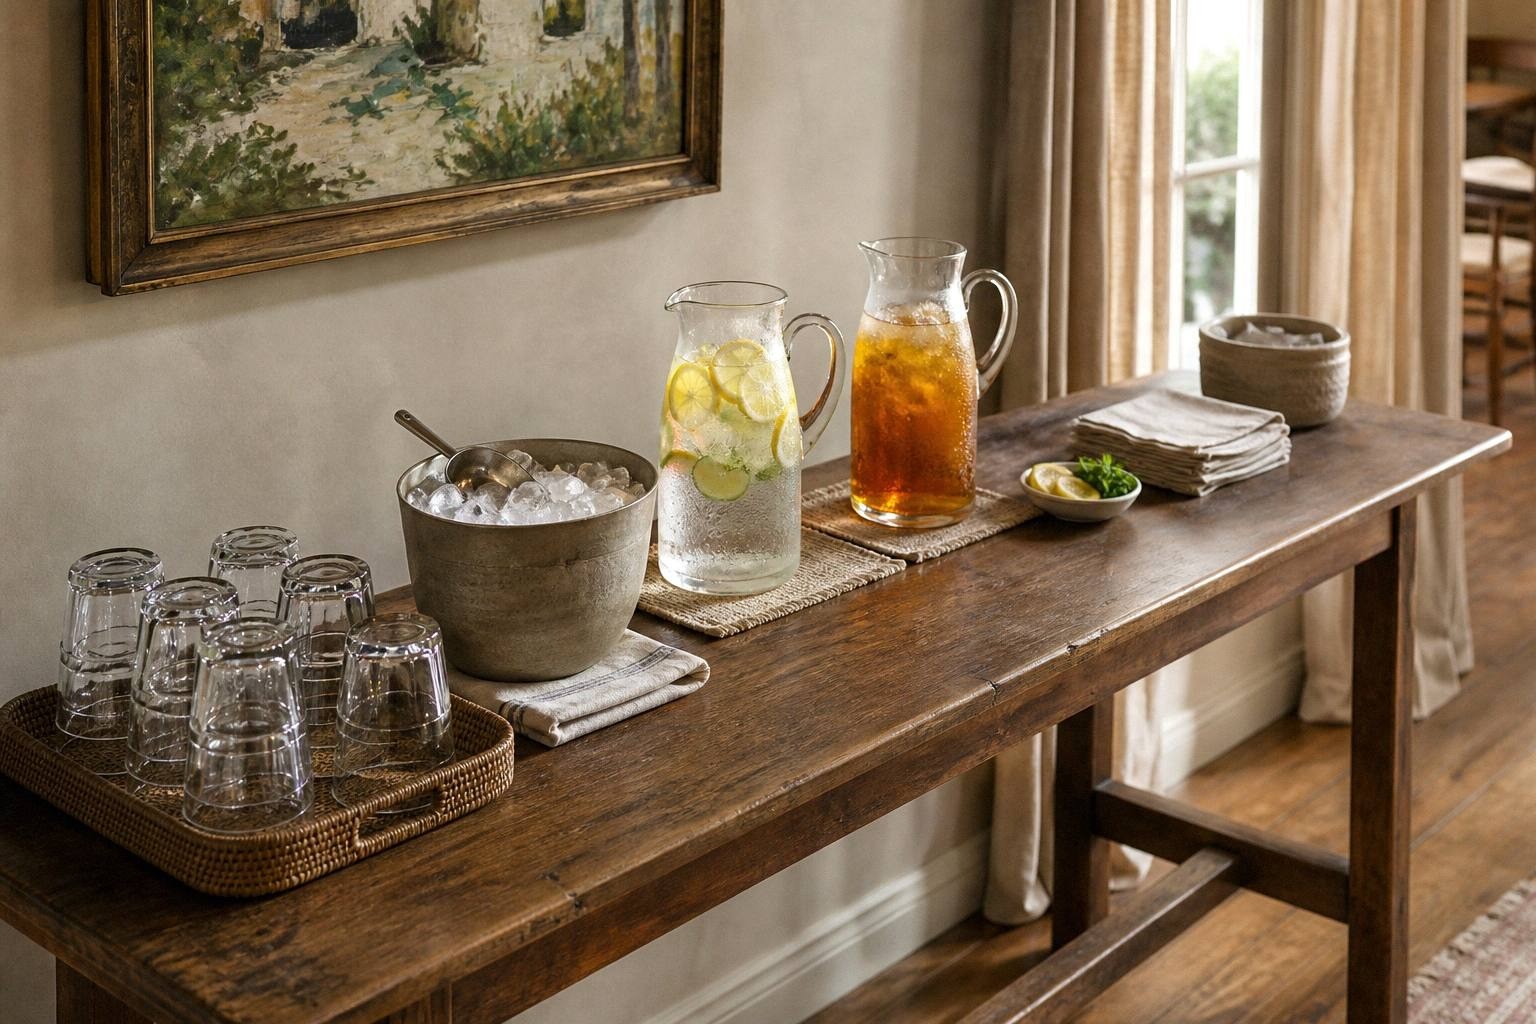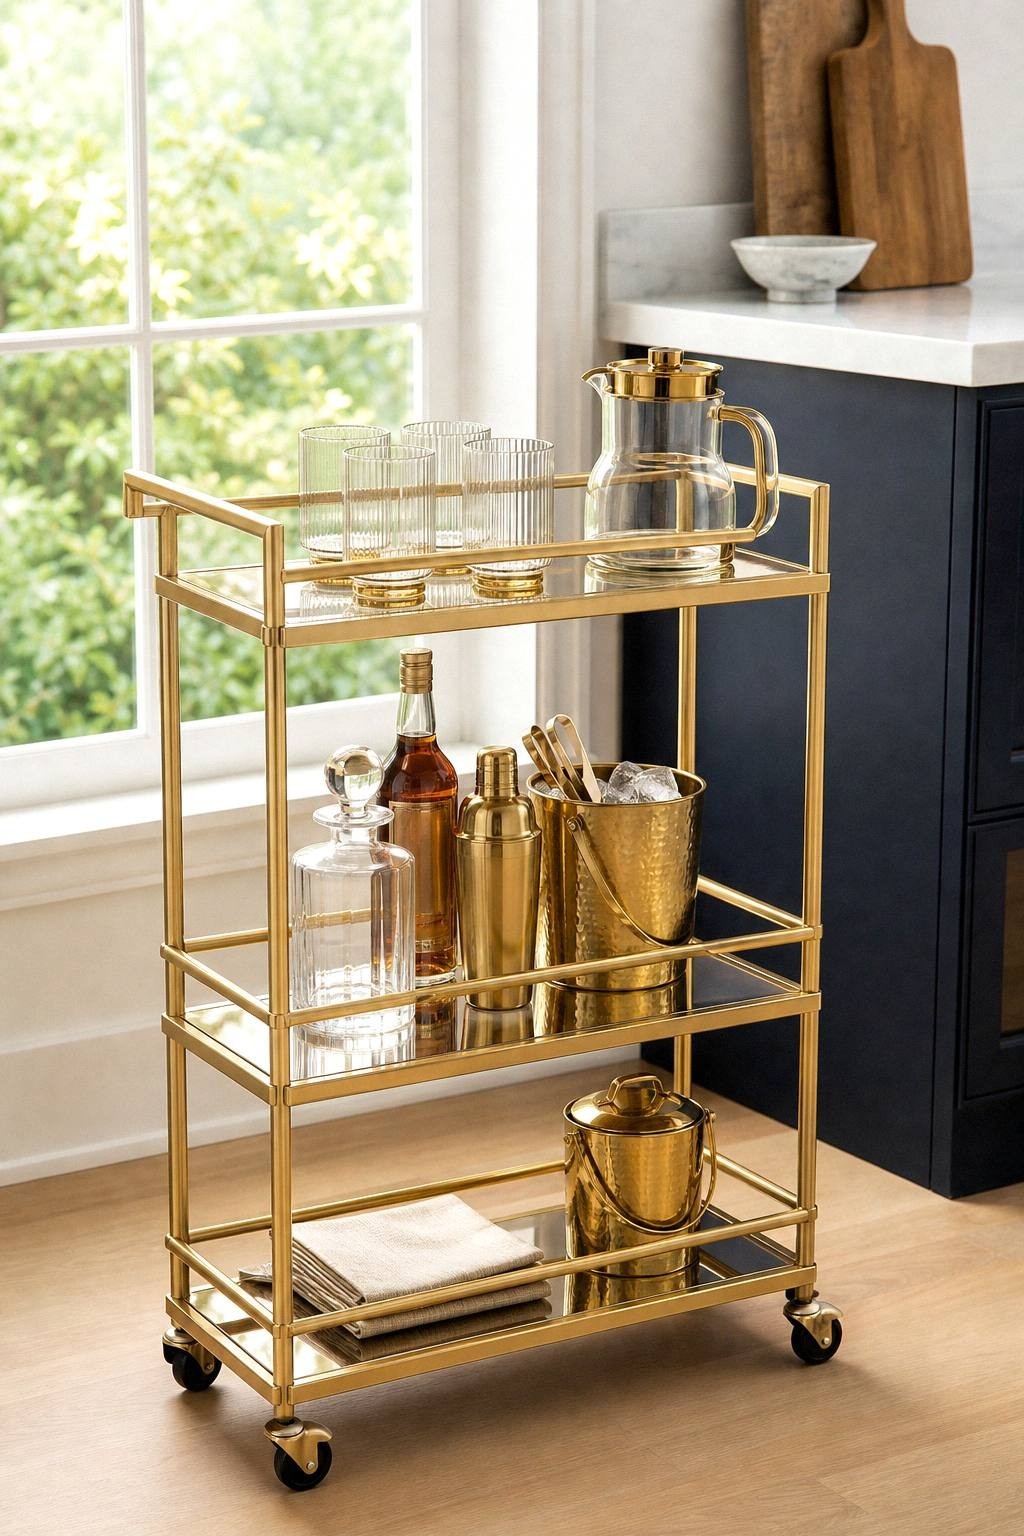
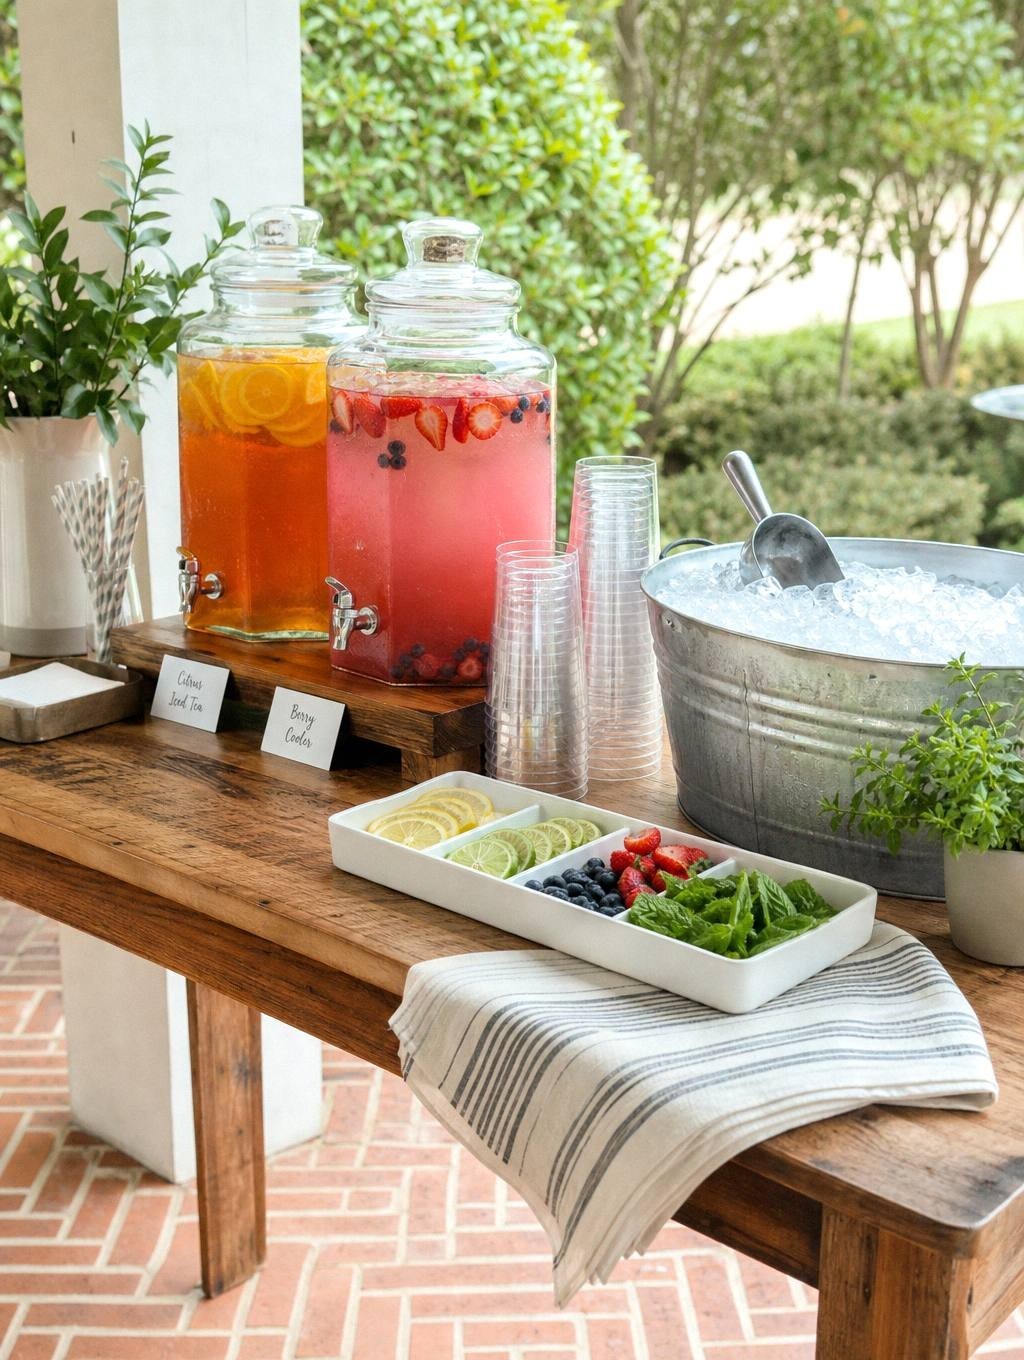
A well-organized drink station transforms any gathering from a hosting marathon into an event you can actually enjoy. Instead of playing bartender all night, you set up a self-serve bar that lets guests mix their own drinks while you focus on conversation. Plan about thirty minutes for the table layout, with extra time for drink preparation and chilling. Check temperatures and restock clean serving portions throughout the party.
Why a Drink Station Works Better Than Hosting the Bar Yourself
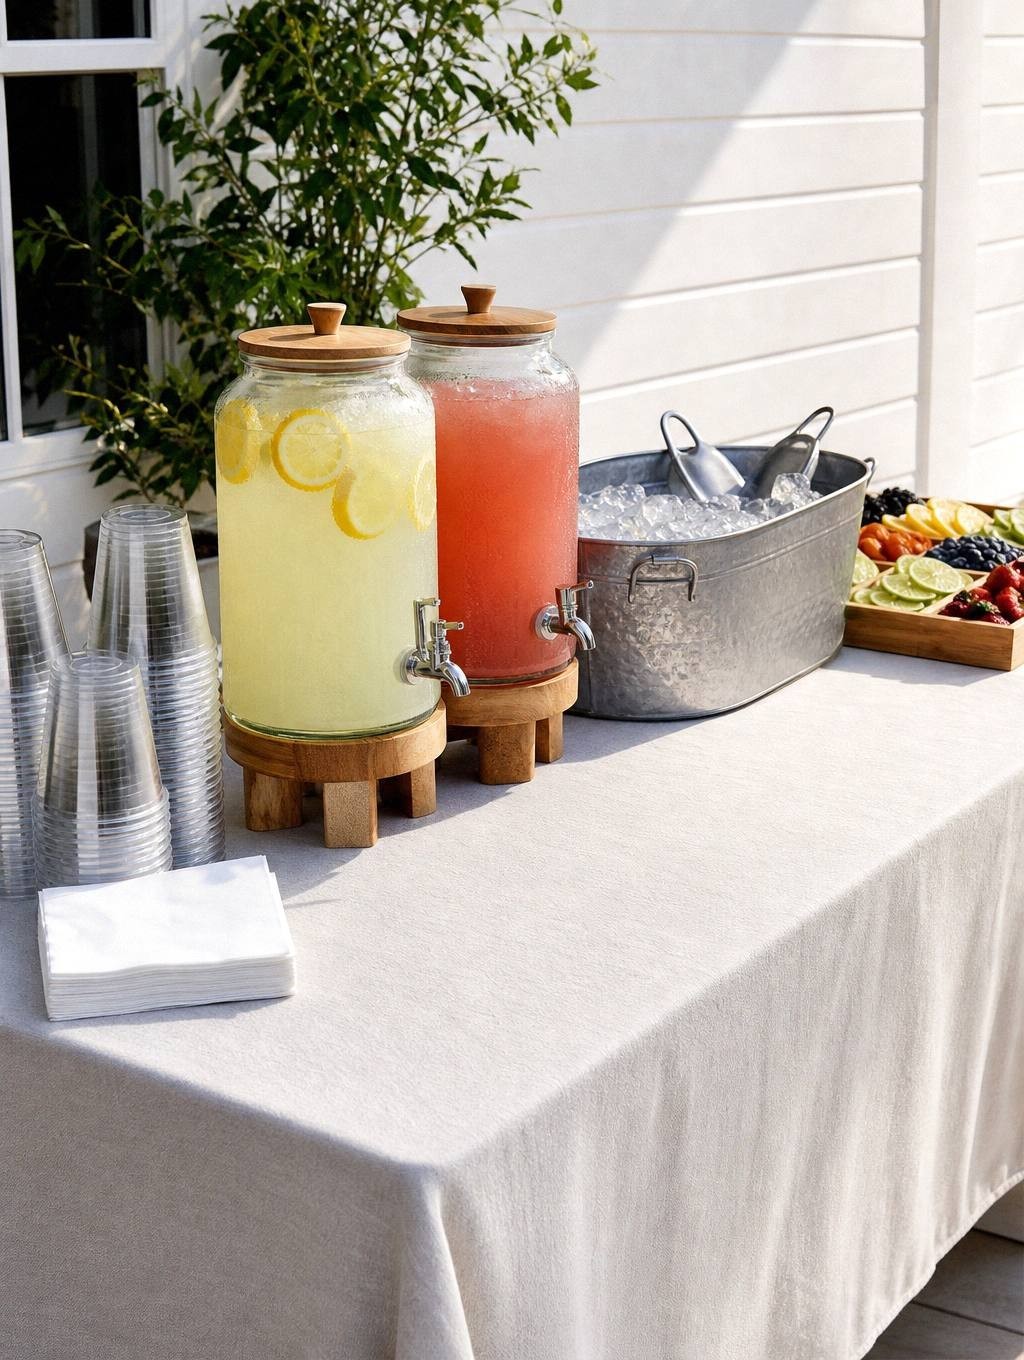
When you stand behind a makeshift bar taking orders, you miss the party. A self-serve station flips that dynamic by putting everything guests need within arm’s reach, arranged in the order they’ll use it. They grab a glass, add ice, pour their drink, and finish with garnishes, all without waiting in line.
The setup also scales better than you do. One station handles twelve guests as easily as it handles six, and you’re not stuck refilling individual glasses. Offer water and clearly labeled alcohol-free options throughout; a self-serve layout does not establish how much guests will drink.
Core Setup Steps That Work for Any Station Type
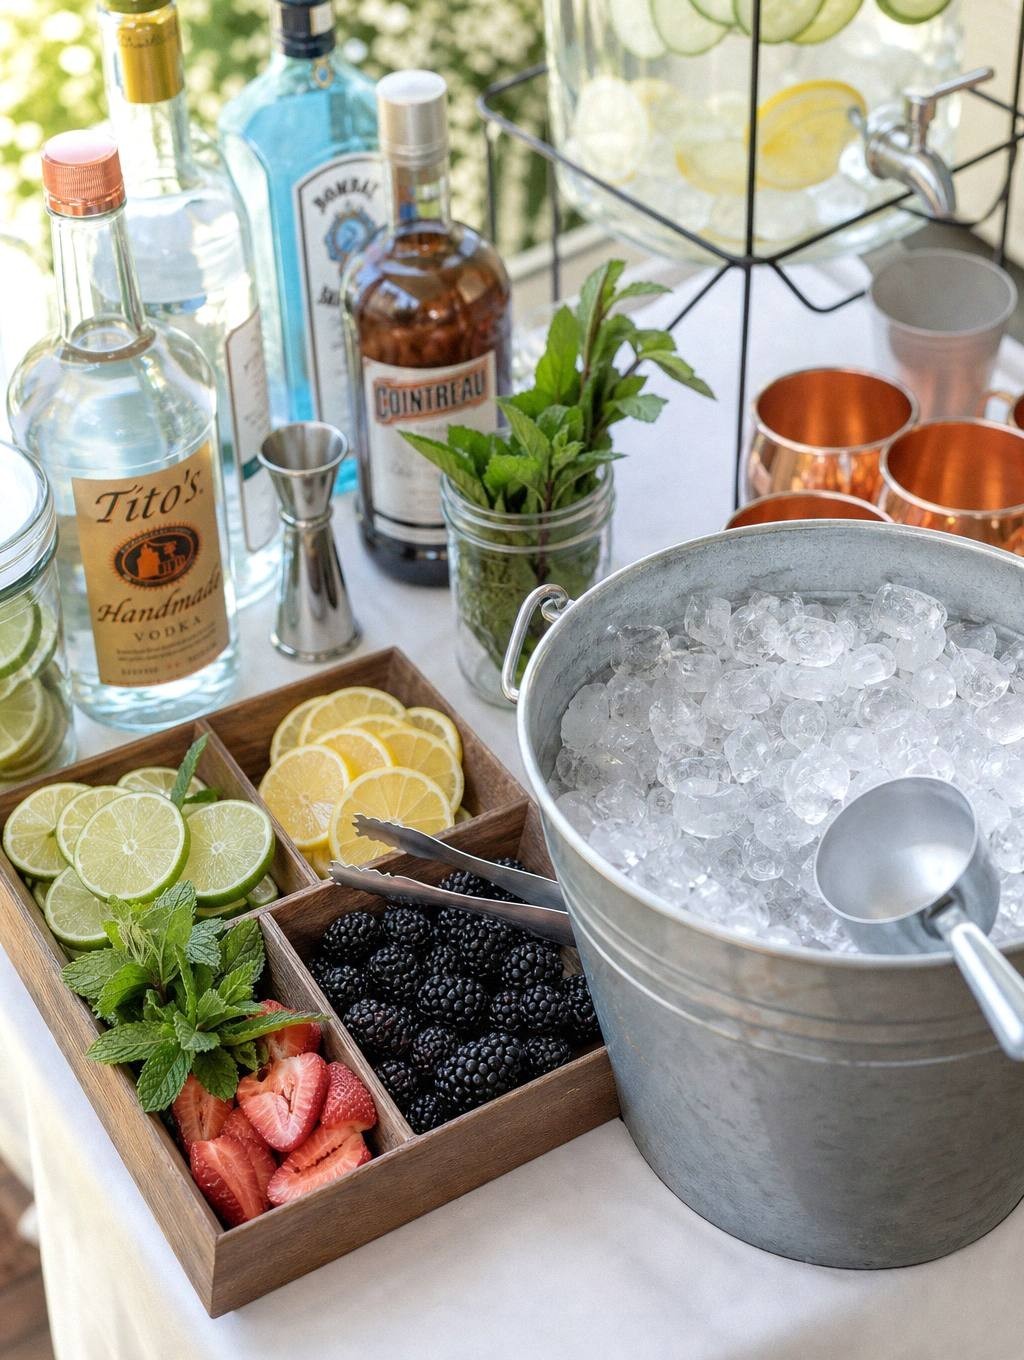
Start by choosing a location with enough table space for bottles, glassware, and garnishes to spread out in a single line. A six-foot folding table works for most parties, though a bar cart or kitchen island does the job if you’re tight on space. Position the station away from the main food table so traffic doesn’t bottleneck.
Arrange everything in the order people will use it: glasses first, then ice, then liquor or mixers, then garnishes and tools at the end. This left-to-right flow keeps guests from reaching across each other.
Cover the table with a wipeable cloth or butcher paper, because spills are inevitable. Set out a small trash bin for spent citrus peels and cocktail picks. Add a handwritten sign or small chalkboard listing what’s available, especially if you’re offering a signature drink that needs a specific ratio.
Essential Supplies and Equipment Checklist
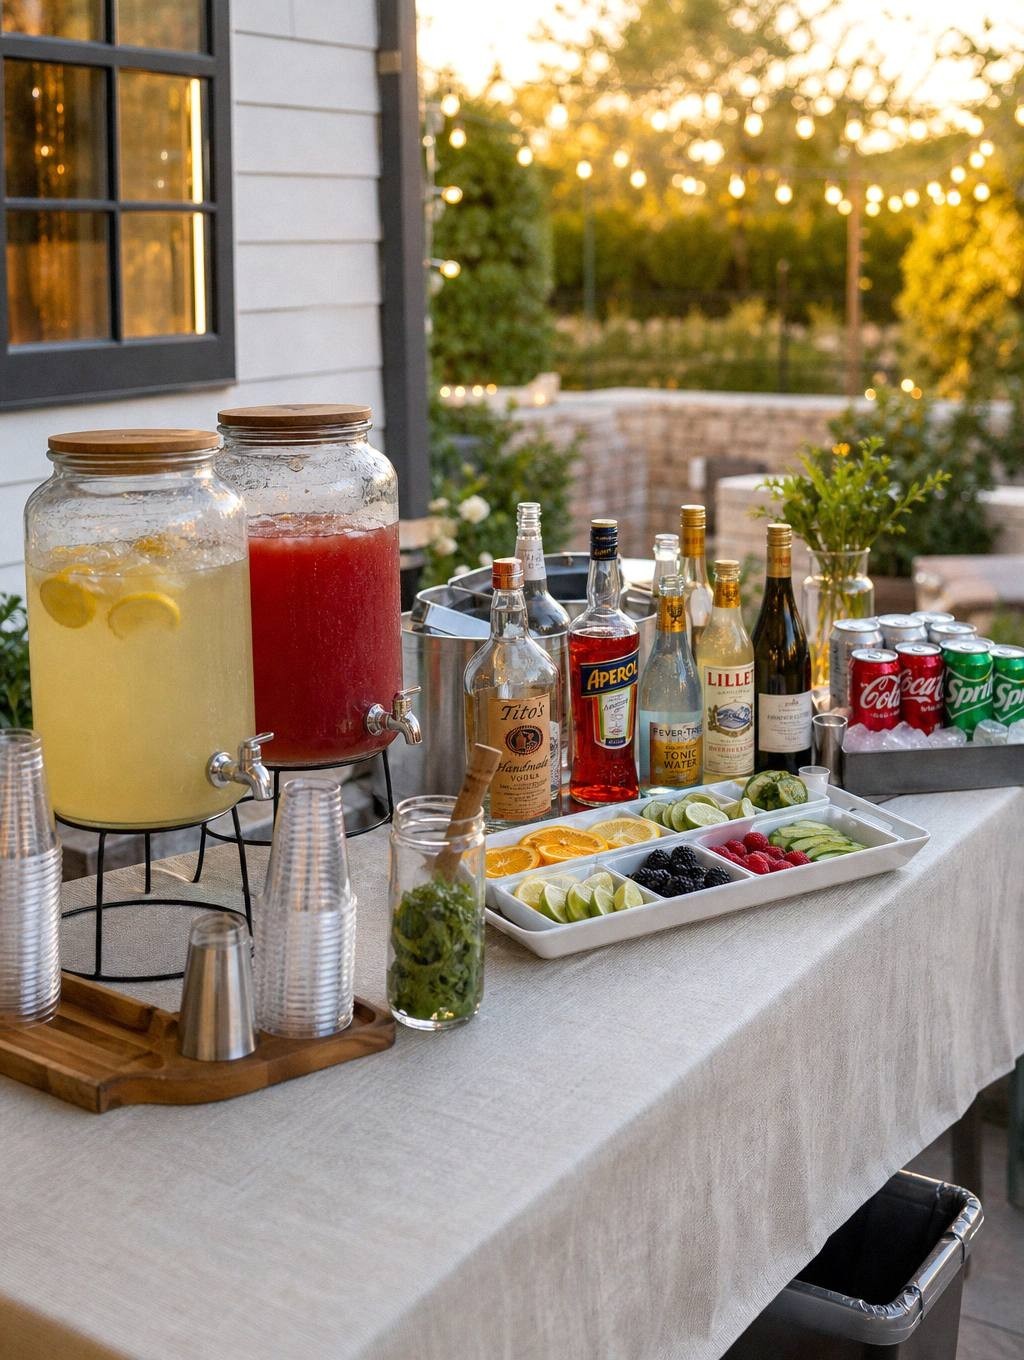
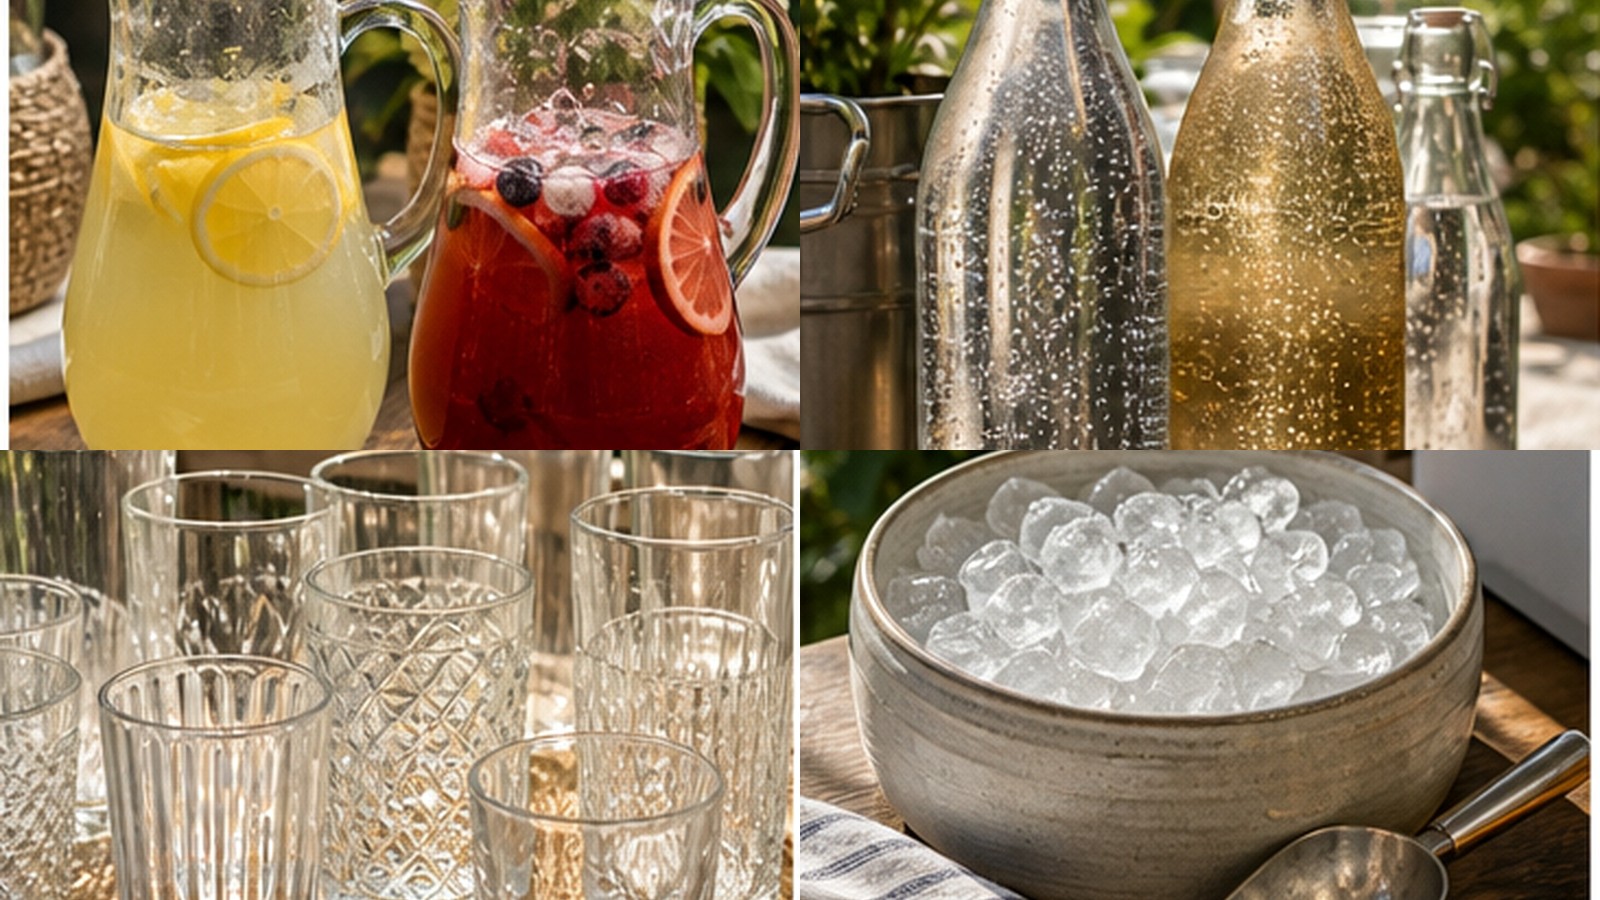
You’ll need glassware first. Plan on two glasses per person for a three-hour party, because guests set drinks down and forget where they left them. Rocks glasses work for spirits and short cocktails, pint glasses handle beer and tall mixed drinks, and stemless wine glasses cover everything else.
Ice is the thing that runs out first. Figure one pound per person for a three-hour event, and double that if it’s hot outside. A large insulated cooler or beverage tub keeps ice frozen longer than a bowl, and a dedicated scoop keeps hands out of drink ice.
For tools, you need a bottle opener, a corkscrew if you’re serving wine, a small cutting board, a paring knife for citrus, and a jigger if you want to suggest measurements. Napkins go at the end of the line, and you’ll want twice as many as you think.
Themed Station Ideas and What Makes Each One Work
A mimosa bar is the easiest station to set up because it requires almost no mixing. Set out chilled champagne or prosecco, three or four fruit juices in pitchers, and fresh fruit for garnish. Guests pour juice first, top with bubbly, and add a berry or citrus slice.
A sangria station works when you want one signature drink that looks impressive but doesn’t require bartending skills. Mix a large batch in a drink dispenser, set out wine glasses, and offer extra fruit slices and fresh herbs like mint or basil for guests to add. The dispenser spigot eliminates the need for a ladle.
A lemonade bar appeals to all ages and takes the pressure off if you’re hosting a mixed crowd. Set out a large dispenser of fresh lemonade, smaller pitchers of flavored add-ins like strawberry puree or lavender syrup, and a bucket of citrus wheels and herb sprigs. Adults can spike their glass with vodka or gin from a separate bottle.
A build-your-own cocktail station gives guests the most control but requires more setup. Offer two or three base spirits, a selection of mixers like tonic, soda, ginger beer, and cranberry juice, and a tray of garnishes. Label each bottle clearly, and consider printing simple recipe cards for classic drinks.
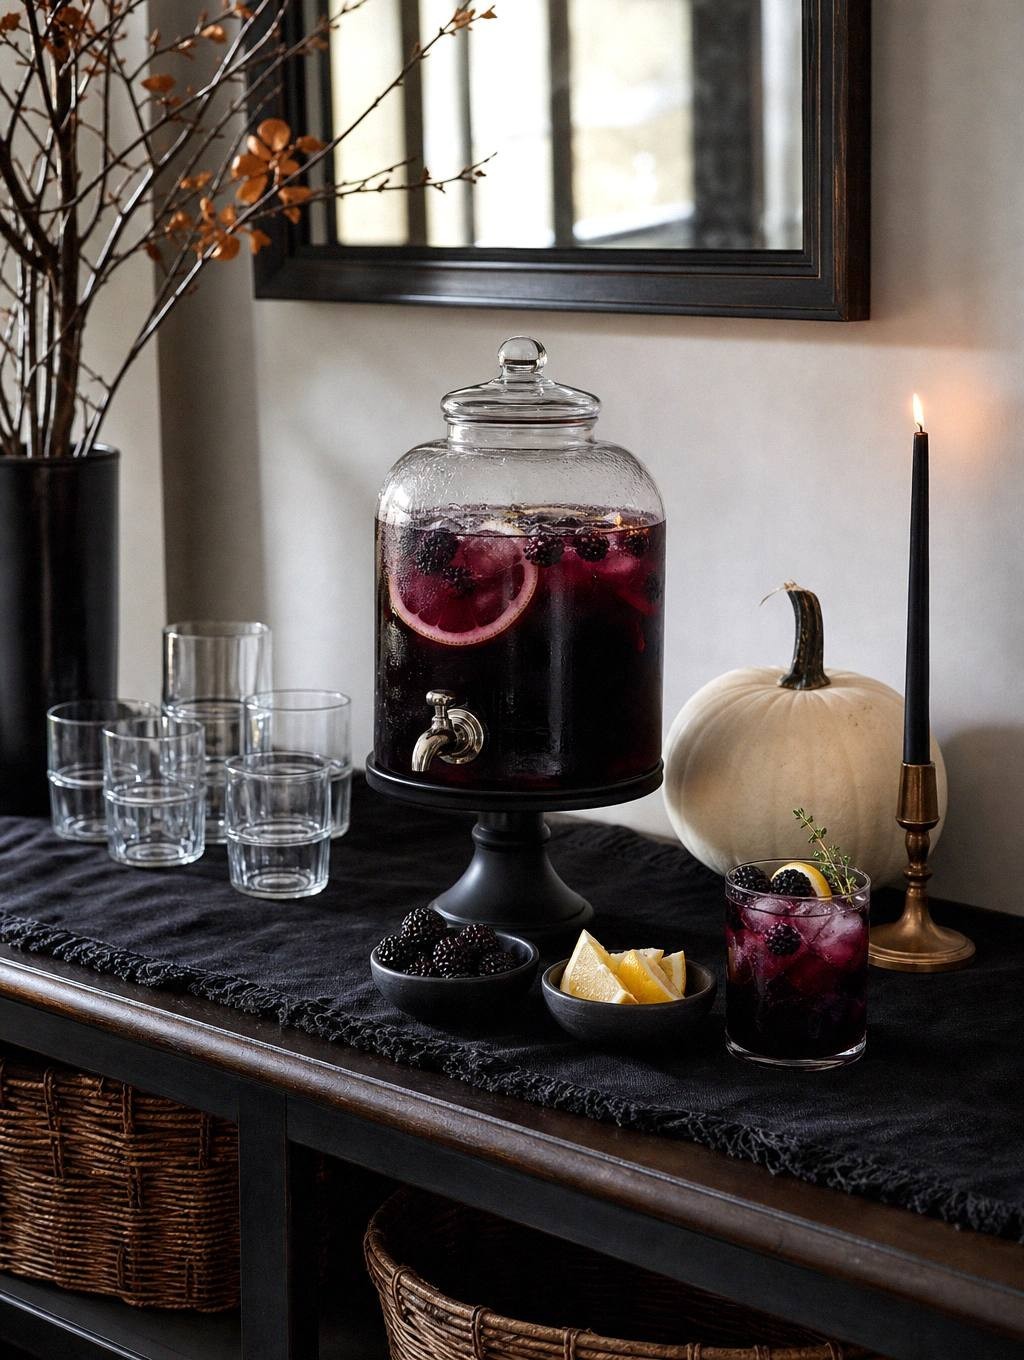
The occasion changes the details more than it changes the structure. The same table becomes a Fourth of July mocktail bar , a Halloween drink station , or a Thanksgiving drink table with its own glassware layout depending on what you set on it. Guest count matters too: a cocktail party table for eight wants a different flow from an open house where people drift past all evening.
How to Plan Quantities for Different Party Sizes
Choose serving size and expected demand explicitly. The following is a house inventory example of three 8-fluid-ounce alcohol-free drinks per guest over a three-hour event, not a consumption target. Keep water available separately and adjust for weather, food, guest preference and refills.
| Guests | 8-fluid-ounce portions | Finished drink volume |
|---|---|---|
| 25 | 75 | 600 fluid ounces / 4.6875 US gallons |
| 50 | 150 | 1,200 fluid ounces / 9.375 US gallons |
| 100 | 300 | 2,400 fluid ounces / 18.75 US gallons |
A US gallon gives sixteen 8-fluid-ounce portions or thirty-two 4-fluid-ounce punch portions before spills and ice dilution. One liter mixer gives eight full 4-fluid-ounce pours with a little extra; count mixer volume separately from total drink volume. A 750 mL bottle gives about sixteen full 1.5-fluid-ounce spirit pours or five full 5-fluid-ounce wine pours; these are volume conversions, not a recommendation to serve every guest several alcoholic drinks. Beer case counts vary; read the package count and container size.
Plan one garnish per chosen portion. For 30 citrus wheels, prepare and count 30 usable slices; fruit size, end cuts and thickness mean four fruits are not a guaranteed yield. The ice starting estimate of 1 pound per guest for three hours, doubled in heat, is a house purchasing estimate that includes service losses, not proof of cold holding. Keep drink ice separate from ice used to chill bottles or containers. For a house vodka-soda card use 1.5 fluid ounces vodka, 4 fluid ounces soda, 1 lime wedge and 1/2 cup drink ice in a 12-fluid-ounce glass. Add ice and vodka, then soda, stir gently and serve immediately. Label this as alcoholic; replace vodka with 1.5 fluid ounces sparkling water for the alcohol-free version.
Display and Styling Principles That Make the Station Look Intentional
Height variation makes a drink station look curated instead of cluttered. Set bottles on a small riser or a stack of books wrapped in kraft paper, and use a tiered stand for garnishes or glassware. This creates visual interest and makes it easier for guests to see what’s available.
Group like items together. All the glassware goes in one spot, all the mixers in another, and garnishes on a single tray or cutting board. This clustering prevents the scattered look that happens when bottles and tools are spread randomly.
Add one or two decorative touches that match your party’s vibe. A small vase of flowers, a string of bistro lights overhead, or a vintage crate to hold bottles adds personality without cluttering the functional space.
Placement does more work than decoration. There is a logic to where everything goes on a self-serve drink table , and most of what reads as mess is a flow problem, which is the whole subject of arranging a party table without clutter .
Outdoor Station Considerations and How to Adapt
Heat is the enemy of ice and chilled drinks, so plan for faster melt times and more frequent refills. Use two ice buckets and rotate them, keeping one in a cooler with a lid while the other sits on the table. Freeze water in large blocks or use reusable ice packs at the bottom of the bucket to slow the melt.
Wind will knock over lightweight items and blow napkins across the yard. Anchor your tablecloth with clips or weights, use heavier glassware instead of plastic cups if the setting allows, and store napkins in a weighted basket or dispenser.
Bugs are drawn to sweet mixers and fruit garnishes, so cover pitchers with a cloth or lid when they’re not actively being poured. Use fitted food-safe covers or a clean screened serving area; exposed decoy fruit is not a reliable insect control.
Space outside is usually the real constraint. A full cocktail party on one small patio shows how far a single table goes when the layout is right, and a garden party bar cart is the version that rolls out and back in when the weather turns.
Non-Alcoholic Station Options That Feel Just as Special
- Coffee and tea bar: Set out insulated carafes of hot coffee and water for tea, along with tea bags, milk, cream, sugar, honey, and flavored syrups. Add biscotti or shortbread cookies at the end of the line.
- Sparkling water station: Offer several flavors of sparkling water, fresh fruit slices, herb sprigs, and nice glassware. For a measured glass, add 6 fluid ounces cold sparkling water over 1/2 cup ice in a 12-fluid-ounce glass with 1 washed lime wheel; serve immediately. Keep woody decorative herbs on the table.
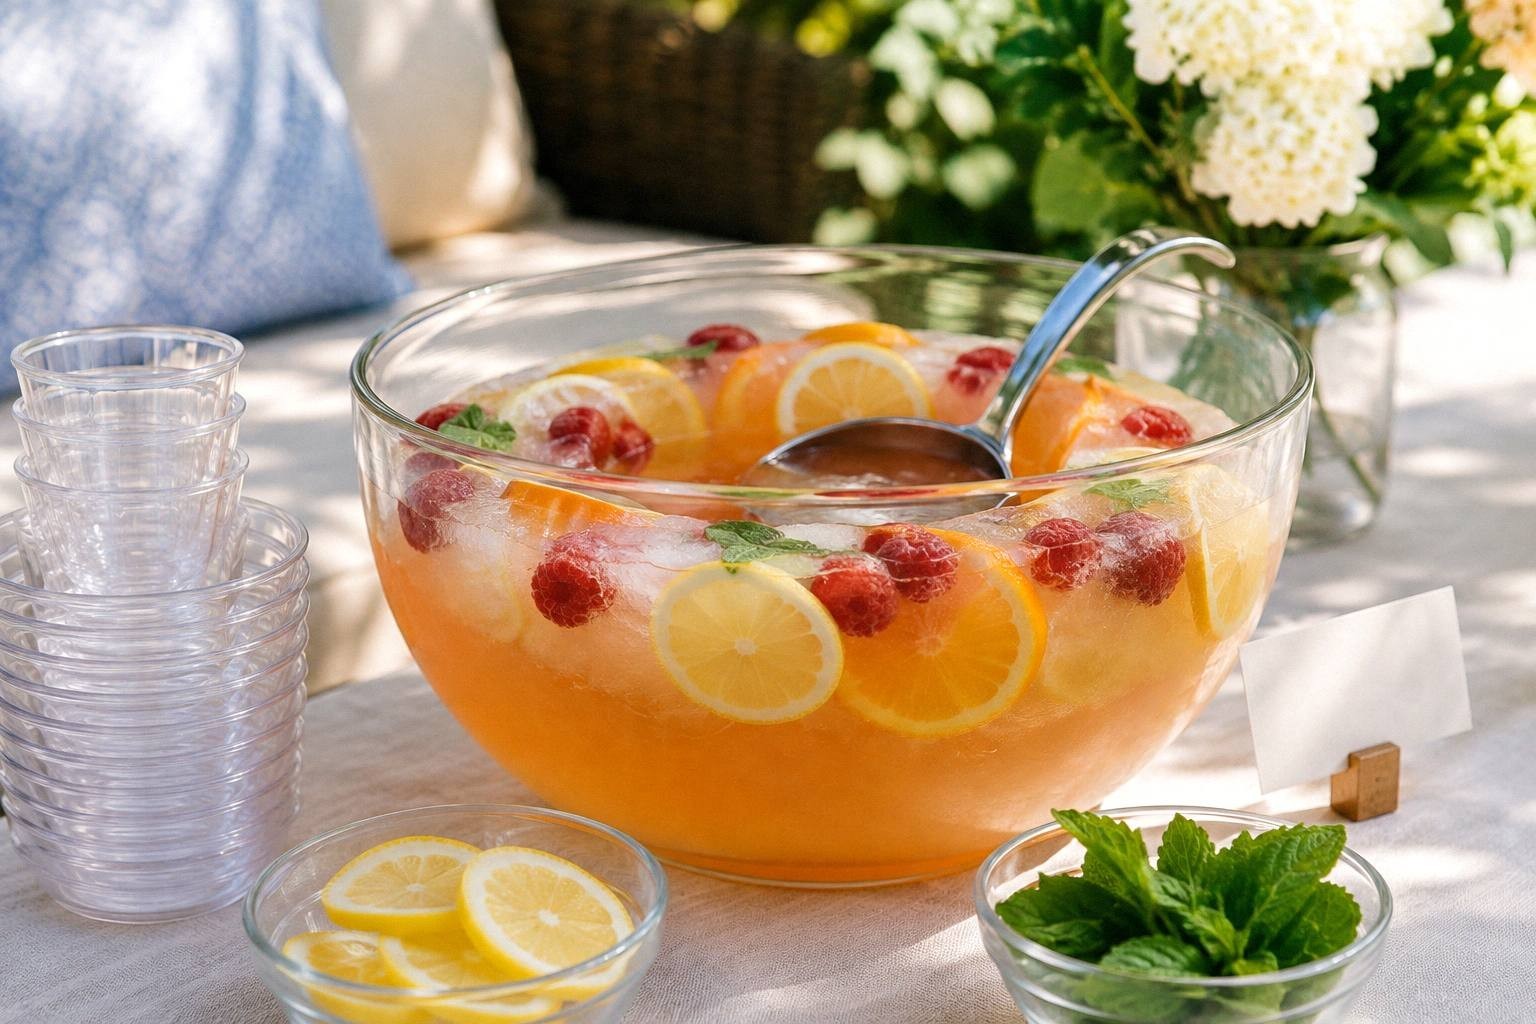
- Fruit punch station: Mix a large batch using fruit juices, ginger ale, and fresh fruit slices. Serve from a drink dispenser and freeze some punch in ice cube trays so drinks stay cold without getting watered down.
A non-alcoholic station lives or dies on whether guests understand it without asking, so it is worth knowing what a self-serve mocktail bar actually needs . For the drinks themselves, batch mocktails guests can pour themselves and a self-serve summer punch bowl both scale without anyone mixing to order.
Common Problems and How to Fix Them
- Ice melts too fast: Use a larger insulated cooler instead of a bowl, freeze water in big blocks to slow the melt, and keep backup ice in a separate cooler with a lid.
- Drinks run out unevenly: Check levels halfway through the party and move popular items to the front. Guests gravitate toward what’s easiest to reach, so rotating bottles balances consumption.
- Guests congregate at the station and block access: Move the station away from seating areas and make sure people can approach from two sides. If crowding persists, set up a second smaller station with just ice and mixers.
- Garnishes turn brown or wilt: Slice citrus no more than two hours before the party and keep it covered in the fridge until you set up. Wash herbs under running water, keep prepared garnishes covered and refrigerated, and serve small portions with clean tongs.
- Spills make the table sticky: Cover the table with butcher paper or a vinyl tablecloth you can wipe down, and set out a roll of paper towels within reach. Guests will clean up their own spills if the tools are visible.
- No one knows what to make: Print simple recipe cards for two or three classic drinks and prop them up near the bottles. Use the measured vodka-soda card above and label the spirit amount clearly.
Station Pieces Guests Actually Reach For
Affiliate note: Links below are Amazon Associate links with my tag fabledetheric-20. If you buy through them, I may earn a commission at no extra cost to you. These product selections also appear on our bar cart essentials
or bar cart accessories
pages. No filler gadgets.
A drink station fails when garnish melts, syrup bottles drip, ice runs out, or glasses do not match. These four pieces fix those exact problems.
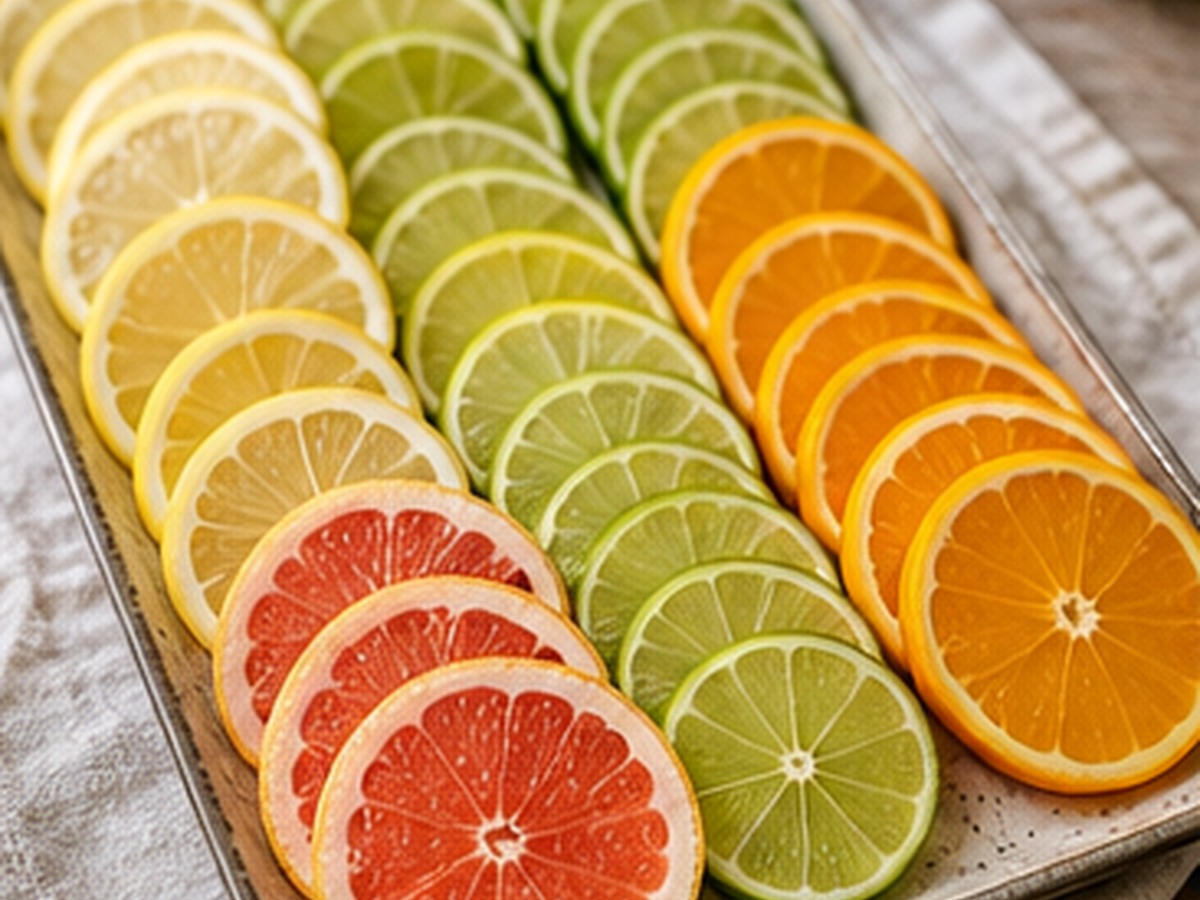
Chilled condiment and garnish server
 Paid Amazon links: we may earn a commission if you buy through links in this article. Disclosure details.
Use lidded compartments and clean tongs for garnishes. Choose a server that can hold ice underneath and confirm perishable garnishes stay at 40 F / 4 C or below; lids alone do not keep them cold.
See the garnish server on Amazon
Shining Craft syrup bottles with pour spouts
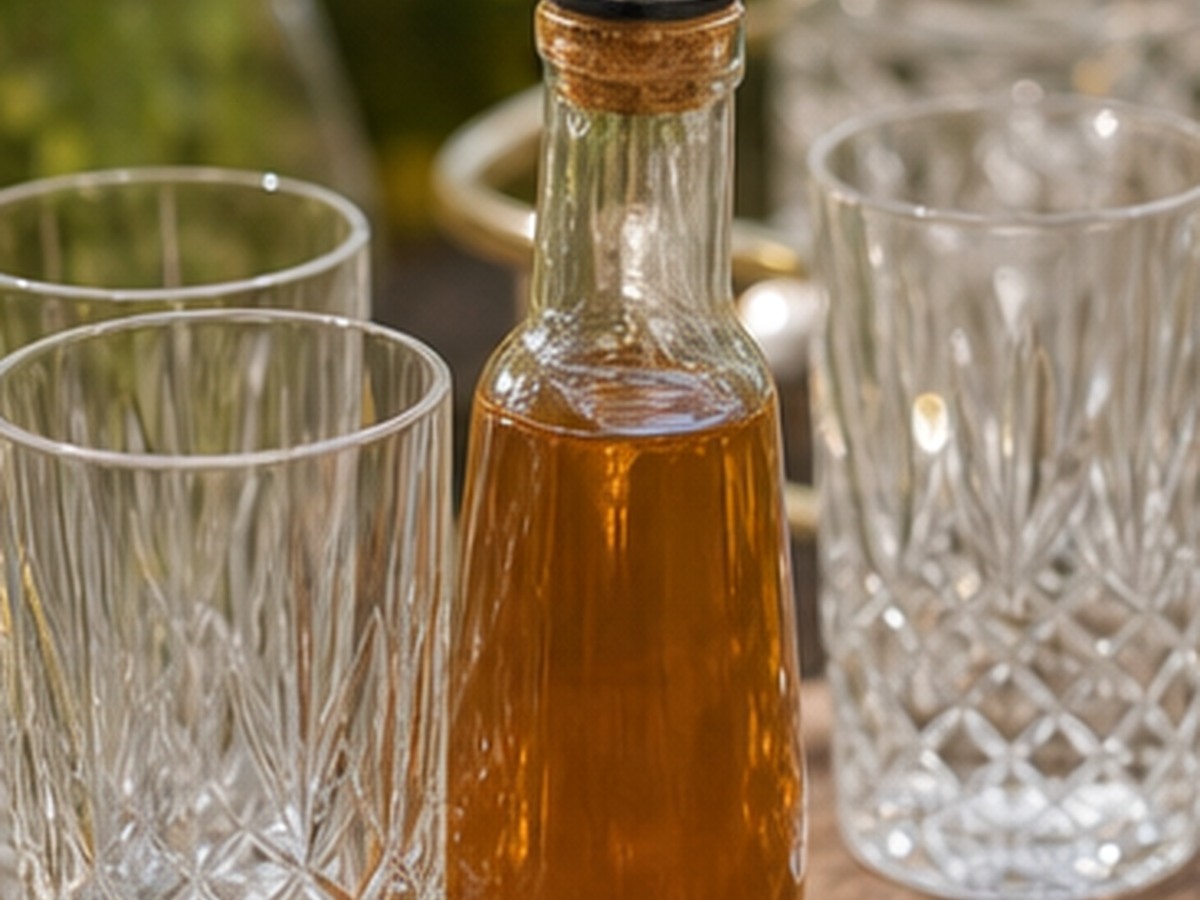
Homemade syrup looks useful when it has a clean pour. Label rosemary, hibiscus, or honey syrup and stop sticky bottle necks.
See the syrup bottles on Amazon
Oggi insulated ice bucket (4 qt)
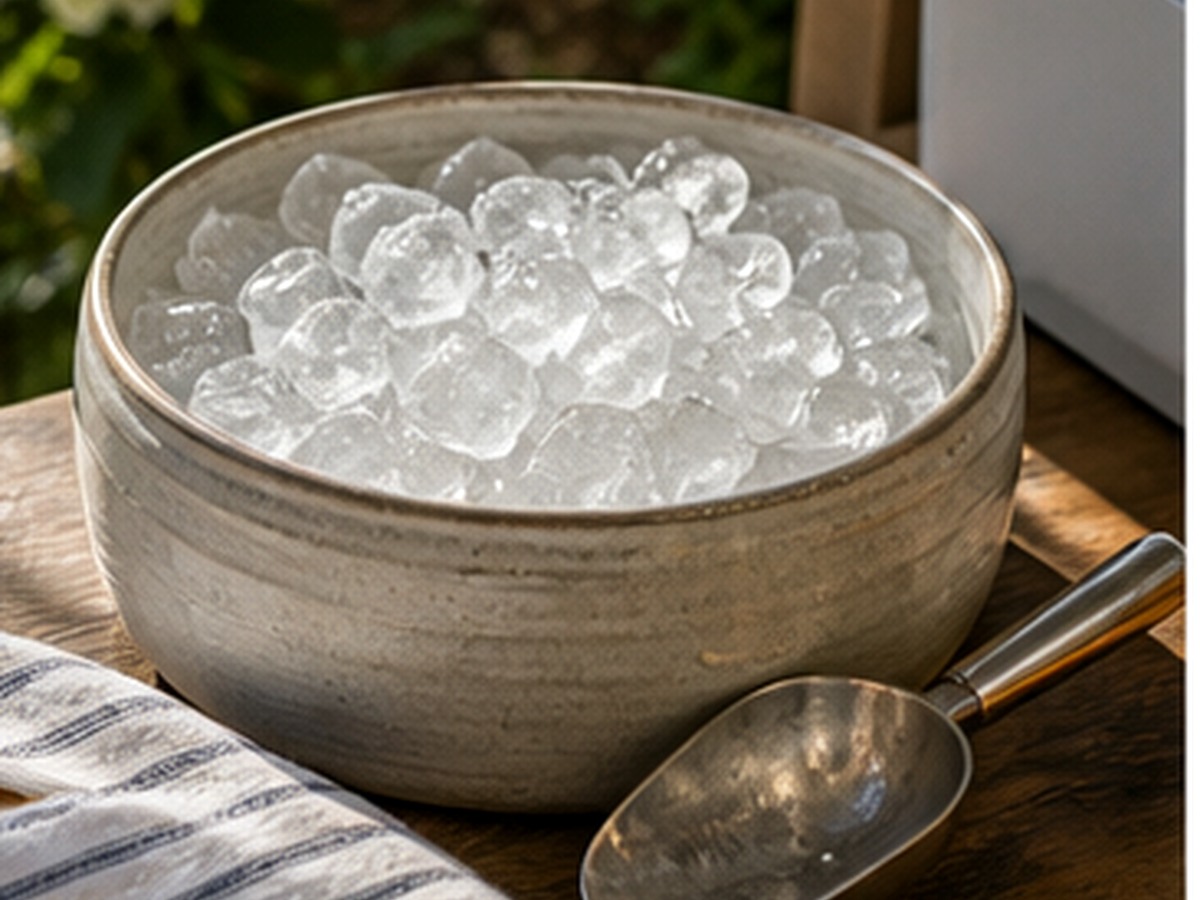
Keep ice at the station, not in every dispenser. A lidded bucket with a scoop stops the table from becoming a cooler run.
See the Oggi ice bucket on Amazon
JoyJolt Faye highball glasses (set of 6)
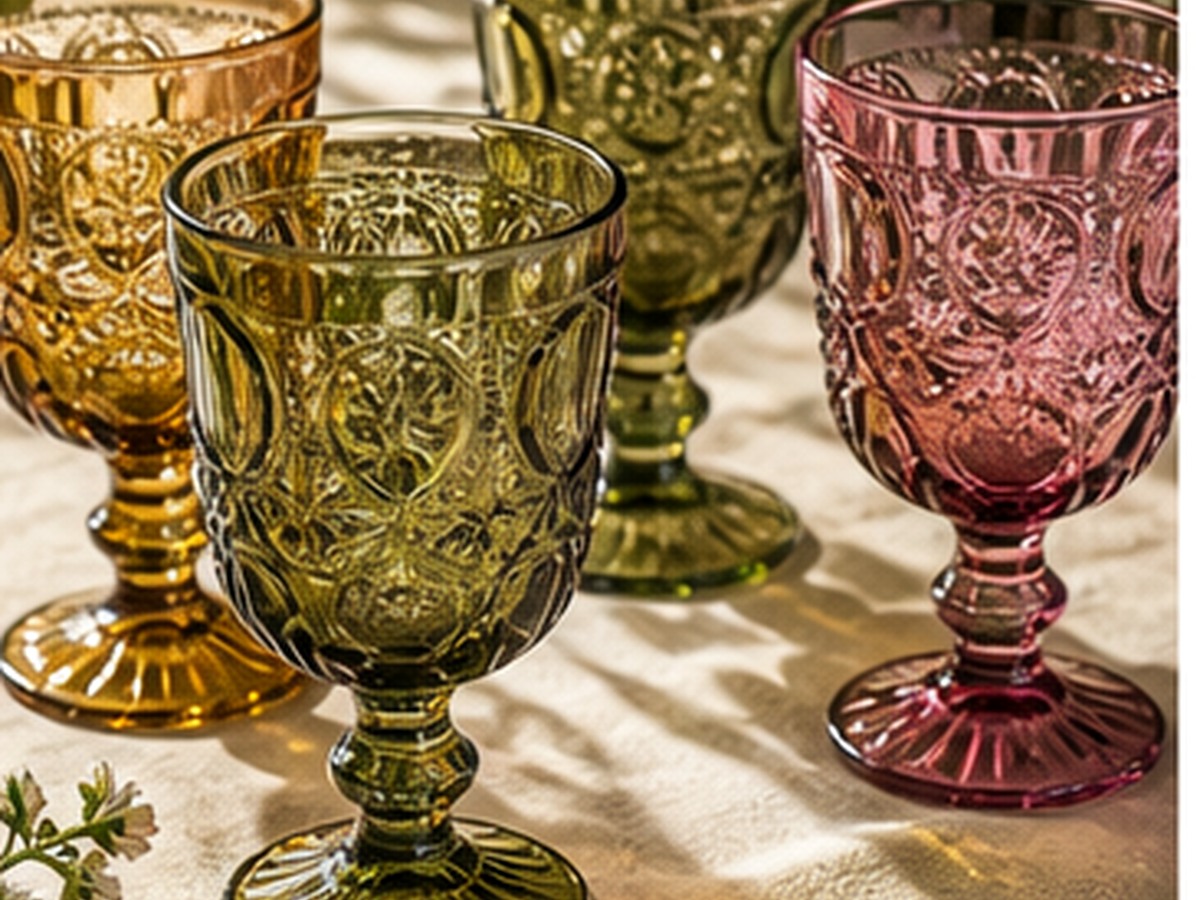
Matching tall glasses keep self-serve pours consistent and stop the station from looking like a mixed cupboard.
See the JoyJolt highballs on Amazon
Frequently Asked Questions
How far in advance can I set up a drink station?
Set up the table, arrange glassware, and position bottles the night before if you want, but wait until an hour before guests arrive to add ice and any chilled mixers. Citrus slices and fresh herbs can be prepped the morning of the party and kept covered in the fridge until you’re ready to set them out.
What’s the minimum table size I need for a drink station?
A four-foot folding table works for a basic station serving up to twelve guests, but a six-foot table gives you enough room to spread things out and avoid crowding. If you’re tight on space, a bar cart or a kitchen counter can work as long as you keep the setup streamlined. If even that is more than you have, a drink station with no room for a bar cart covers the shelf and counter versions.
Should I offer both alcoholic and non-alcoholic options at the same station?
Yes, and it’s easier than setting up two separate stations. Group the non-alcoholic mixers and garnishes on one end of the table and the liquor on the other, with shared ice and glassware in the middle. Guests will naturally gravitate toward what they want without feeling like they’re making a statement.
How do I keep a drink station from looking messy as the party goes on?
Do a quick reset halfway through the party: wipe up spills, consolidate half-empty bottles, refill ice, and restock garnishes. Assign yourself a five-minute check-in at the one-hour and two-hour marks, and the station will look intentional instead of abandoned.
Conclusion
Arrange the table before guests arrive, prepare drinks with enough time for chilling, and keep measured recipe cards beside the mixers. Check temperatures and replace serving portions throughout the party so guests can pour their own drinks while you spend more time with them.
Cold Chain, Ice and Service Checks
Keep opened perishable mixers, cut fruit, puree, milk and cream at 40 F / 4 C or below, including backup portions. A decorative bucket or garnish server only works if a thermometer confirms that temperature. Replace small serving containers with fresh chilled ones rather than topping up warm leftovers. Discard perishable service items warm for more than 2 cumulative hours, or 1 hour above 90 F / 32 C. Guest-contact leftovers are discarded; untouched cold reserves follow their label or the complete recipe’s storage limit.
Use potable drink ice, a dedicated clean scoop with its handle out of the ice, and separate ice for chilling bottles. Do not scoop with drinking glasses or bare hands, and do not serve meltwater or chilling ice. Wash hands, cutting boards and fresh produce before slicing; clean lids of cans before opening. Label alcohol, caffeine and allergens such as dairy, and keep plain water and alcohol-free choices easy to reach. Acidic drinks use glass or properly lined food-safe mugs, not bare copper. For coffee and tea service keep milk and cream on ice at the stated cold temperature; use equipment rated for hot beverages and check hot holding at 140 F / 60 C or above when storing perishable hot mixtures.
Mimosa, sangria, lemonade, fruit punch and syrup-bar examples above are station concepts, not complete batch recipes. Use a complete measured recipe and its ingredient limits rather than improvising a dispenser volume. Add carbonation at service, never shake it in a closed container, and do not use an unverified home ferment as a party mixer.
Sources and Review Limits
- FDA buffet guidance : Produce washing, thermometer-based cold/hot holding, small fresh service portions, 2-hour/1-hour disposal and shallow cooling; general guidance, not shelf-life validation.
- FDA Food Code 2022 : Copper alloy food contact restriction for acidic foods below pH 6; use glass or intact suitable lining.
These are source and measurement checks, not kitchen testing. House variations and short quality windows below have not been shelf-life tested.