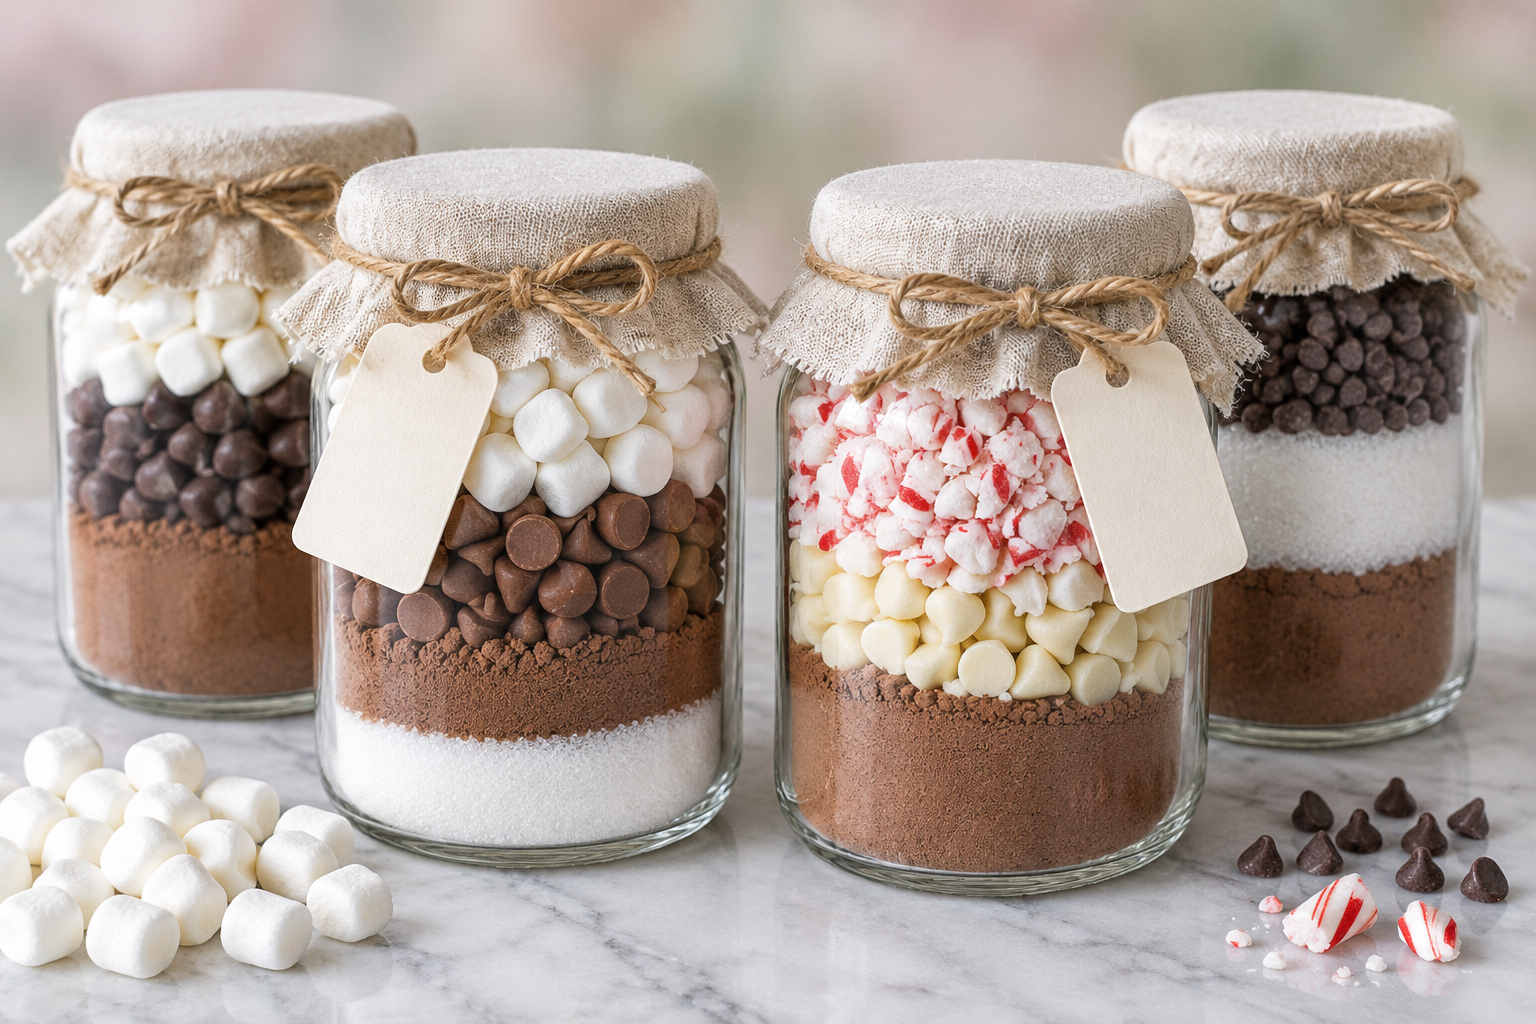
A jar of homemade hot cocoa mix is the kind of gift that gets used instead of stored in a drawer. The recipient can see every layer through the glass, the ingredients cost less than a store-bought tin, and you control exactly what goes in. These four recipes give you a classic version, a peppermint option, a white chocolate variation, and one with marshmallows already mixed in, so you can match the jar to the person.
What Makes a Good Hot Cocoa Mix Jar
The best mixes balance cocoa intensity with enough sugar to keep the drink from tasting bitter, and they dissolve cleanly in hot milk without leaving grit at the bottom of the mug. Powdered sugar works better than granulated because the finer crystals blend faster. Cornstarch in small amounts helps the mix stay smooth and prevents the cocoa from clumping when it hits liquid.
Layering the ingredients in a jar makes the gift look intentional, but it also serves a practical purpose: heavier powders like cocoa settle to the bottom during transport, so putting them in first keeps the layers from shifting. If you are adding chocolate chips or crushed candy, those go on top where they stay visible. A quart jar holds most of these recipes with room to spare, and a pint jar works for half batches.
The mix itself lasts two to three months in an airtight container at room temperature, or up to three months in the freezer. Chocolate chips and marshmallows shorten the shelf life slightly because they can absorb moisture, so if you are making jars more than a few weeks ahead, leave those out and tell the recipient to add them fresh.
Choosing Your Cocoa Powder
Dutch-process cocoa has been treated with an alkali to neutralize its acidity, which gives it a darker color and a mellower, almost earthy flavor. Natural cocoa is lighter, more acidic, and tastes sharper. Either one works in these recipes, but Dutch-process makes a smoother, less tangy cup, which most people prefer in a straight hot chocolate . If you are using natural cocoa, the drink will have a brighter, slightly fruity edge that some people love and others find too intense.
High-quality cocoa powder costs more, but the difference shows up in the cup. Cheap cocoa often tastes flat or chalky, and no amount of sugar fixes that. Look for a brand with a strong chocolate smell when you open the container. If it smells faint or dusty, it will taste that way too.
Jar Sizes and Layering
A standard quart mason jar holds about four cups of dry ingredients, which is enough for most of these recipes. If you are making a smaller batch, a pint jar works for half the recipe, and a half-pint jar holds a single-serving gift. Wide-mouth jars are easier to fill and layer without spilling, and they give you more room to work when you are spooning in powdered sugar or cocoa.
To layer the ingredients, start with the heaviest powder first. Cocoa goes in the bottom, then powdered sugar, then any lighter ingredients like cornstarch or vanilla powder. If you are adding chocolate chips, crushed candy, or marshmallows, those go on top where they stay visible and don’t get buried. Use a funnel or a folded piece of parchment paper to guide the powders into the jar without dusting the sides, and tap the jar gently on the counter after each layer to settle it before adding the next one.
If the layers mix during transport, the jar still works fine. The recipient just shakes it before scooping out a serving. Layering is for presentation, not function, so don’t stress if the lines aren’t perfectly sharp.
1. Peppermint Hot Chocolate Mix
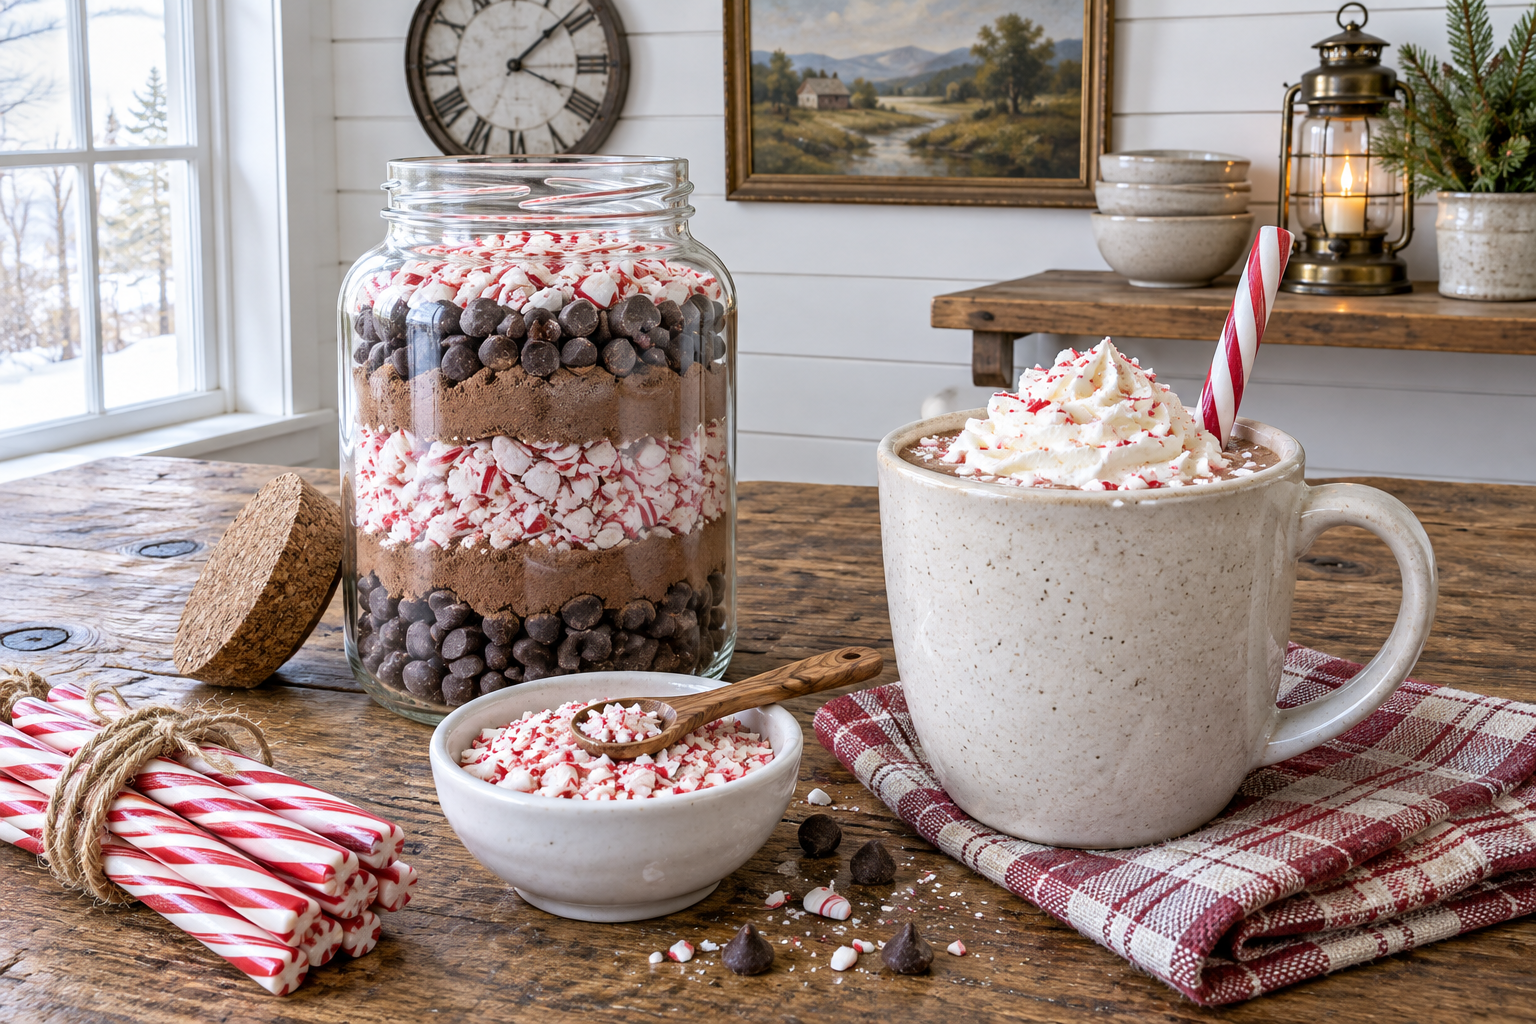
This version uses crushed peppermint sticks instead of extract, so the mint flavor is clean and sharp without the artificial edge that bottled peppermint can have. The crushed candy melts into the milk along with the chocolate chips, and the whole peppermint sticks double as stirrers. It is the most festive of the four recipes, and it works well as a Christmas gift or a winter party favor.
The recipe makes enough for four servings, but you can double it if you are filling multiple jars. If you are making this ahead, keep the crushed peppermint separate and include it in a small bag tied to the jar, because the candy can absorb moisture from the cocoa powder and turn sticky over time.
Ingredients
- 1/3 cup unsweetened cocoa powder
- 1 quart milk
- 1/2 cup semisweet chocolate chips (3 ounces)
- 7 peppermint sticks; 3 crushed (¼ cup), 4 left whole
- pinch of salt
Instructions
- Put the cocoa in a medium saucepan. Pour in the milk a little at a time, whisking as you go, until the cocoa dissolves.
- Add the chocolate chips and drop in the crushed peppermint. Let it simmer over medium heat, stirring now and then, until the chocolate and peppermint melt, 8 to 10 minutes.
- Bring it to a boil, then take it off the heat right away. Add the salt. Ladle into mugs and serve each one with a peppermint stick.
Makes 4 servings. Ready in 15 minutes.
2. Homemade Hot Chocolate Mix
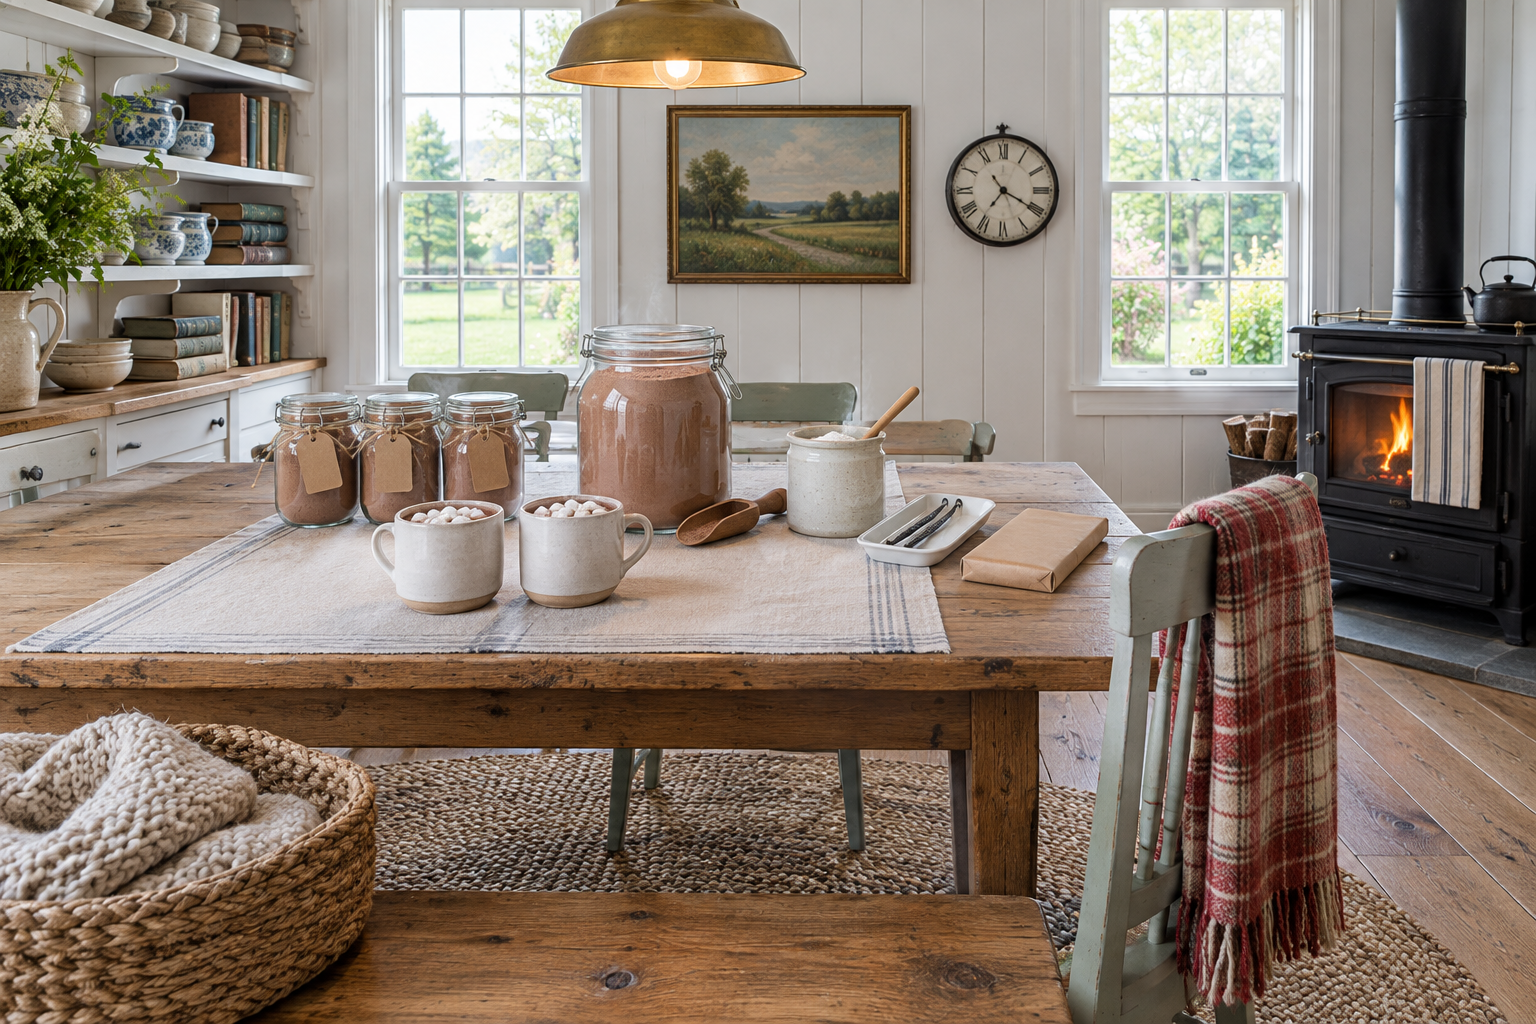
This is the base recipe that works for almost any occasion. It uses bittersweet chocolate and a vanilla bean for depth, and the cornstarch keeps the drink smooth without making it thick. The mix stores well, and you can make a big batch to fill several jars at once. It is less sweet than most store-bought mixes, so if you are giving it to someone who likes their hot chocolate on the sugary side, add an extra tablespoon of powdered sugar per serving.
The vanilla bean is optional, but it makes a noticeable difference. If you don’t have one, you can use a teaspoon of vanilla powder or leave it out entirely. The mix will still taste good, just less complex.
Ingredients
- 3/4 cup powdered sugar
- 1/2 cup high-quality cocoa powder
- 3 ounces bittersweet chocolate, coarsely chopped
- 2 teaspoons cornstarch
- 1/8 teaspoon fine sea salt
- 1 vanilla bean, split lengthwise
- 1 cup whole milk
- Whipped cream, marshmallows, and cocoa powder (for serving)
Instructions
- Put the powdered sugar, cocoa powder, chocolate, cornstarch, and sea salt in a food processor. Scrape in the vanilla seeds and toss the pod. Run the processor until everything turns smooth and powdery, about a minute.
- Pour the milk into a small saucepan and bring it to a simmer over medium heat. Whisk in 3 tablespoons of the hot chocolate mix and cook, whisking now and then, until it comes back to a simmer and the mix dissolves and thickens a bit, a minute or two.
- Pour the hot chocolate into a mug. Top it with whipped cream and marshmallows and dust some cocoa powder over the top.
- You can make the hot chocolate mix 2 months ahead. Keep it in an airtight container at room temperature, or freeze it for up to 3 months.
Makes 8 servings (1 1/2 cups mix). Ready in 10 minutes per serving.
3. Homemade White Hot Chocolate Mix
White chocolate makes a sweeter, creamier drink than regular cocoa, and the vanilla and orange peel give it a flavor that feels more grown-up than the candy-bar sweetness you might expect. The grated white chocolate melts into the milk without leaving chunks, and the pudding mix adds body so the drink doesn’t taste thin. This one is popular with people who don’t like the bitterness of dark chocolate, and it works well as a dessert drink after dinner.
You need a food processor or a high-powered blender to grind the white chocolate finely enough. If you don’t have either, you can use white chocolate chips and stir them into the hot milk until they melt, but the texture won’t be as smooth. The orange peel is optional, but it cuts the sweetness and keeps the drink from tasting one-note.
Ingredients
- 6 cups grated white chocolate
- 3 (3-ounce) packages white chocolate pudding mix
- 4 teaspoons vanilla powder
- 2 to 3 teaspoons dried orange peel (finely ground, if desired)
- 1 1/2 cups milk
- Optional: Whipped cream, cocoa powder, cinnamon, candy canes (crushed or whole)
Instructions
- In a small bowl, stir together the white chocolate, pudding mix, vanilla powder, and orange peel.
- Pour the milk into a small saucepan and warm it over medium heat until you see small bubbles forming at the edges and steam rising from the surface, don’t let it simmer or boil.
- Add the white chocolate mixture to the warm milk and whisk until the chocolate melts and everything blends together smoothly.
- Pour into mugs and, if you like, top with whipped cream, a dusting of cocoa powder or cinnamon, or crushed or whole candy canes, then serve right away.
Makes 10 servings. Ready in 10 minutes per serving.
4. Hot Chocolate Mix with Marshmallows
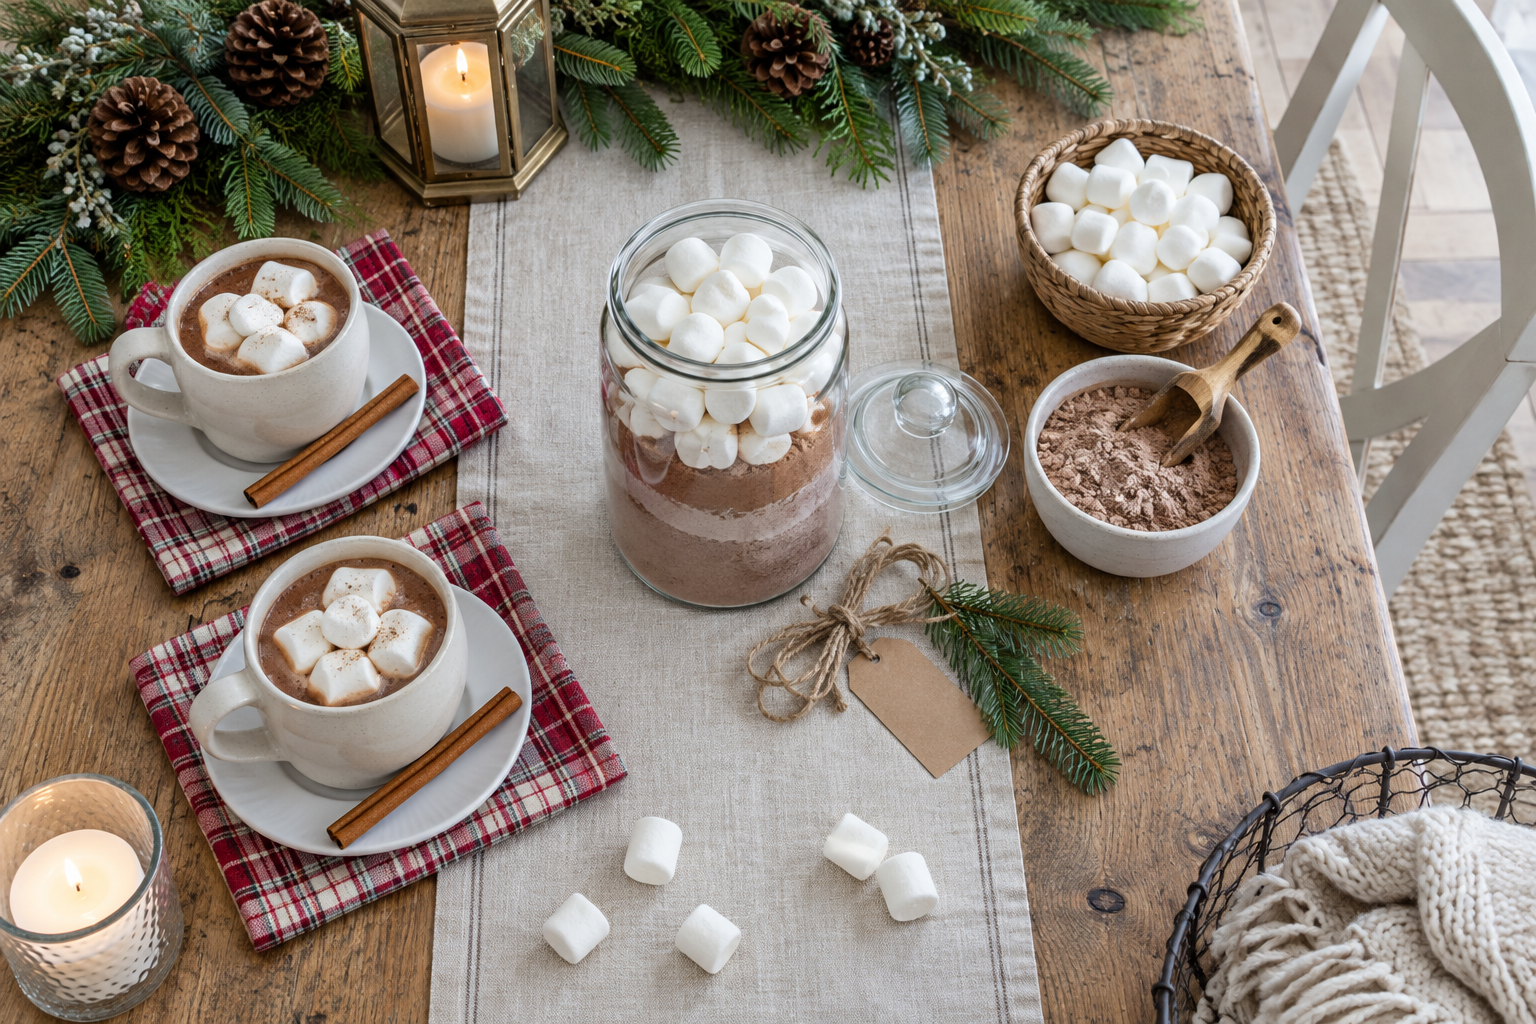
This recipe is identical to the base homemade mix, but you add the marshmallows directly to the jar so the recipient doesn’t have to hunt for them. The marshmallows soften slightly when they sit in the mix, but they still melt into the hot chocolate the way they should. If you are making this as a gift, use mini marshmallows because they layer better and don’t take up as much room in the jar.
The mix itself is rich and smooth, with enough chocolate flavor to stand up to the sweetness of the marshmallows. It is a good all-purpose recipe that works for kids and adults, and it stores just as well as the version without marshmallows.
Ingredients
- 3/4 cup powdered sugar
- 1/2 cup high-quality cocoa powder
- 3 ounces bittersweet chocolate, coarsely chopped
- 2 teaspoons cornstarch
- 1/8 teaspoon fine sea salt
- 1 vanilla bean, split lengthwise
- 1 cup whole milk
- Whipped cream, marshmallows, and cocoa powder (for serving)
Instructions
- Put the powdered sugar, cocoa powder, chocolate, cornstarch, and sea salt in a food processor. Scrape in the vanilla seeds and toss the pod. Blend until the mixture is smooth and powdery, about 1 minute.
- Bring the milk to a simmer in a small saucepan over medium heat. Whisk in 3 Tbsp. hot chocolate mix and cook, whisking now and then, until the mixture returns to a simmer and the hot chocolate mix dissolves and thickens slightly, 1 to 2 minutes.
- Pour the hot chocolate into a mug. Top with whipped cream and marshmallows and dust with cocoa powder.
- You can make the hot chocolate mix 2 months ahead. Store it in an airtight container at room temperature, or freeze up to 3 months.
Makes 8 servings (1 1/2 cups mix). Ready in 10 minutes per serving.
Packaging and Presentation
Once the jar is filled, wipe the rim clean with a damp cloth so the lid seals properly and the glass looks tidy. Tie a ribbon around the neck of the jar and attach a tag with the preparation instructions. The tag should tell the recipient how much mix to use per cup of milk, whether to use milk or water, and how long to heat it. If you are including marshmallows or candy canes separately, mention that on the tag too.
For the preparation instructions, write something like this: “Add 3 tablespoons of mix to 1 cup of hot milk. Whisk until smooth. Top with whipped cream or marshmallows.” Keep it short and specific so the recipient doesn’t have to guess.
If you are making multiple jars, you can print the instructions on cardstock and punch a hole in the corner to thread the ribbon through. That looks cleaner than handwriting each tag, and it makes the gift feel more finished. You can also include a small whisk or a candy cane tied to the jar if you want to add something extra.
Scaling Up for Multiple Jars
If you are making several jars at once, mix the dry ingredients in a large bowl first, then divide the mixture evenly among the jars. This is faster than measuring each ingredient into every jar individually, and it ensures that each jar has the same ratio of cocoa to sugar. Use a kitchen scale to weigh the jars as you fill them so you know they are all getting the same amount.
For the peppermint version, crush all the peppermint sticks at once in a food processor or by putting them in a zip-top bag and hitting them with a rolling pin. Measure out 1/4 cup of crushed peppermint per jar, and keep the whole sticks separate to tie onto the outside of the jar or tuck into a small bag attached to the lid.
If you are making the white chocolate mix in bulk, grate the chocolate in batches and store it in the freezer until you are ready to mix it with the other ingredients. White chocolate softens quickly at room temperature, and keeping it cold makes it easier to handle.
Common Problems and How to Fix Them
- The mix clumps when you add it to hot milk. This happens when the cocoa powder or powdered sugar absorbs moisture from the air before you use it. Store the mix in an airtight container, and if it does clump, break it up with a fork before measuring it out. Whisking the mix into the milk gradually instead of dumping it all in at once also helps.
- The chocolate chips don’t melt evenly. Use semisweet or bittersweet chips instead of milk chocolate, because they have less sugar and melt more smoothly. If the chips are still leaving lumps, chop them coarsely before adding them to the jar so they have more surface area to melt.
- The drink tastes gritty. This usually means the cocoa powder or powdered sugar didn’t dissolve completely. Bring the milk to a full simmer before adding the mix, and whisk it constantly while it heats. If you are using a microwave, heat the milk first, then add the mix and whisk it thoroughly before microwaving again.
- The layers in the jar mix together during transport. This is cosmetic, not functional. The mix still works fine even if the layers aren’t distinct. To minimize mixing, pack the jars upright in a box with crumpled paper or bubble wrap around them so they don’t shift.
- The white chocolate mix tastes too sweet. Add an extra teaspoon of dried orange peel or a pinch of salt to the mix. Both cut the sweetness without changing the texture. You can also use less mix per cup of milk, or switch to a darker white chocolate with a higher cocoa butter content.
- The marshmallows in the jar turn hard. This happens when they absorb moisture from the cocoa powder. Store the jar in a cool, dry place, and if you are making the jars more than a week ahead, leave the marshmallows out and include them in a separate bag tied to the jar.
Frequently Asked Questions
Can I use water instead of milk?
You can, but the drink will be thinner and less rich. Milk adds fat and protein that make the hot chocolate creamy, and water doesn’t replicate that. If you need a dairy-free option, use oat milk or coconut milk instead. Both have enough body to make the drink feel substantial.
How much mix do I use per cup?
Three tablespoons of mix per cup of milk is the standard ratio for most of these recipes. If you want a richer drink, use four tablespoons. If you want it lighter, use two. The mix is forgiving, so you can adjust it to taste.
How long does the mix last?
Two to three months at room temperature in an airtight container, or up to three months in the freezer. The cocoa powder and powdered sugar are shelf-stable, but the chocolate chips and marshmallows can absorb moisture over time, which shortens the shelf life slightly. If you are making jars as gifts, make them no more than a month before you plan to give them away.
Can I make the mix without a food processor?
For the peppermint version, yes. You can crush the peppermint sticks by hand and mix the other ingredients in a bowl. For the recipes that call for chopped chocolate or a vanilla bean, a food processor makes the texture smoother, but you can chop the chocolate finely with a knife and skip the vanilla bean if you don’t have one. The mix will still work, just with a slightly coarser texture.
What size jar should I use?
A quart jar holds most of these recipes with room to spare. A pint jar works for half batches, and a half-pint jar is good for single-serving gifts. Wide-mouth jars are easier to fill and layer, and they give you more room to work when you are spooning in the powders.
Can I substitute ground cinnamon for cinnamon sticks?
Yes, but use it sparingly. Ground cinnamon is more concentrated than a cinnamon stick, so start with 1/4 teaspoon per jar and taste the finished drink before adding more. Too much ground cinnamon can make the hot chocolate taste medicinal.
Conclusion
These four mixes give you enough variety to match the jar to the person, and they all store well enough to make ahead. The peppermint version works for Christmas gifts, the white chocolate mix is good for someone who doesn’t like dark chocolate, and the base recipe with marshmallows is the safest choice when you don’t know the recipient’s preferences. All of them cost less than a store-bought tin, and the ingredients are easy to find at any grocery store.