Learn to craft your first herbal healing salve with this beginner-friendly guide. Discover the art of infusing botanical oils and creating natural remedies for your skin.
There is something deeply satisfying about creating your own healing remedies from plants. The process connects us to centuries of botanical wisdom while offering practical solutions for everyday skin concerns. If you have ever wanted to try your hand at herbalism but felt overwhelmed by where to begin, making a simple healing salve is the perfect first step.
In this guide, you will learn everything you need to know to create your first herbal salve, from selecting the right botanicals to storing your finished product. The process is surprisingly straightforward, requires minimal equipment, and yields a versatile remedy you can use for minor cuts, dry skin, chapped lips, and more.
What Is an Herbal Salve?
An herbal salve is a semi-solid topical preparation made by combining herb-infused oils with a natural wax, typically beeswax or plant-based alternatives like candelilla wax. Unlike lotions or creams that contain water and require preservatives, salves are anhydrous (water-free), which gives them a longer shelf life and creates a protective barrier on the skin.
The consistency of a salve falls somewhere between a solid balm and a soft ointment. When you apply it to your skin, your body heat softens the salve, allowing the beneficial plant compounds to absorb while the wax creates a breathable layer that locks in moisture and protects the skin.
Salves have been used across cultures for thousands of years. Ancient Egyptians used plant-infused oils and waxes for both medicinal and cosmetic purposes. Medieval herbalists crafted salves for wounds and skin ailments. Today, we continue this tradition, blending ancestral knowledge with modern understanding of botanical properties.
The Shared Roots of Salves and Botanical Drinks
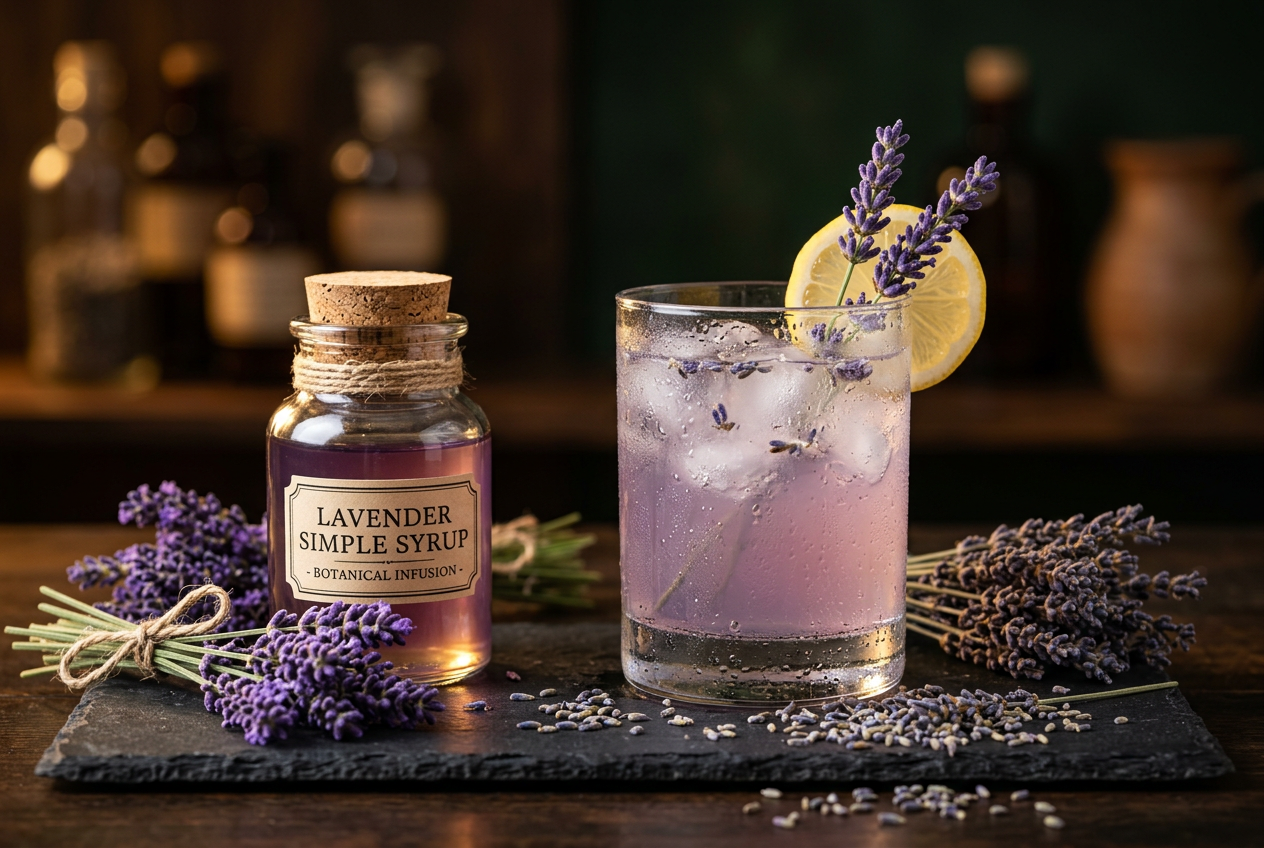
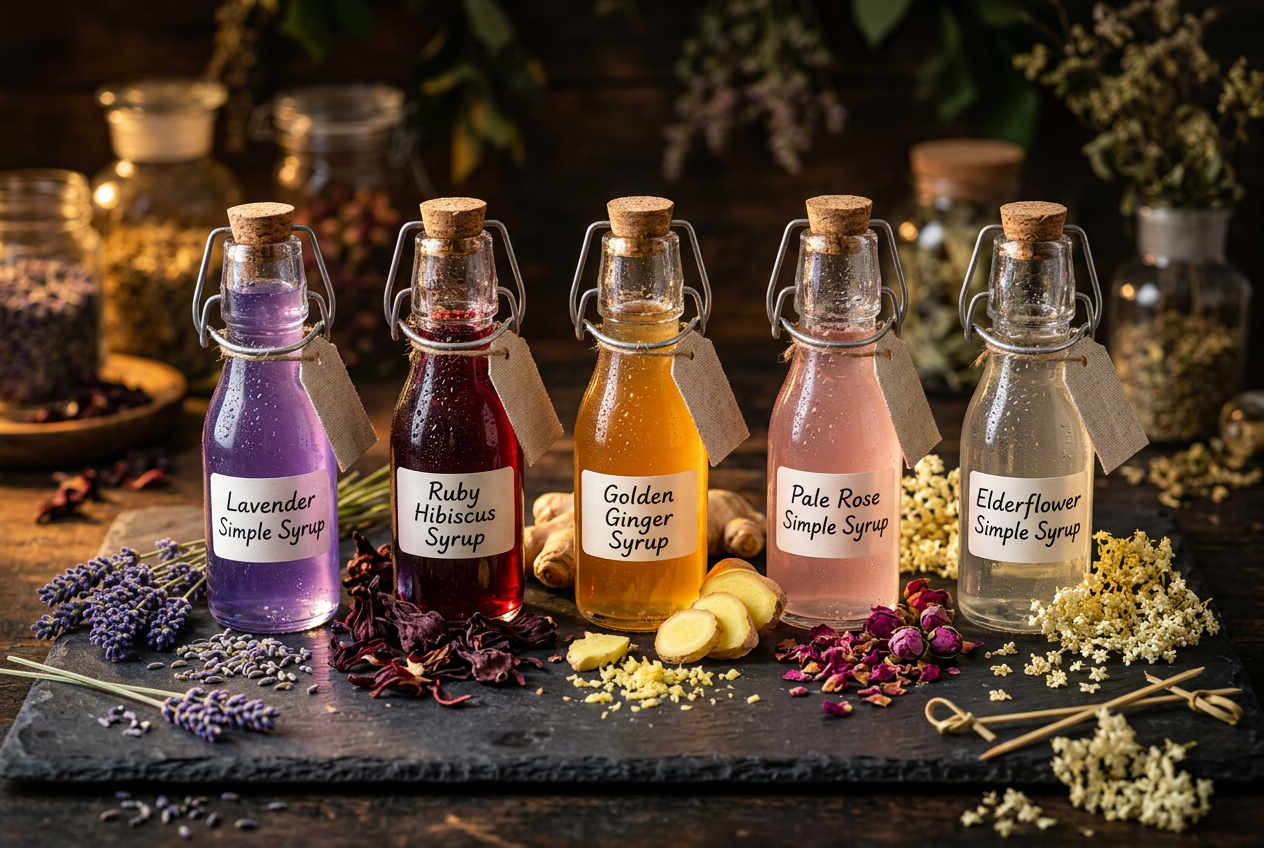
At The Fabled Alchemist, we explore the full spectrum of plant-based wellness, from the teas and elixirs we drink to the remedies we apply to our skin. While salves and botanical beverages may seem like separate practices, they share common ground in the art of extraction.
Both disciplines rely on drawing beneficial compounds from plant material. When you steep herbs for tea, you are creating a water-based extraction. When you infuse oil for a salve, you are creating a fat-based extraction. Different compounds are soluble in different mediums, which is why some herbs work beautifully in teas while others shine in topical applications.
Calendula, for example, contains skin-healing compounds that extract well in oils, making it ideal for salves. Chamomile works wonderfully both as a calming tea and as a gentle topical remedy. Understanding these principles allows you to work with herbs in the most effective ways.
The mindfulness required for both practices is similar too. Whether you are slowly steeping a medicinal tea or patiently infusing herbs in warm oil, you are engaging in a meditative process that connects you more deeply to the plants themselves.
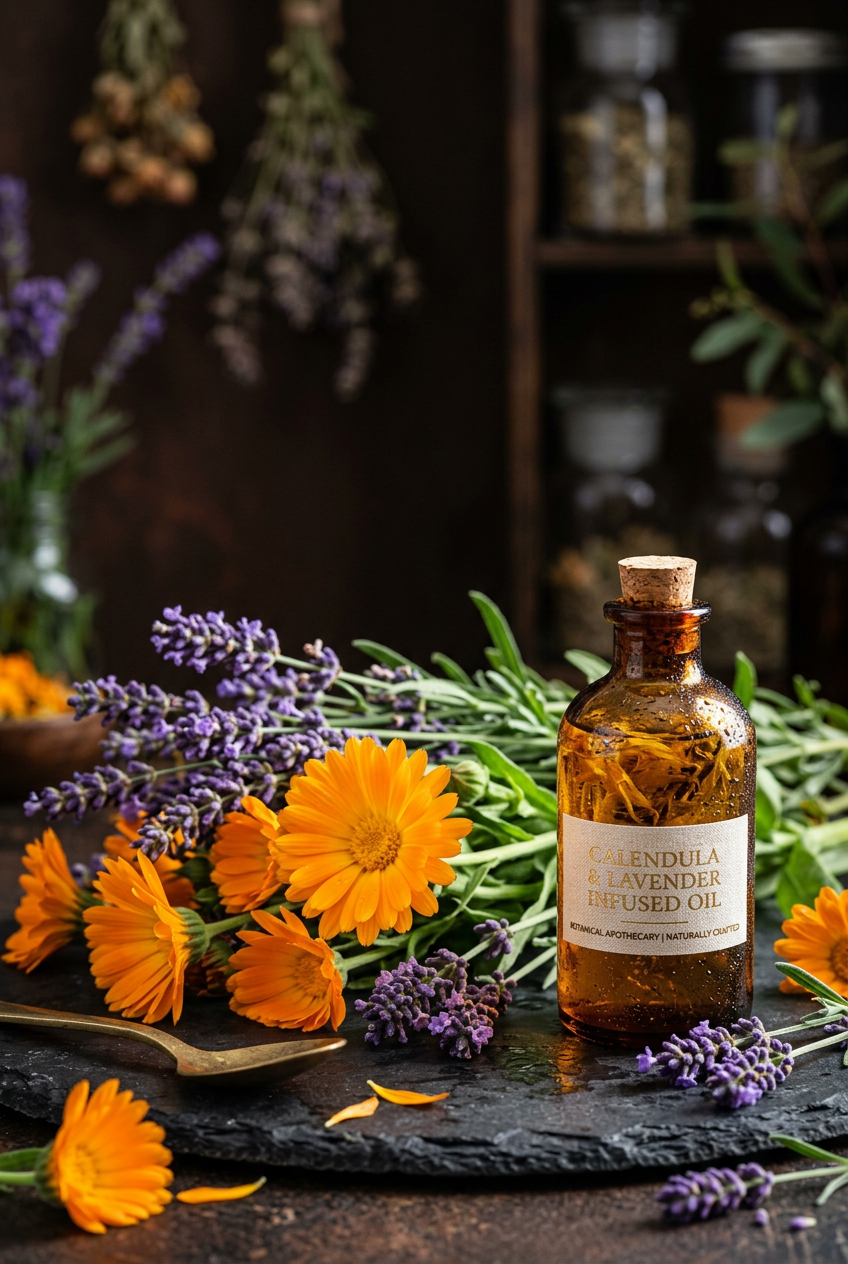
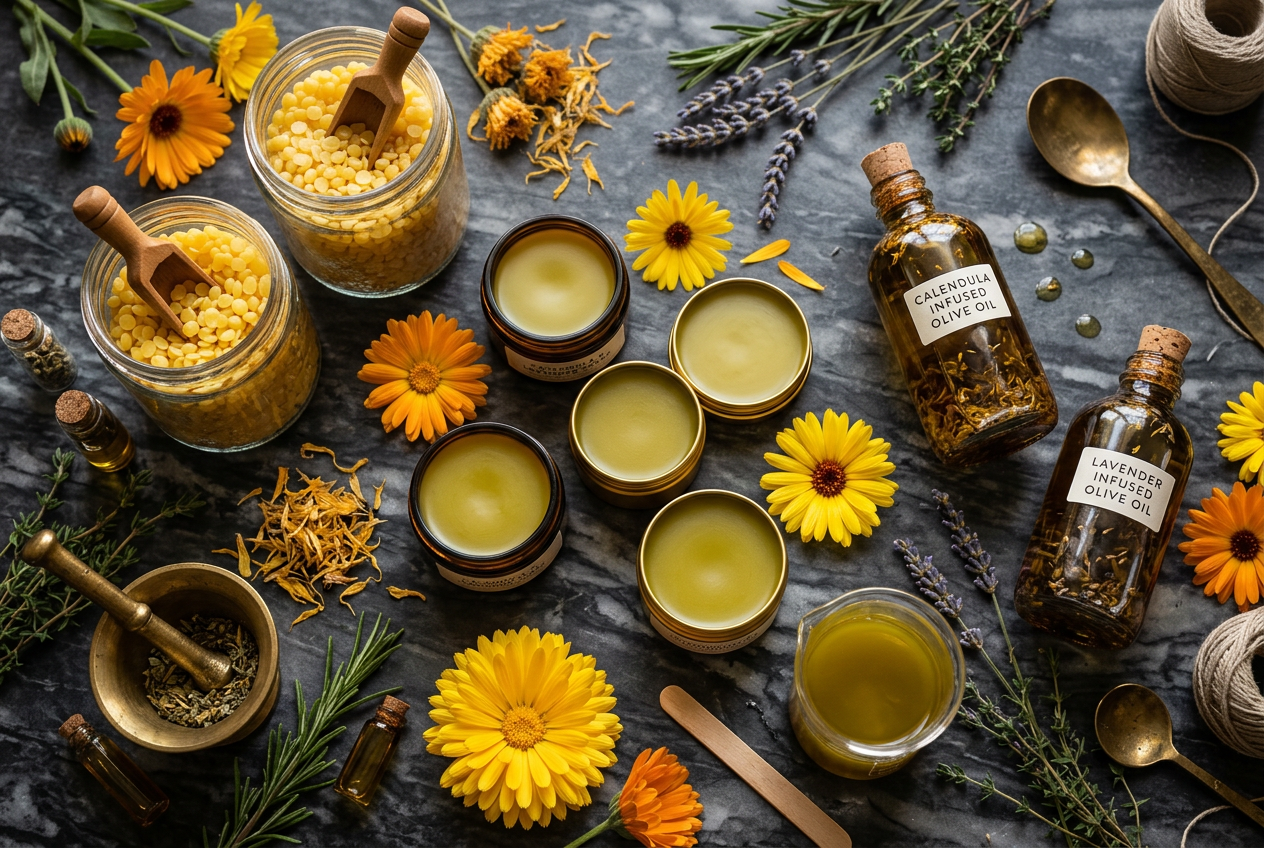
Calendula and lavender are excellent choices for your first healing salve
What You Will Need
The beauty of salve-making lies in its simplicity. You likely already have most of what you need in your kitchen. Here is what to gather before you begin:
Base Ingredients:
- 1 cup of carrier oil (olive oil, sweet almond oil, or jojoba oil work well)
- 1 ounce of beeswax (or 0.75 ounces of candelilla wax for a vegan option)
- 2 to 4 tablespoons of dried herbs or 4 to 6 tablespoons of fresh herbs
Equipment:
- A double boiler or a heat-safe bowl that fits over a pot
- Cheesecloth or a fine-mesh strainer
- Clean, dry tins or glass jars for storage (4-ounce containers work nicely)
- A wooden spoon or chopstick for stirring
- Labels for your finished products
Optional Additions:
- Vitamin E oil (acts as a natural preservative)
- Essential oils for added therapeutic benefits and scent
- Shea butter or cocoa butter for extra skin-nourishing properties
When selecting your carrier oil, consider the properties each brings. Olive oil is readily available and excellent for dry, mature skin. Sweet almond oil absorbs quickly and suits most skin types. Jojoba oil closely mimics the skin’s natural sebum and has a long shelf life.
For your first salve, stick with one or two herbs to keep things simple. As you gain confidence, you can experiment with more complex blends.
How to Infuse the Oil
The foundation of any good salve is properly infused oil. This is where the magic happens, as the oil draws out the beneficial compounds from your chosen herbs. There are two main methods: the slow infusion and the quick infusion.
The Slow Infusion Method (Solar or Ambient):
This traditional approach takes time but requires minimal effort. Place your dried herbs in a clean, dry glass jar and cover them completely with oil, leaving about an inch of oil above the plant material. Seal the jar and place it in a sunny windowsill or warm spot in your home.
Let the mixture infuse for 4 to 6 weeks, shaking the jar gently every few days. The oil will gradually take on the color and properties of the herbs. This method is ideal if you are planning ahead and want to create the most potent infusion possible.
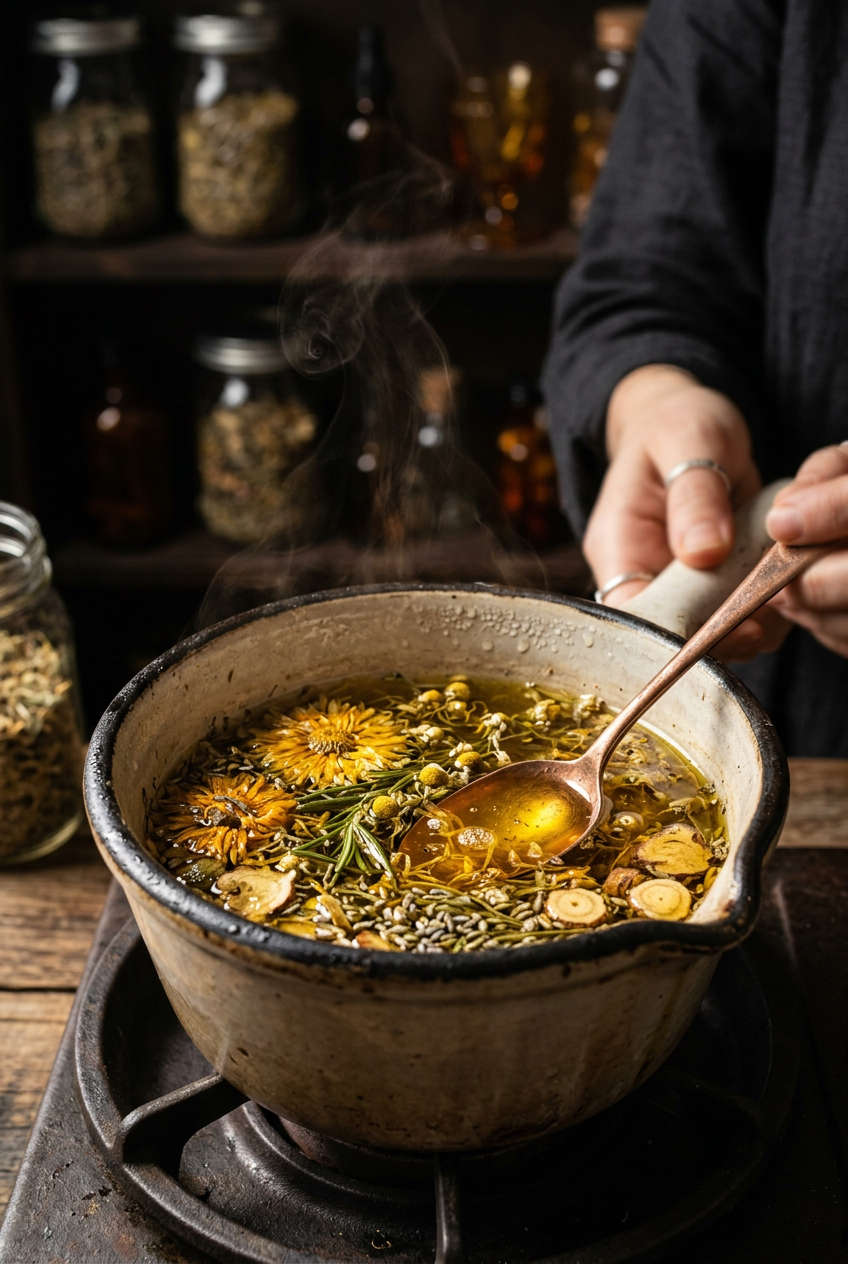
The Quick Infusion Method (Heat):
When you need your salve sooner, gentle heat speeds up the extraction process. Place your herbs and oil in a double boiler or a heat-safe bowl set over a pot of simmering water. The water should not touch the bottom of the bowl.
Keep the temperature low, around 100 to 140 degrees Fahrenheit. You want the oil to be warm but never hot enough to bubble or smoke. Maintain this gentle heat for 2 to 4 hours, stirring occasionally.
The oil is ready when it has taken on the color and aroma of the herbs. For calendula, you will notice a beautiful golden hue. Lavender will impart a subtle purple tint and its characteristic scent.
Once your infusion is complete, strain out the plant material through cheesecloth or a fine-mesh strainer. Squeeze the cloth to extract every last drop of your precious infused oil. If you used fresh herbs, let the strained oil sit for a day so any water content settles to the bottom, then carefully pour off the oil, leaving the water behind.
Straining your infused oil removes plant material while preserving beneficial compounds
Step-by-Step: Your First Herbal Salve
Now that you have your beautifully infused oil, you are ready to transform it into a salve. This process is straightforward and quite forgiving.
Step 1: Prepare Your Workspace
Set out all your storage containers, making sure they are completely clean and dry. Any moisture can lead to mold or spoilage. Have your labels ready. Set up your double boiler.
Step 2: Melt the Wax
Pour your infused oil into the double boiler over low heat. Add your beeswax or plant-based wax. The standard ratio is 1 ounce of wax to 1 cup of oil, which creates a medium-firm salve. For a softer salve, use slightly less wax. For a firmer balm, add a bit more.
Stir gently as the wax melts into the oil. This usually takes just a few minutes. Once everything is fully melted and combined, you can test the consistency.
Step 3: Test the Consistency
Place a small spoonful of the mixture on a cool plate and put it in the freezer for a minute or two. This shows you what the final texture will be. If it is too soft, add a bit more wax. If it is too hard, add more oil. Remelt and test again until you achieve your desired consistency.
Step 4: Add Optional Ingredients
If you are using vitamin E oil, add about 1/4 teaspoon per cup of salve base. If you want to include essential oils for additional therapeutic benefits or fragrance, now is the time. Remove the mixture from heat first, let it cool slightly (but not so much that it begins to solidify), then add 10 to 20 drops of essential oil per cup of salve. Stir well to distribute evenly.
Lavender essential oil enhances relaxation and skin healing. Tea tree oil adds antimicrobial properties. Peppermint provides a cooling sensation. Choose oils that complement your base herbs and intended use.
Step 5: Pour and Cool
Carefully pour your salve into your prepared containers. Work relatively quickly, as the mixture will begin to solidify as it cools. Fill each container to just below the rim, leaving a small space at the top.
Let the salves cool completely undisturbed. This usually takes 30 minutes to an hour. As they cool, you will notice the surface developing a slight concave dip in the center. This is normal.
Step 6: Label and Date
Once your salves are fully set, seal them with their lids and apply labels. Include the ingredients, the date you made them, and the intended use. This information becomes invaluable when you are making multiple batches or giving salves as gifts.
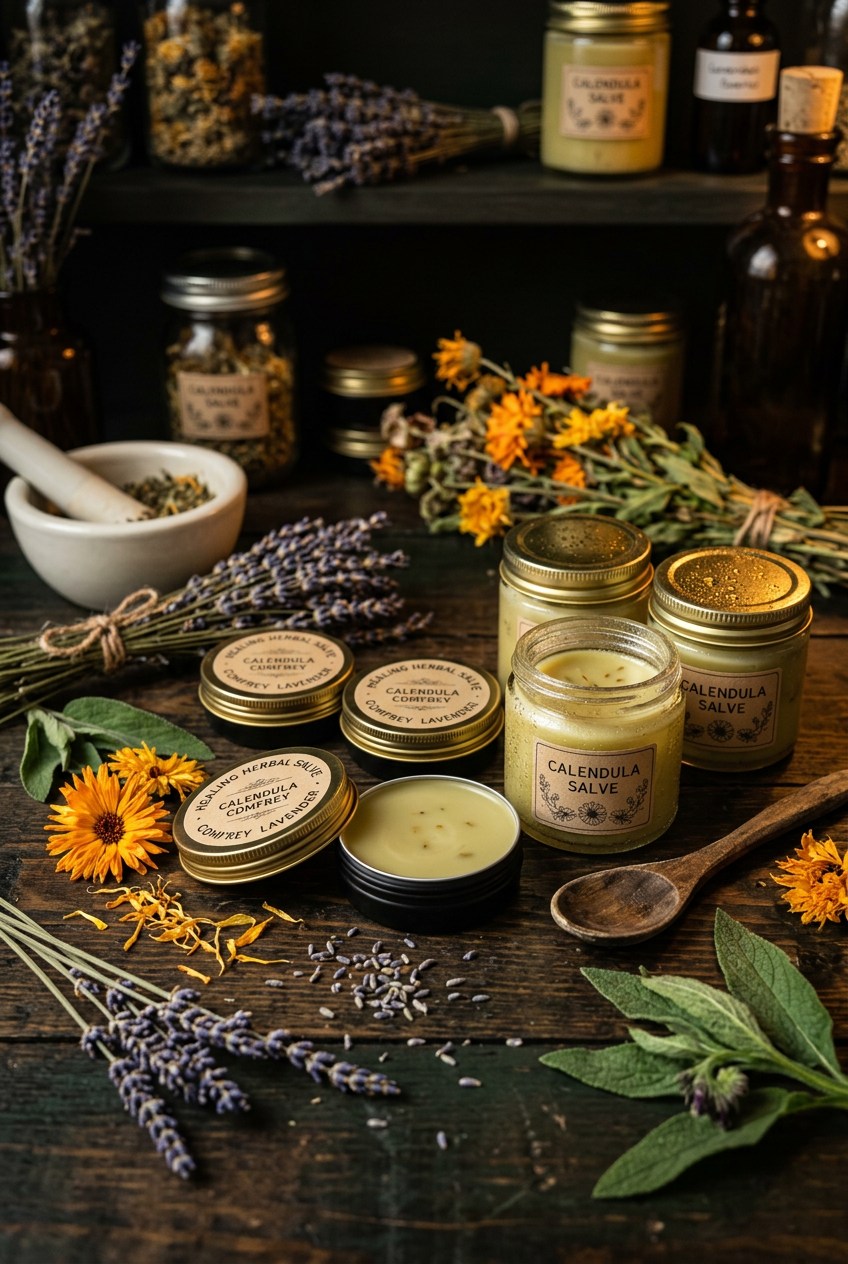
Label your finished salves with ingredients and date so you can recreate your best batches
How Long Do Herbal Salves Last?
A well-made salve stored in a cool, dry place away from direct sunlight will typically last one to two years. The beeswax and oil base naturally resist spoilage, and adding vitamin E oil extends shelf life further.
Signs that a salve has gone rancid include an off or sour smell, changes in color or texture, or the appearance of any mold. If you notice any of these signs, discard the batch and start fresh. Using completely dry equipment and containers is the best way to prevent premature spoilage.
For everyday use, keep one small tin on your bathroom counter and store the rest in a cool cabinet or even the refrigerator to extend their life.
Herbs Worth Exploring
Once you have made your first batch, you will likely want to experiment with different botanicals. Each herb brings its own therapeutic profile to a salve.
Plantain leaf is one of the most underrated healing herbs available. It grows as a common lawn weed and has remarkable drawing properties for splinters, stings, and minor wounds. Plantain-infused salve is sometimes called the “first aid salve” of herbalism.
Comfrey root and leaf contains allantoin, a compound that supports cell regeneration. It is traditionally used for bruises, sprains, and sore muscles. Use comfrey externally only and never on deep wounds.
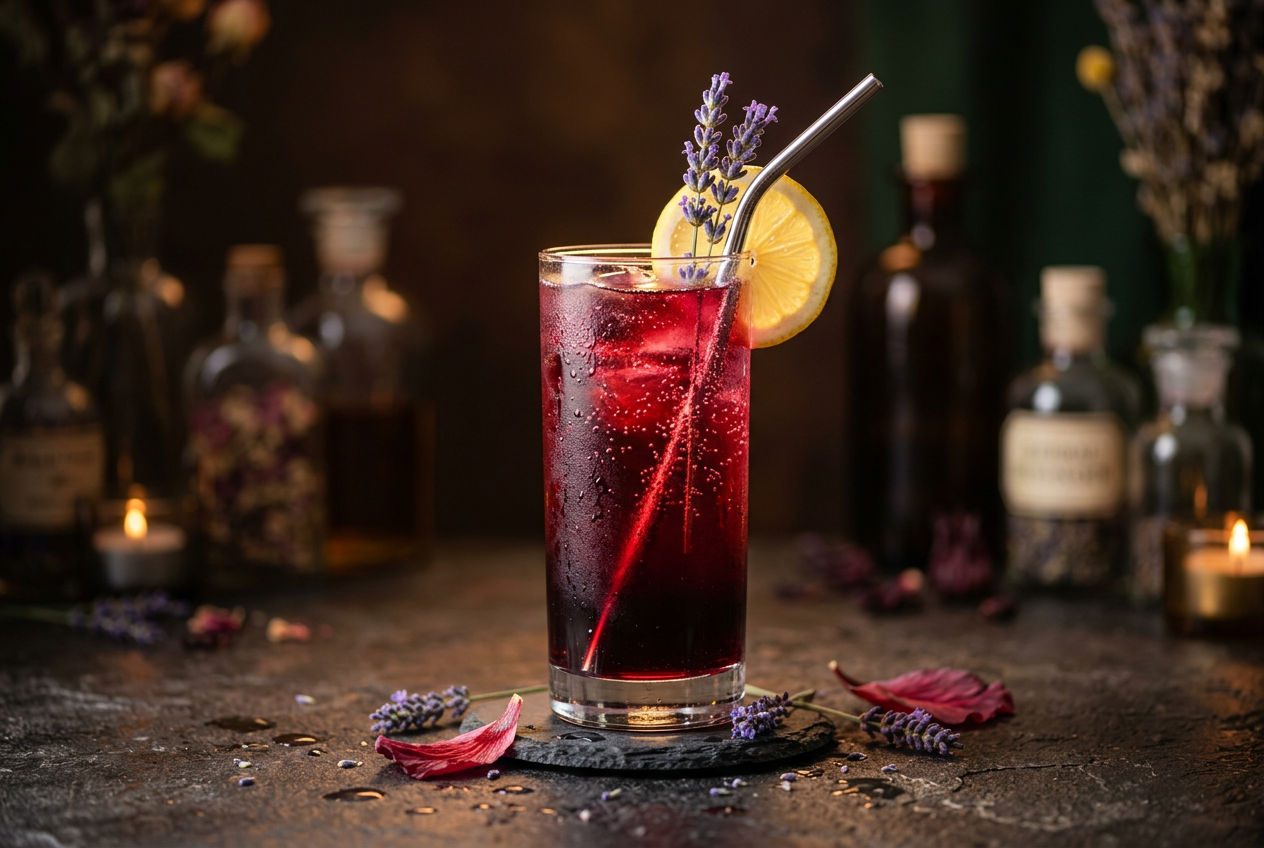
St. John’s Wort flowers create a stunning deep red oil through a slow solar infusion. This oil is prized for nerve pain, bruising, and mild burns. The color alone makes it one of the most beautiful preparations in any herbalist’s collection.
Arnica flowers are a classic choice for muscle soreness, bruising, and joint discomfort. Use arnica on intact skin only and never on open wounds or broken skin.
Rose petals create a gentle, skin-softening salve suitable for sensitive and mature skin. Combine with calendula for a luxurious facial balm.
Connecting Salves to Your Botanical Drink Practice
If you already make herbal teas, tinctures, or botanical beverages, you will find that salve-making draws on the same fundamental skills. Both practices ask you to slow down, pay attention to your ingredients, and work with intention.
Many of the same herbs that star in your drinks also shine in salves. Calendula, chamomile, lavender, and lemon balm all translate beautifully between liquid preparations and topical ones. When you harvest or purchase herbs for your kitchen apothecary, consider setting some aside for topical use as well.
The most rewarding path in herbalism is one that integrates all dimensions of plant wellness, what you drink, what you apply to your skin, and the knowledge that connects them. Your first salve is simply the beginning of that journey.