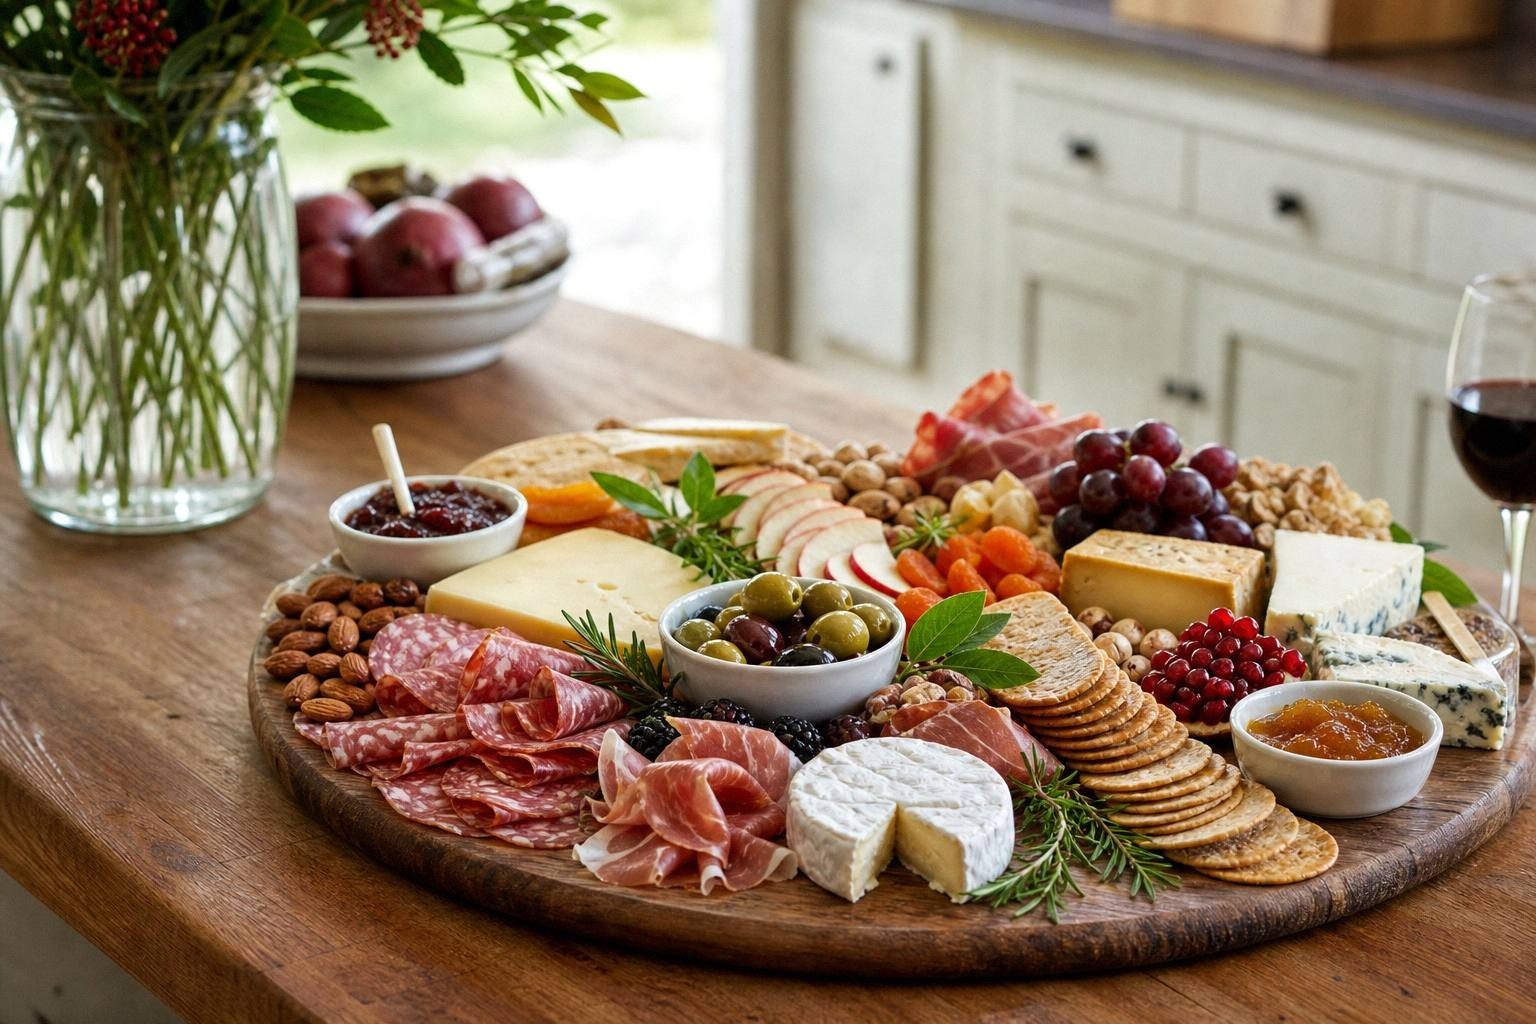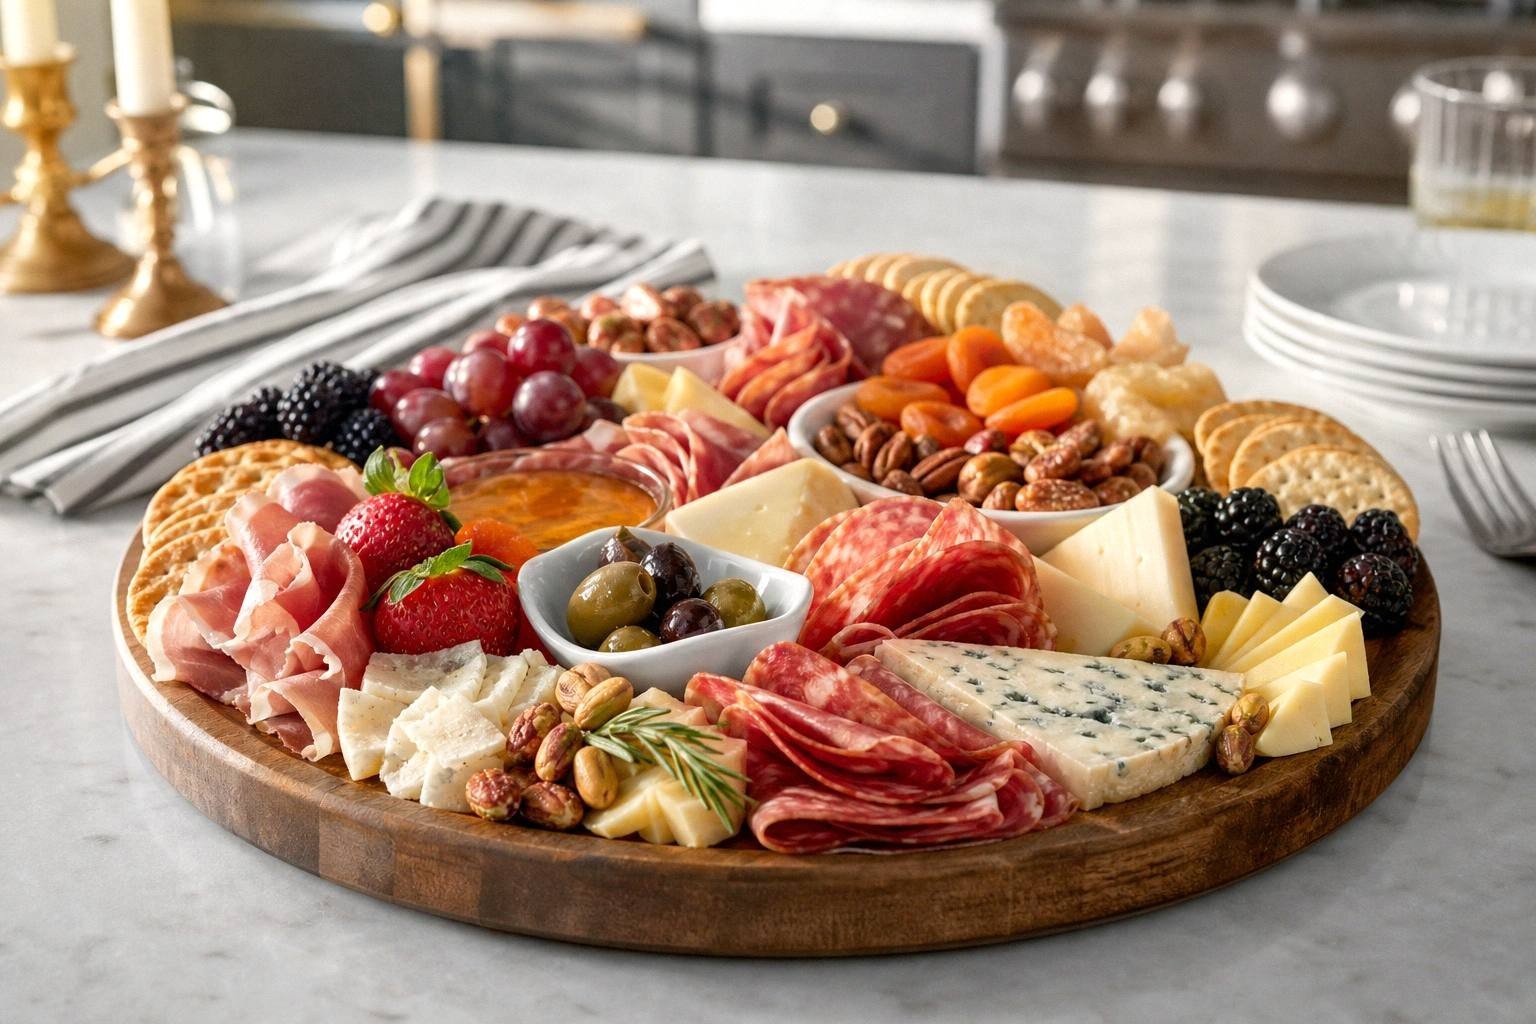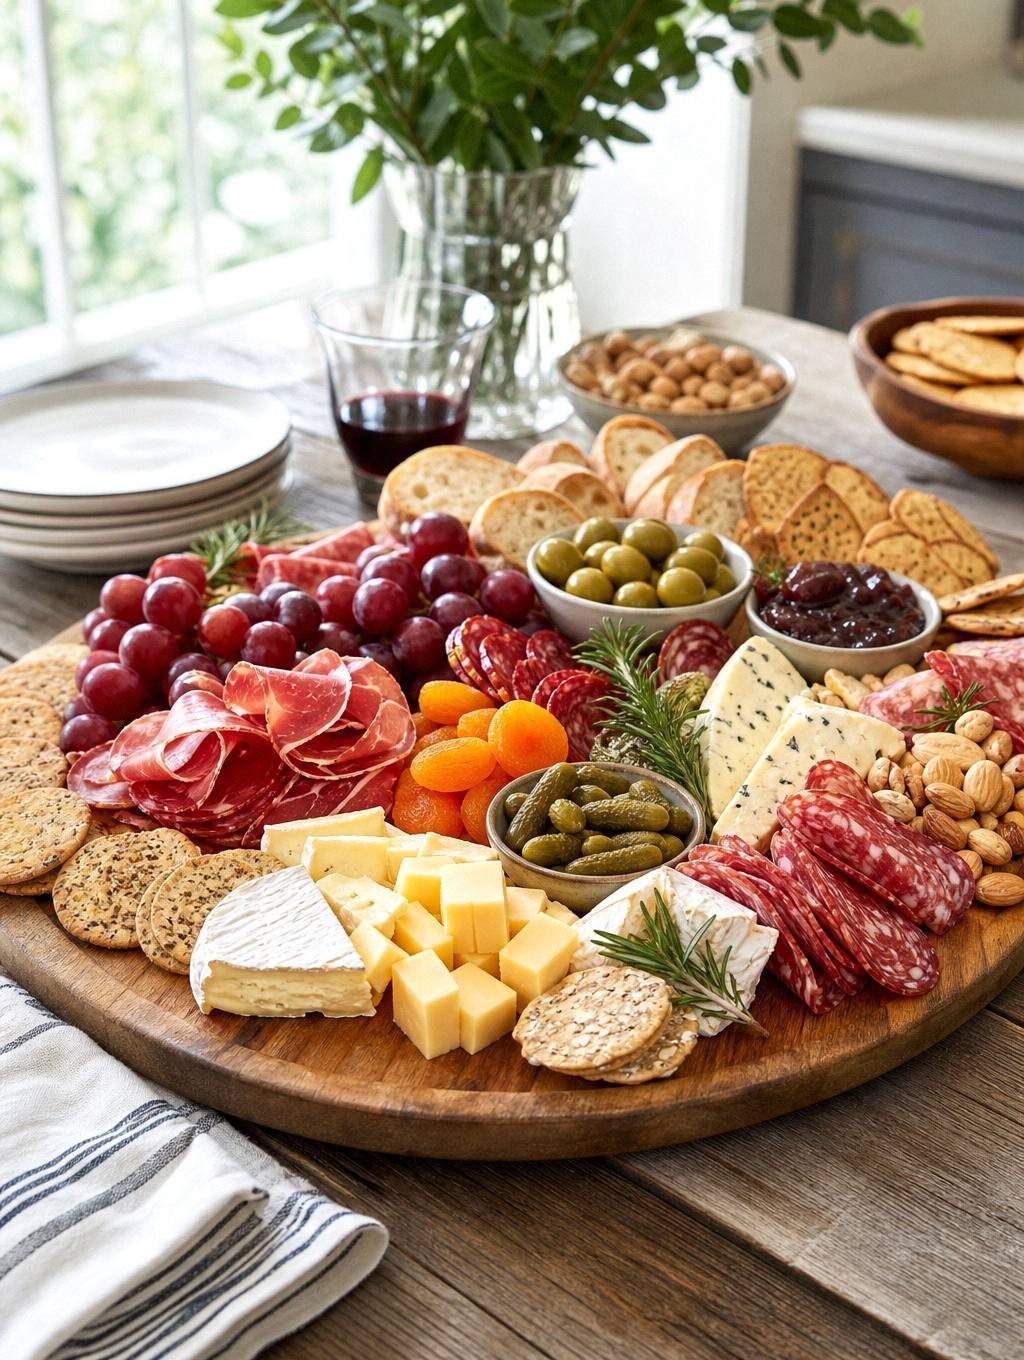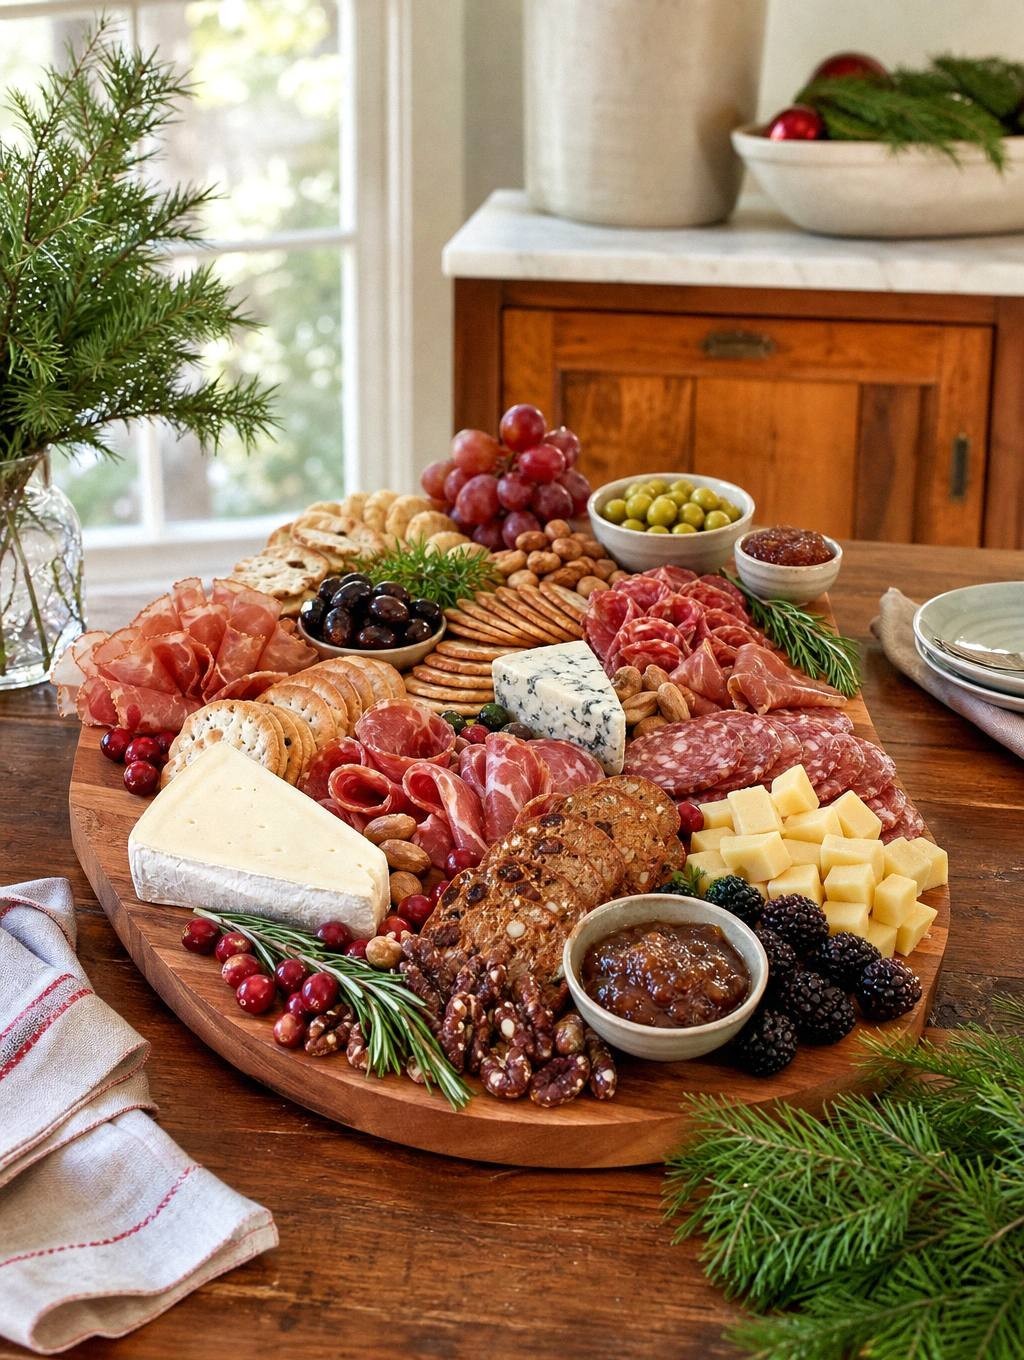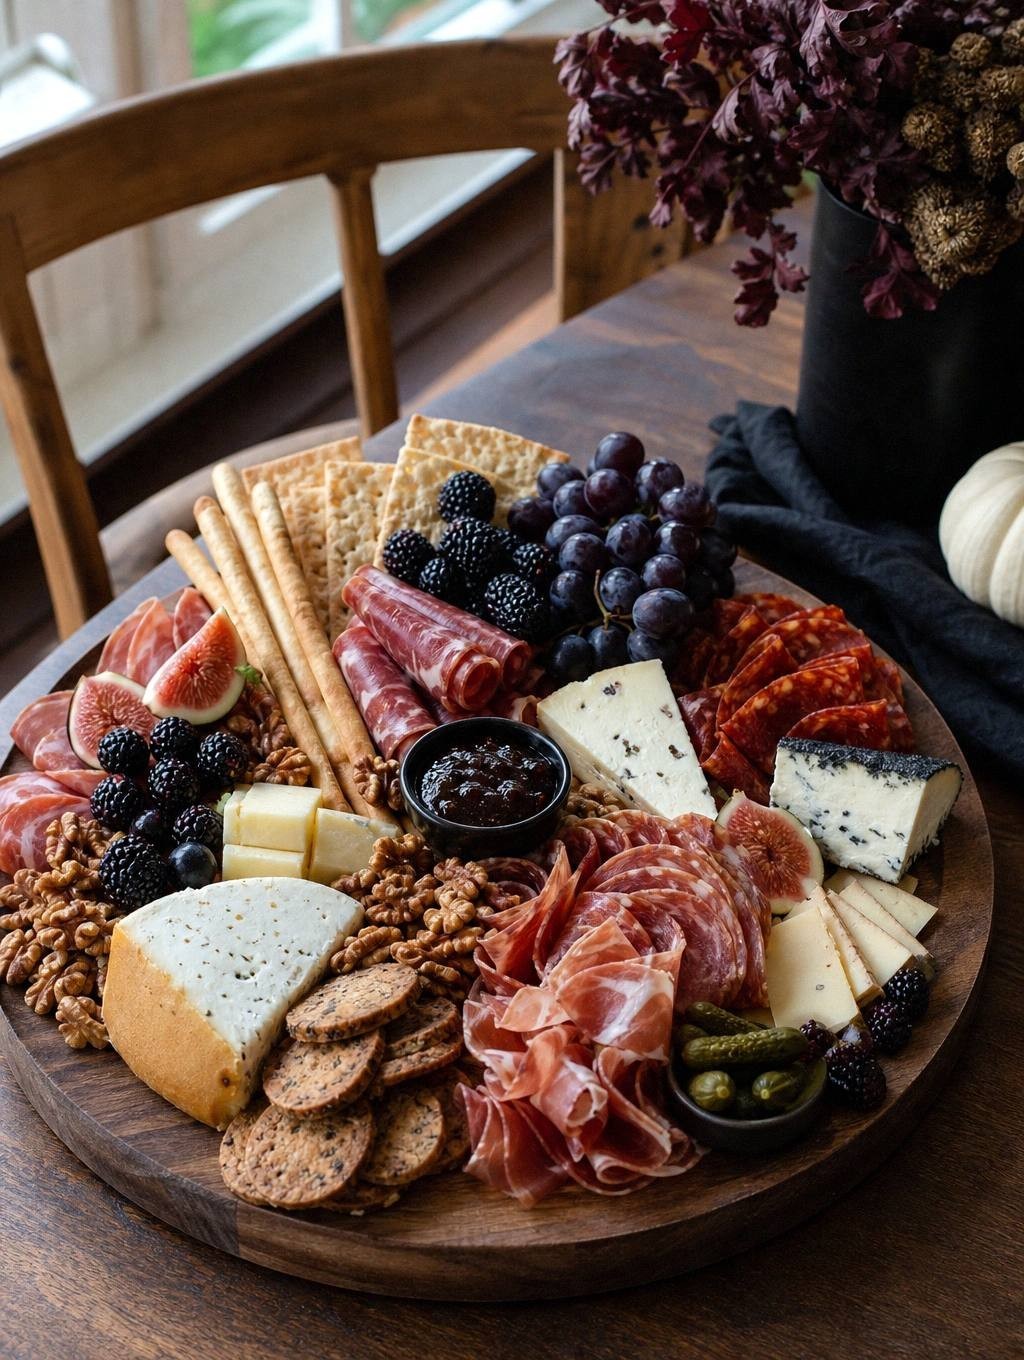
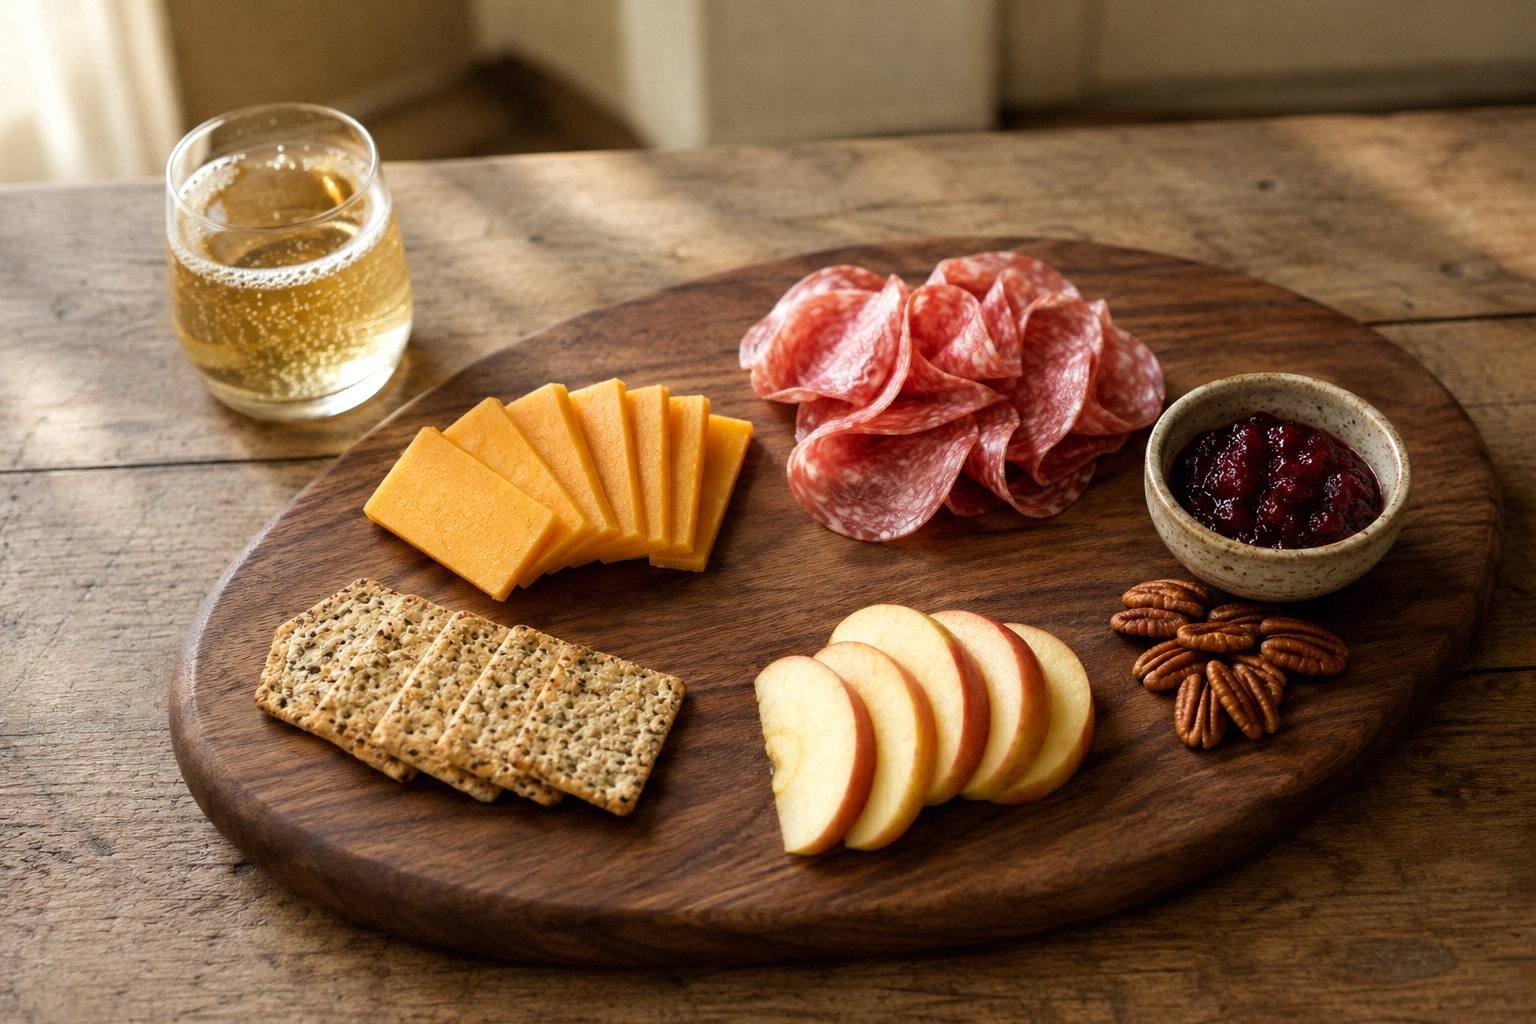
A charcuterie board is easiest to serve when each food has a clear place and guests can reach it without moving everything else. For twelve people eating it as an appetizer, start with three cheeses, two cured meats, fruit, something pickled, nuts, and crackers. The quantities below are a planning example; adjust for your menu and guests.
What Makes a Great Charcuterie Board
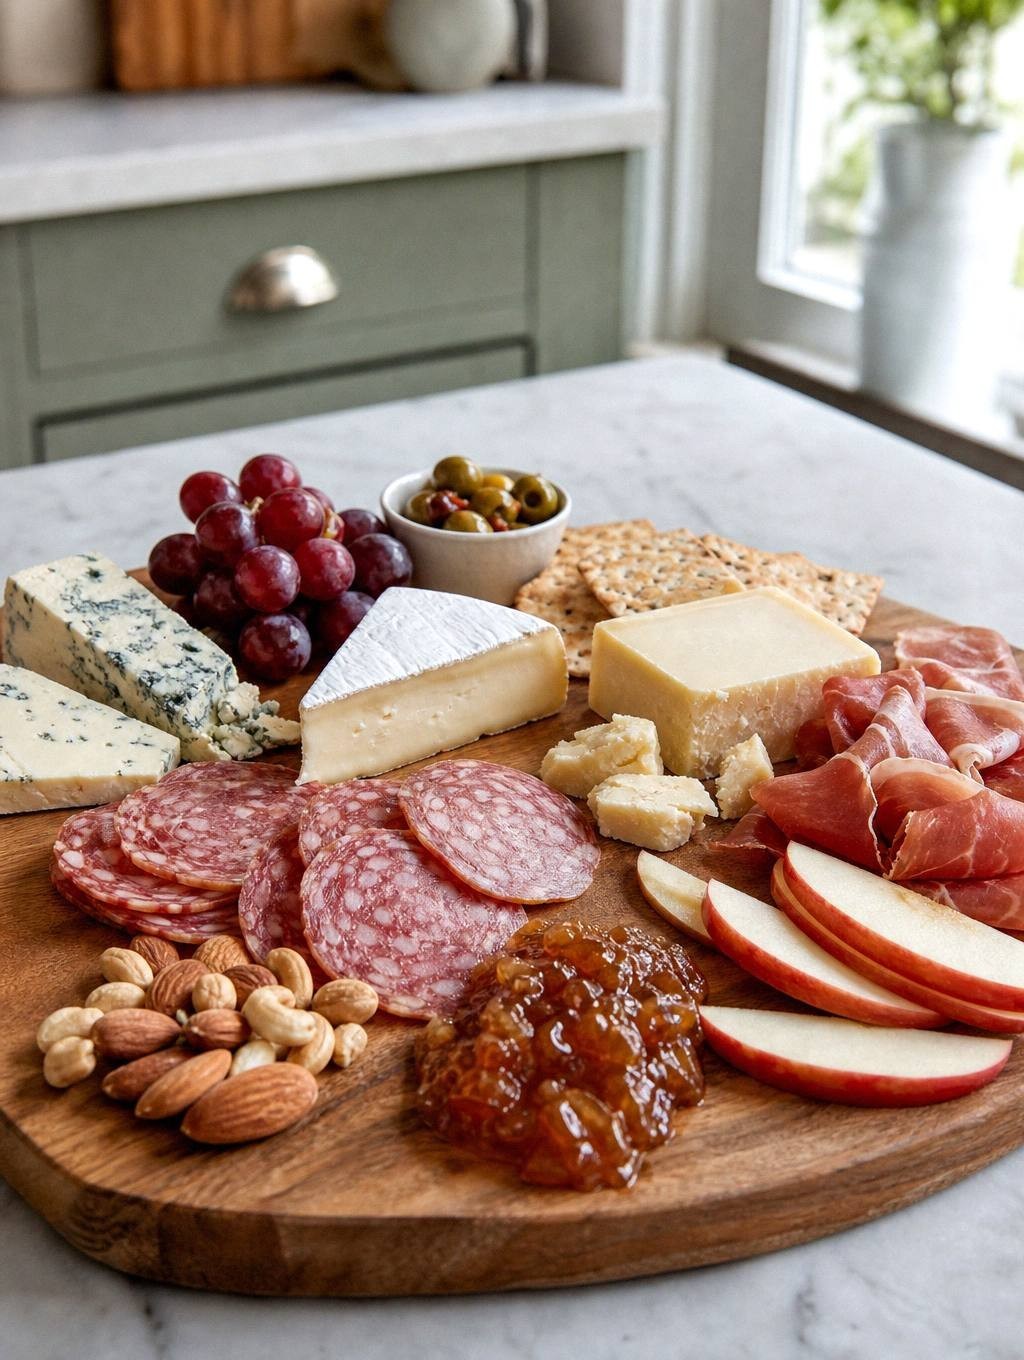
Choose one soft cheese, one firm cheese, and one tangy or fresh cheese. Add two meats and a mix of sweet, salty, and acidic accompaniments. This gives guests enough choice without filling every inch of the board.
Leave visible board surface between food groups. Put wet olives and spreads in small bowls, keep crackers away from juicy fruit, and place a utensil beside each soft cheese or condiment.
Room temperature brings out the best in both cheese and cured meats. Pull everything from the refrigerator thirty minutes before guests arrive so the flavors open up and the textures soften. Cold cheese tastes muted and tears when sliced, while room-temperature brie spreads easily and aged cheddar releases its full sharpness.
Set out modest portions and replenish from the refrigerator. FoodSafety.gov advises refrigerating perishable foods within two hours, or within one hour above 90°F. Count the thirty-minute warm-up as part of that time.
Which Cheeses to Buy for a Beginner Charcuterie Board
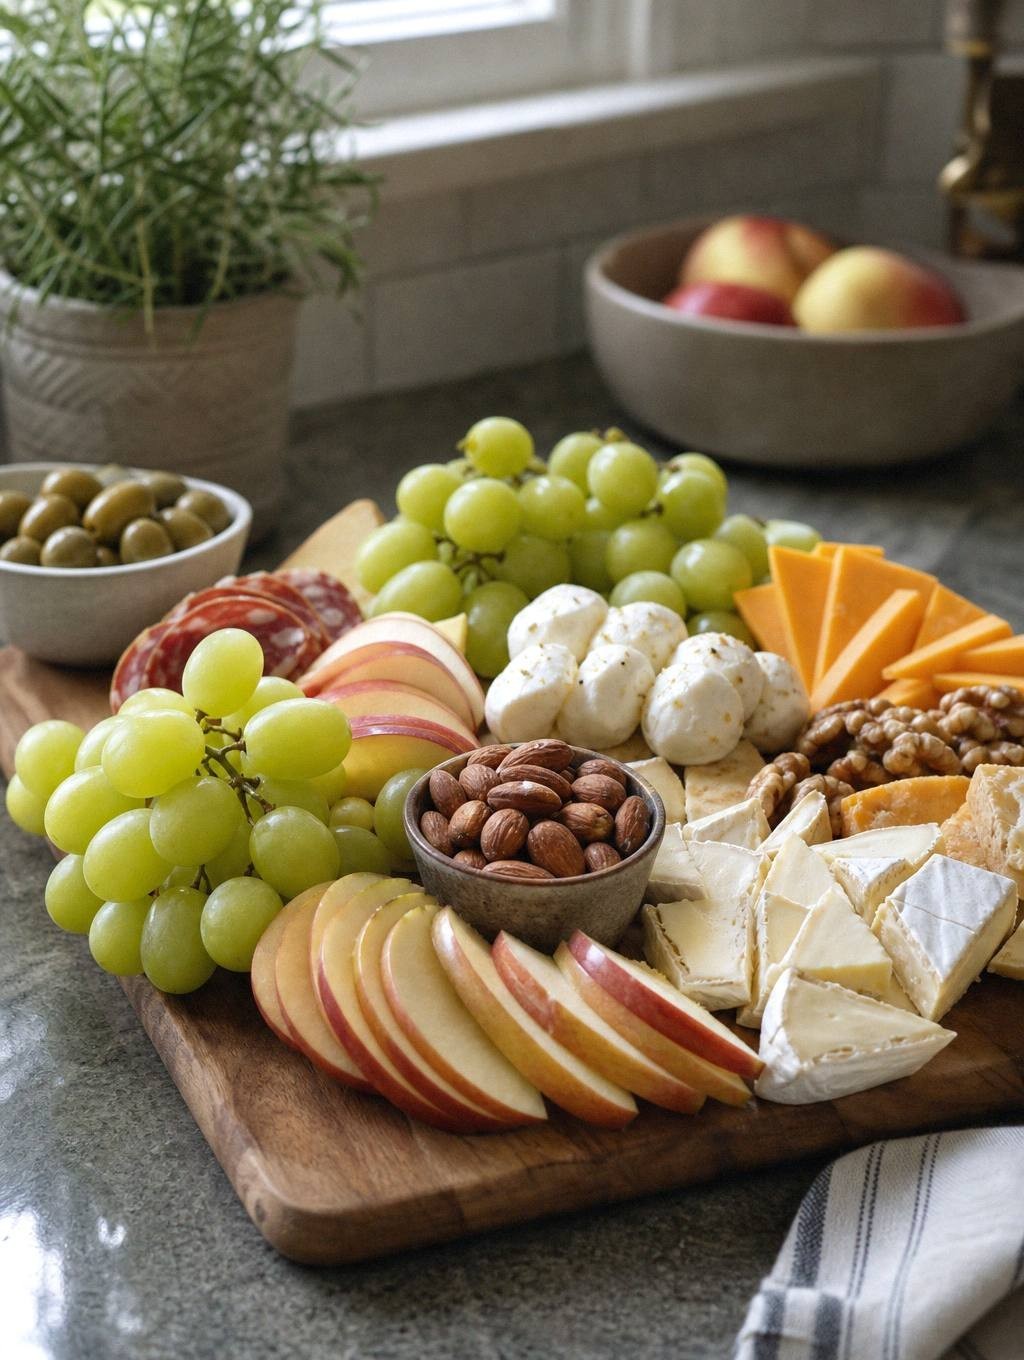
Start with one cheese from each texture category to give guests a range of options:
- Soft spreadable: Brie or triple cream offers buttery richness that pairs well with honey, fruit preserves, or nuts. Cut a few starter wedges so guests know it’s meant to be spread.
- Semi-firm sliceable: Manchego or white cheddar should be pre-sliced into thin pieces or diced into cubes for easy serving. Manchego brings nutty sweetness, while aged cheddar adds sharpness.
- Crumbly or fresh: Goat cheese or marinated mozzarella balls add mild creamy notes and visual brightness to the board.
Which Cured Meats to Buy and How to Arrange Them
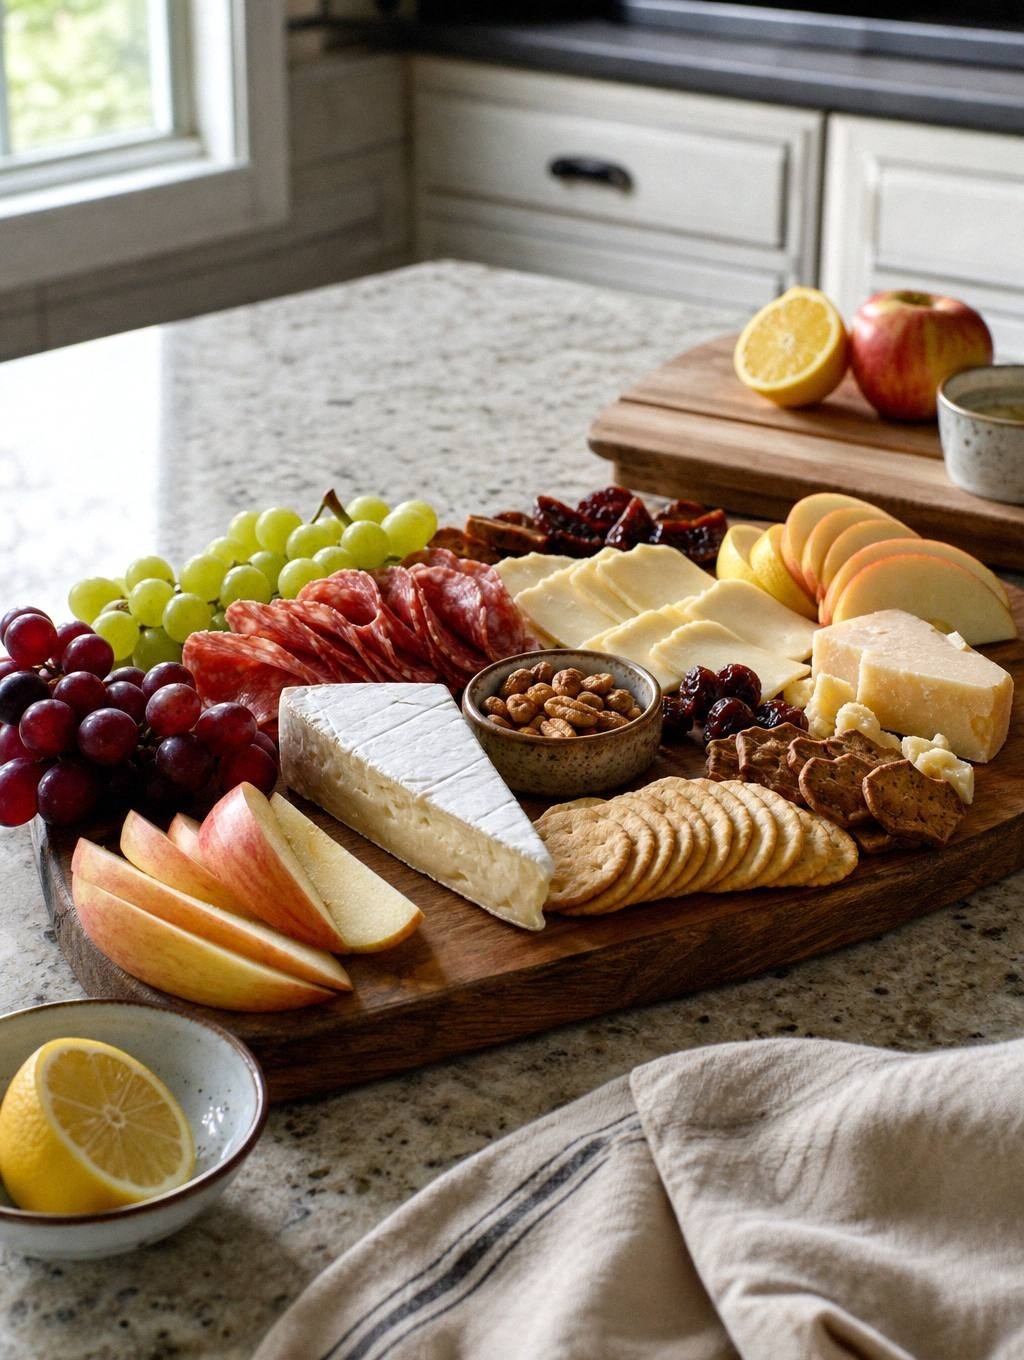
Two to three types of cured meat give enough variety without crowding the cheese. Salami, prosciutto, and coppa or chorizo cover a range from mild and fatty to spiced and lean. Salami slices can be folded into quarters or rolled into loose cylinders, while prosciutto drapes in soft waves that add height and movement to the arrangement.
Folding techniques turn flat slices into three-dimensional elements. For salami, fold each slice in half, then in half again to create a small triangle that stands on its edge. Prosciutto works best gathered into loose ribbons or folded into a simple rectangle that shows off its marbling. Coppa and chorizo, which are often firmer, can be rolled into tight cylinders or fanned out in overlapping rows.
Place meats near cheeses they complement. Prosciutto’s delicate saltiness pairs with creamy brie or fresh mozzarella, while spicier chorizo balances the richness of aged cheddar. Arrange meats in clusters rather than scattering them evenly, which creates visual interest and makes it easier for guests to see what’s available.
Fruits, Nuts, and Accompaniments
Fresh fruit adds sweetness and acidity that cuts through rich cheeses and fatty meats. Grapes work with nearly every cheese, especially when clustered near mozzarella or hard aged varieties. Sliced apples pair naturally with cheddar and brie, though they should be cut just before serving or tossed with a little lemon juice to prevent browning. Berries bring color and a tart note that complements goat cheese.
Nuts and dried fruits fill gaps and add textural contrast. Pecans, walnuts, and pistachios sit well next to soft cheeses, where their crunch balances creamy textures. Dried apricots, figs, or cranberries offer concentrated sweetness that pairs with sharp or salty elements, and their chewy texture contrasts with crisp crackers.
Pickled items and olives provide the acidic punch that keeps a board from feeling heavy. Stuffed green olives, kalamata olives, cornichons, and pickled vegetables go into small bowls or ramekins so their brine doesn’t run onto the board. Place these near meats and aged cheeses, where their sharpness cuts through fat and salt.
Charcuterie Shopping List for 12 Appetizer Portions
- 8 oz brie or another soft cheese
- 8 oz manchego or aged cheddar, sliced
- 8 oz goat cheese or fresh mozzarella
- 8 oz salami
- 6 oz prosciutto or another cured meat
- 1 small bowl of olives or cornichons
- 2 cups grapes, washed and dried
- 1 to 2 cups berries or sliced apple
- 1 small bowl of nuts, with the allergen clearly labeled
- 1 small jar of honey or fruit spread with its own spoon
- About 8 oz of crackers, with extras nearby for refills
This is a starting amount, not an exact yield. Keep extra crackers off the board until needed so they stay crisp, and scale up if this is the meal rather than an appetizer.
Instructions
- Arrange the cheeses around the serving board. Slice hard cheeses ahead so guests can serve themselves easily, and cut a few wedges from the brie to invite people to start.
- Fold the meats in different patterns and arrange them on the board.
- Add pickled items next. Anything that needs a small dish, like pickles and olives, goes on now so you can see how much space you have left.
- Place condiments and spreads next to the cheeses they go well with, like honey beside brie. Keep condiments in their own jars and small bowls to keep the board tidy.
- Arrange the fresh fruit next to cheeses they pair well with. Slice the apples, cut grapes into small clusters, and rinse and pat the berries dry before setting them out.
- Add nuts and any extras. Pecans, walnuts, and pistachios go nicely next to brie or other soft cheeses. Chocolate is a good addition too, since it tastes wonderful with cheese.
- Add a small amount of crackers just before serving and keep the rest in a separate shallow bowl for refills.
Building Your Board Step by Step
Start with the largest items first so you can gauge your space. Cheeses go down before anything else because they take up the most room and serve as visual anchors. Place them in different sections of the board rather than clustering them together, which leaves room for everything else and makes the board look balanced from any angle.
Meats come next, folded or arranged in ways that add height and texture. Once the cheeses and meats are in place, add anything that needs a dish, like olives or spreads, so you know how much space remains. Fresh fruit and nuts fill the gaps last, tucked into empty spots to create a full, abundant look without crowding.
Leave a little breathing room between elements so the board doesn’t look chaotic. Guests should be able to see what’s available and reach for items without disturbing the whole arrangement. If the board feels too full, move some crackers to a separate plate rather than piling them on top of other ingredients.
Common Mistakes and How to Fix Them
- Cold cheese that won’t spread or tastes flat: Pull everything from the refrigerator thirty minutes before serving so flavors open up and textures soften.
- Apples that turn brown before guests arrive: Slice them just before serving or toss with a small amount of lemon juice to slow oxidation.
- A board that looks bare in some areas and crowded in others: Distribute colors and textures evenly, using odd-number groupings of fruits and nuts to fill gaps naturally.
- Meats that lie flat and look uninteresting: Fold salami into quarters, drape prosciutto in ribbons, and roll firmer meats into cylinders to add height and dimension.
- Guests who don’t know where to start: Pre-slice hard cheeses, cut starter wedges from soft cheeses, and place small knives or spreaders next to items that need them.
Frequently Asked Questions
Can I make a charcuterie board ahead of time?
Assemble the board up to two hours before guests arrive, cover it loosely with plastic wrap, and refrigerate. Pull it out thirty minutes before serving so the cheese and meats come to room temperature. Add fresh fruit just before serving to keep it from browning or releasing moisture.
How much do I need per person?
Plan for about two ounces of cheese and one to two ounces of meat per person if the board is an appetizer. For a main course or the centerpiece of a party, increase those amounts based on what else you are serving. The example list above provides twenty-four ounces of cheese and fourteen ounces of meat for twelve appetizer portions.
What board or surface should I use?
A wooden cutting board, slate slab, or large ceramic platter all work well. Choose something at least twelve inches across for a small gathering, or go larger for a crowd. The surface should be flat and stable, with enough room to arrange items without stacking them too high.
Can I make a charcuterie board without meat?
A cheese-focused board works beautifully with a wider variety of cheeses, extra fruits, nuts, and spreads like hummus or tapenade. Add marinated vegetables, roasted red peppers, or artichoke hearts for savory elements that replace the richness of cured meats.