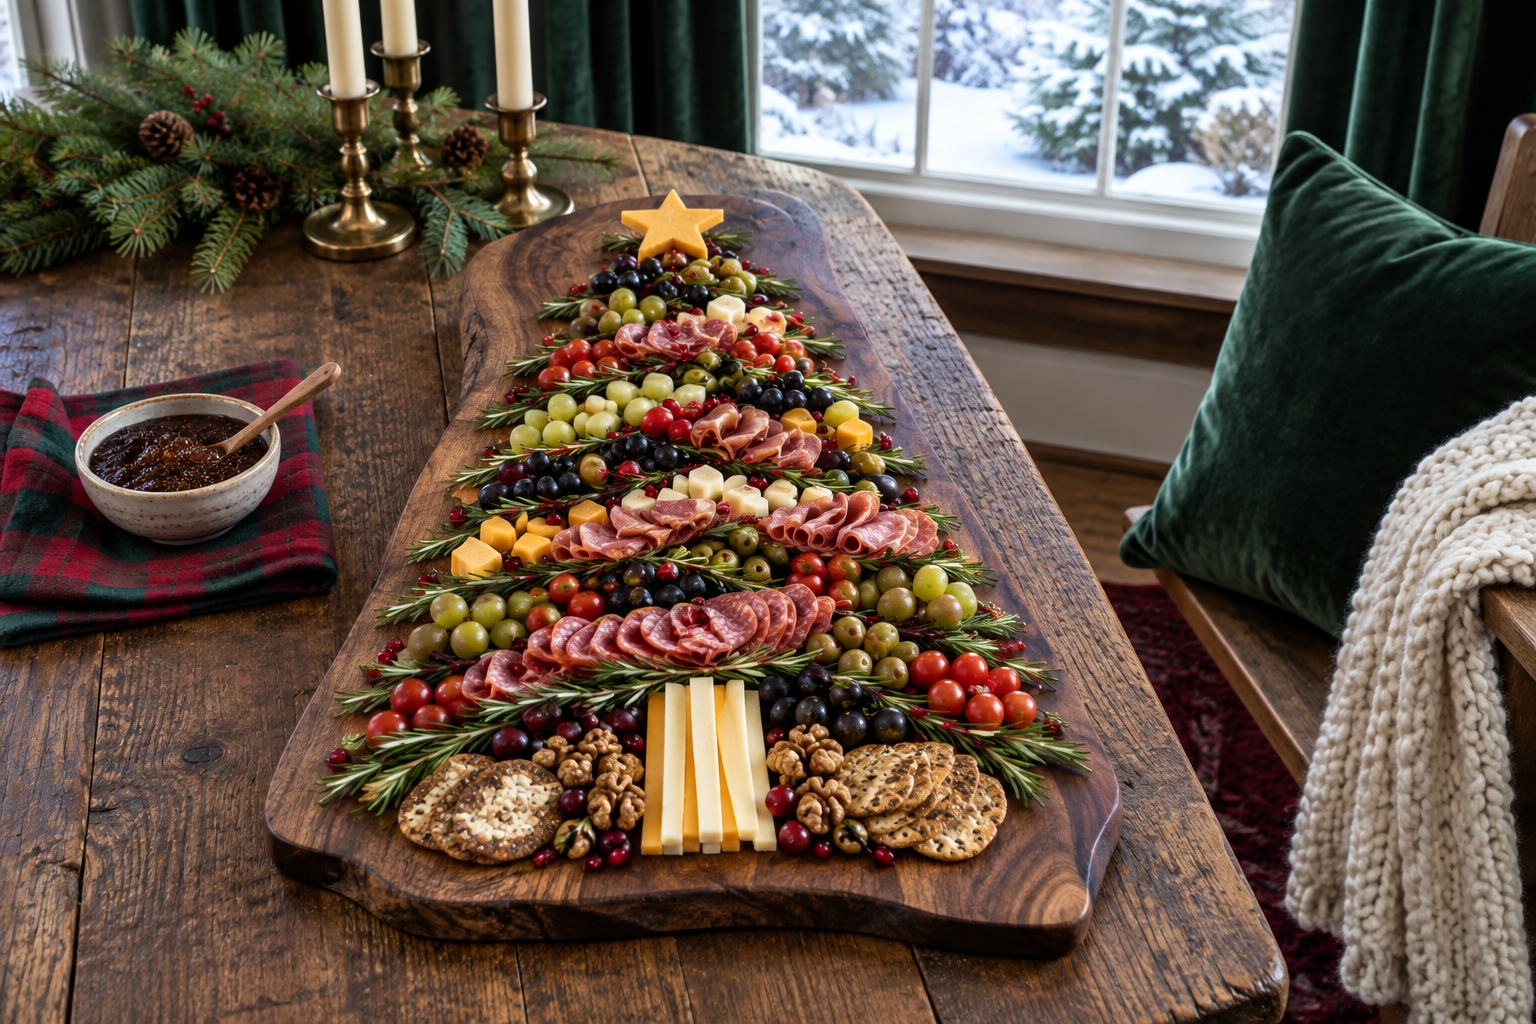
A Christmas tree charcuterie board turns meats, cheeses, fruits, and crackers into a festive centerpiece that guests can graze on all evening. The trick is building the tree shape from the top down, starting with a star and widening each row as you work toward the trunk. This guide walks through the assembly technique, ingredient choices, and make-ahead timing so you can pull together a board that looks impressive without spending the whole party in the kitchen.
Why the Tree Shape Works
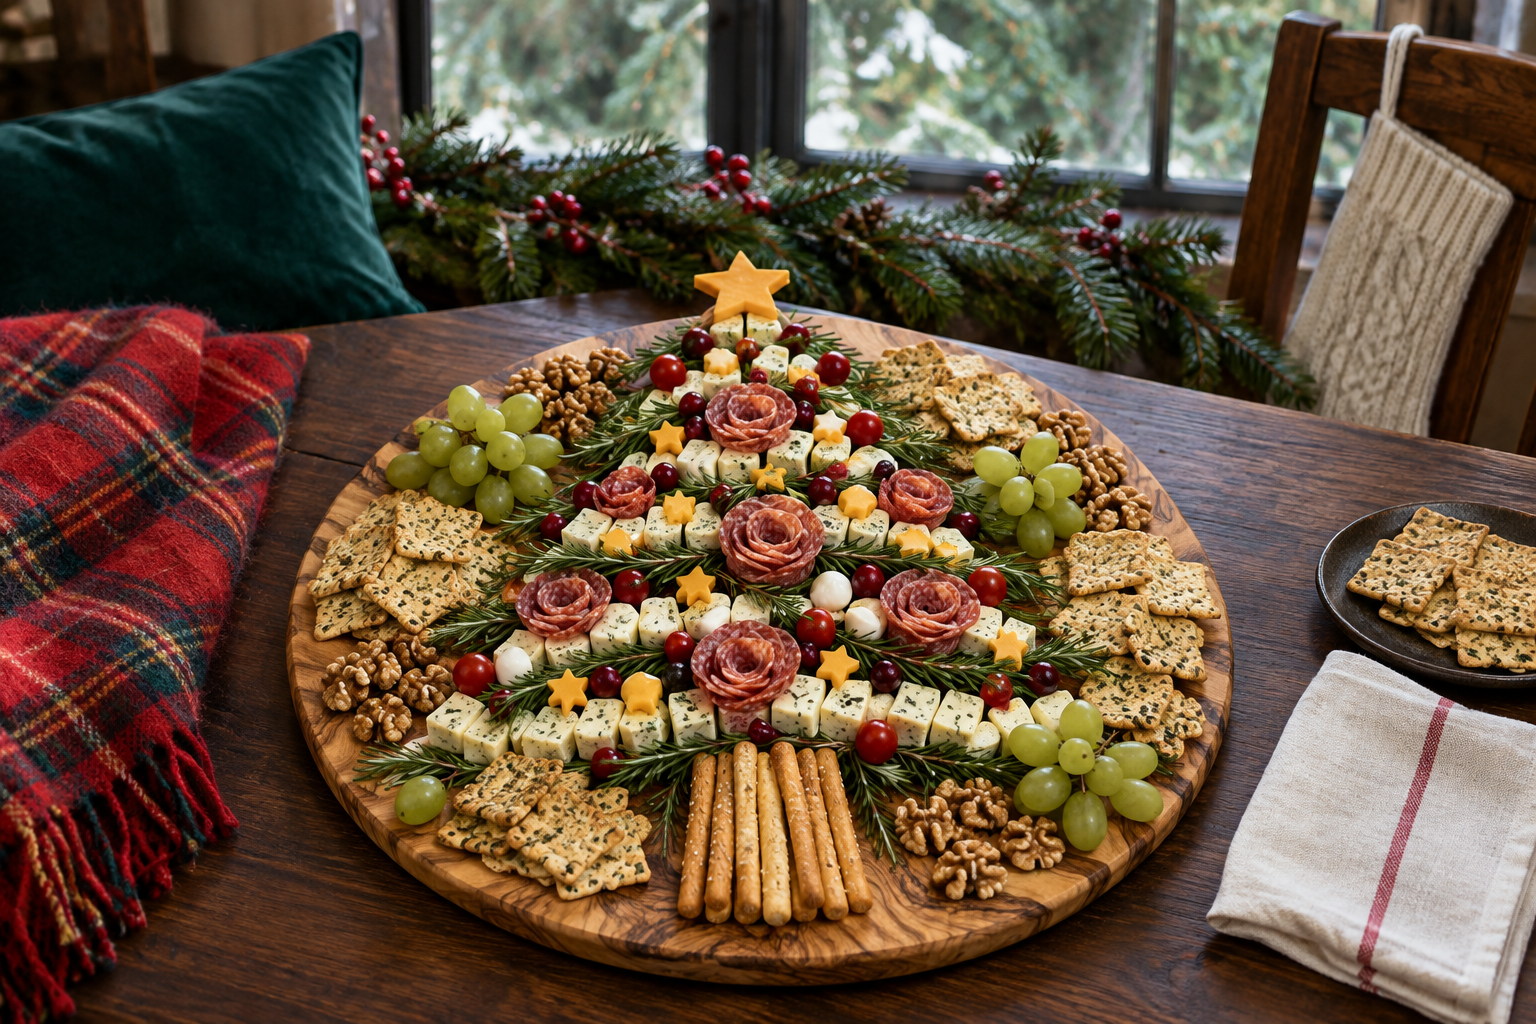
The Christmas tree layout solves the biggest problem with holiday charcuterie : making a large spread look intentional instead of crowded. Starting with a star at the top and building downward in widening rows gives you a clear structure to follow, so you’re not guessing where the next slice of salami should go. Each row gets a little wider, and the pretzel stick trunk at the bottom anchors the whole design.
The shape also lets you layer textures and colors in a way that reads as festive without requiring any special skills. Rosemary sprigs tucked between rows look like pine branches, and pomegranate arils scattered across the board catch the light like ornaments. The tree naturally guides guests’ hands from the top down, so the board gets eaten evenly instead of leaving one corner untouched.
What to Buy
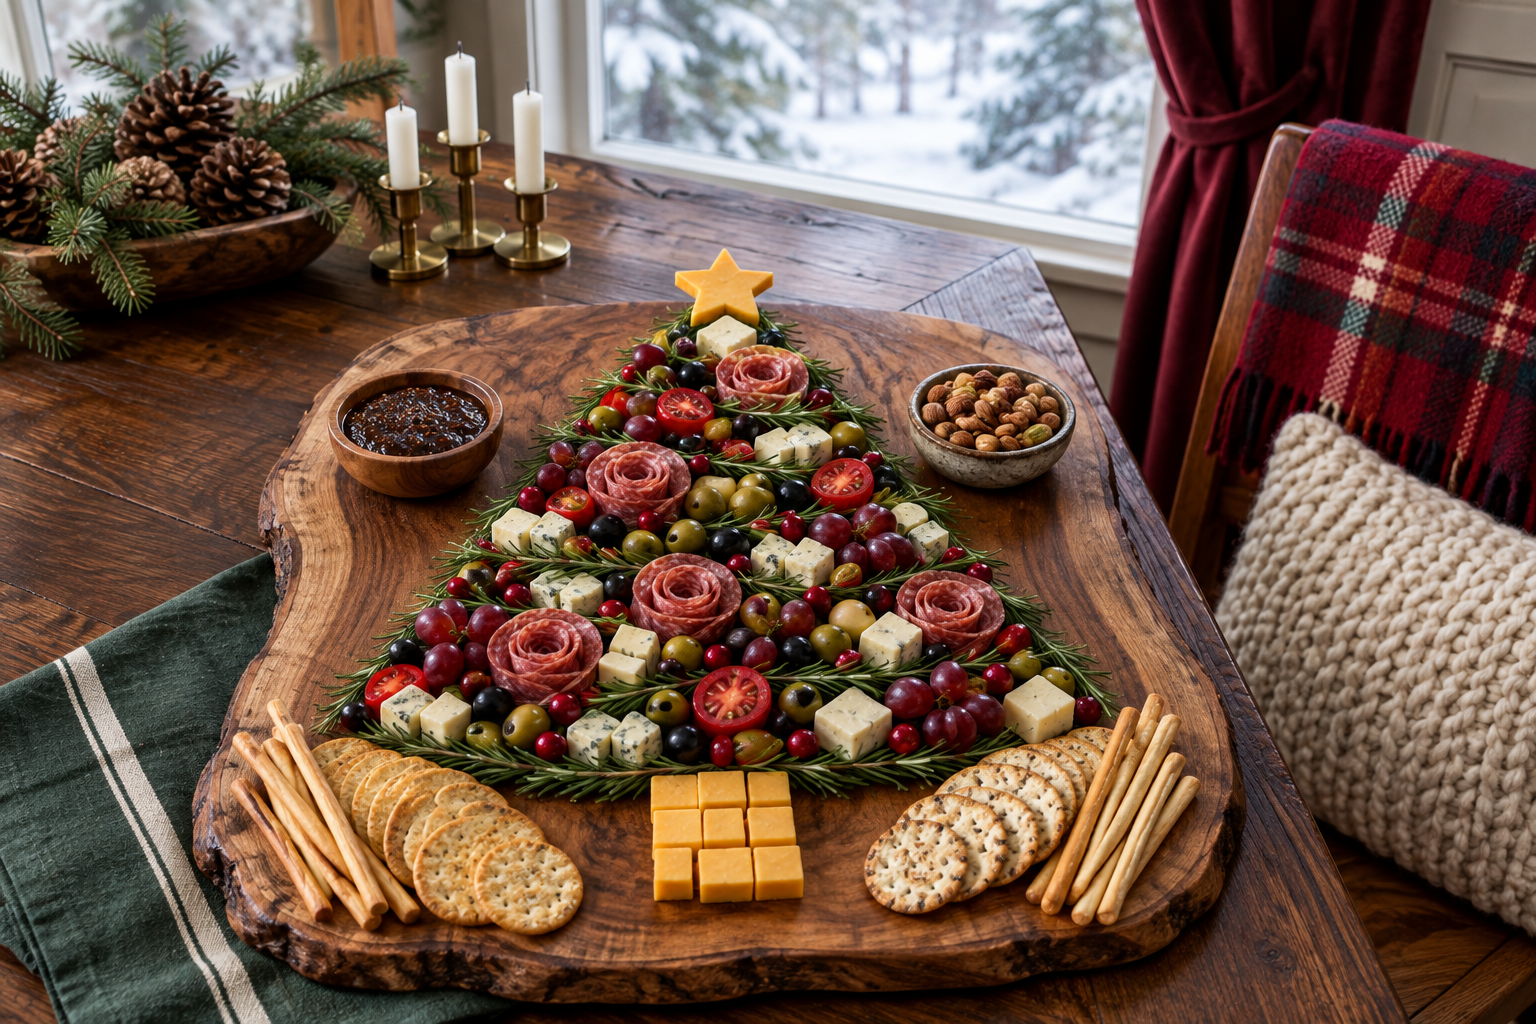
Choose ingredients that hold their shape at room temperature and offer a mix of salty, creamy, sweet, and crunchy. The list below covers a standard board for eight people, but you can scale up or down depending on your crowd.
- Cheeses: White cheddar cubes, Gruyère triangles, mini Brie rounds, and cheddar sticks for the trunk. Look for cheeses with different textures so the board doesn’t feel one-note.
- Meats: Prosciutto slices and salami rounds. Prosciutto drapes well and salami can be folded into roses or half-moons for visual interest.
- Crackers and bread: Sourdough flatbread bites or crostini. Toast crostini at 450°F for six to nine minutes if you’re making them yourself.
- Fruits: Green grapes, dried cranberries, and pomegranate arils. Fresh fruit adds moisture and color without making the board soggy.
- Nuts: Honey-roasted cashews or pecans. They fill gaps and give guests something crunchy to reach for.
- Garnishes: Fresh rosemary sprigs and a small jar of sour cherry jam. Rosemary mimics pine branches, and the jam gives guests a sweet option to pair with cheese.
- Trunk: Cheddar cheese sticks or pretzel rods. Stack them at the bottom to create the tree trunk.
- Star topper: A slice of cheese cut with a star-shaped cookie cutter, about one and a quarter to one and a half inches across.
How to Assemble the Tree
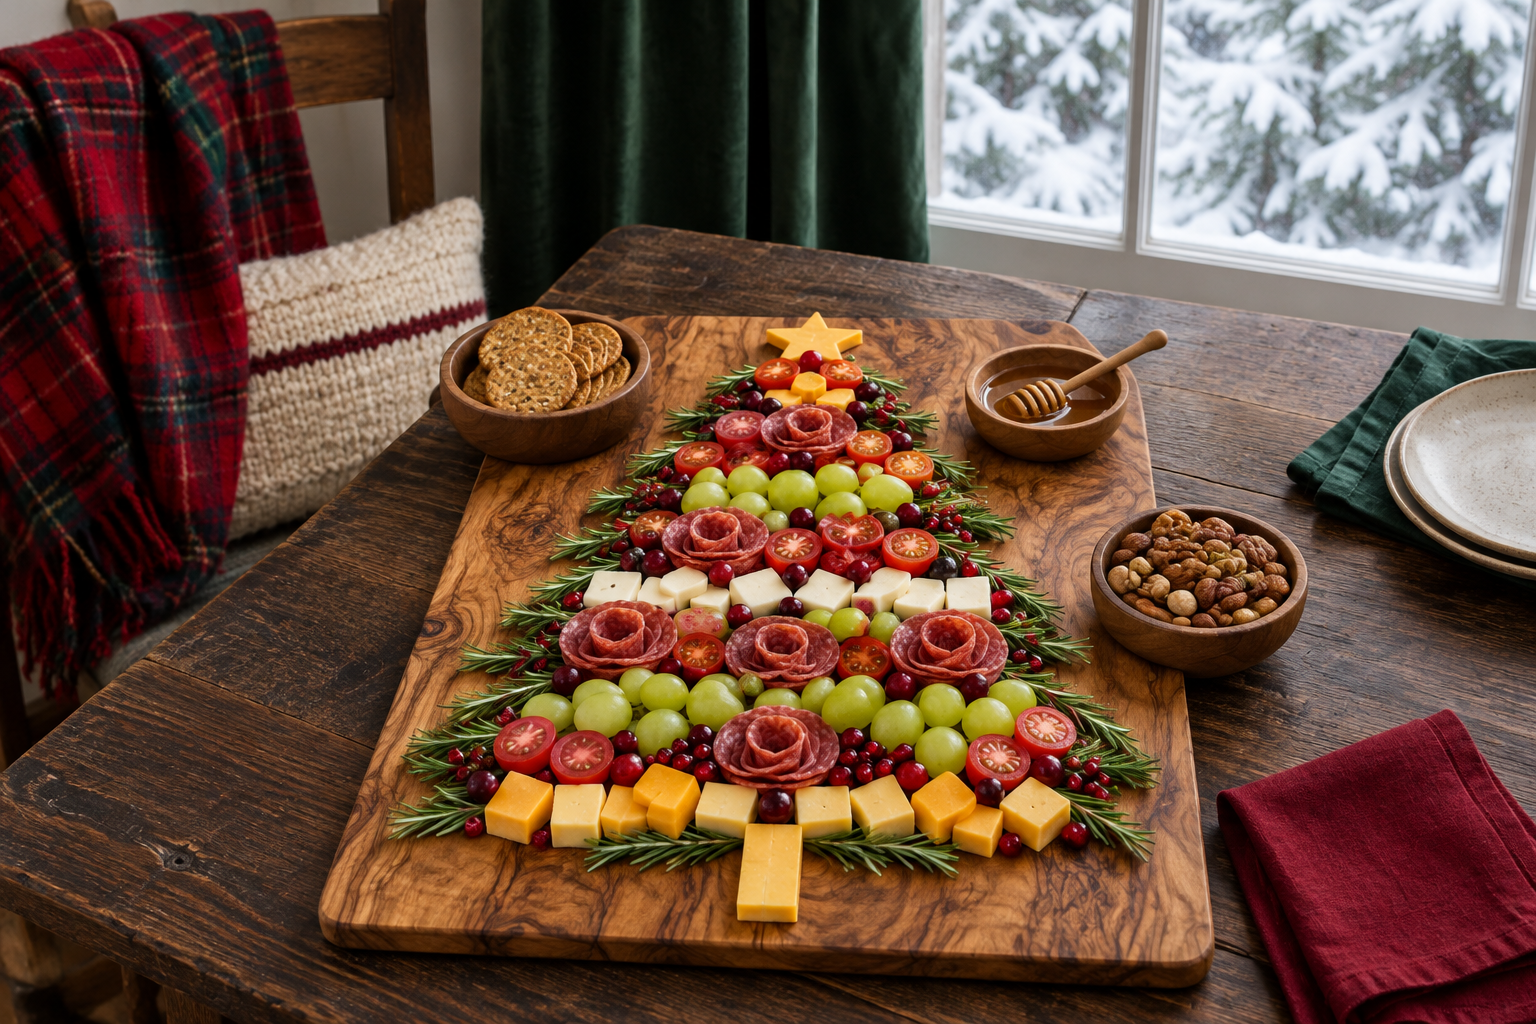
Start with a large cutting board or platter, at least 24 inches long if you’re serving eight people. If you’re feeding a bigger crowd, consider using butcher paper or grazing table paper spread across a counter so you have room to build a wider tree.
Build the Trunk First
Arrange cheddar cheese sticks at the bottom center of the board, stacking them on top of each other to create the trunk. If you’re using pretzel rods instead, lay them side by side in a short vertical line. The trunk should be about three to four inches tall and centered so you have equal space on both sides for the tree branches.
Place the Star at the Top
Cut a slice of white cheddar or Gruyère with a star-shaped cookie cutter and place it at the top of the board, above where the tree will start. This is your anchor point. Everything else builds downward from here.
Fan Out the First Row
Cut Gruyère into right triangles about two and a half to three inches long, then slice each triangle into quarter-inch-thick pieces. You’ll need 24 slices total. Take four slices and fan them out with the pointed ends facing left, just below the star. Repeat on the right side with four more slices, pointed ends facing right. This first row should be narrow, just a few inches wide.
Widen Each Row as You Go Down
Add another row of fanned Gruyère slices below the first, but make this row slightly wider by spacing the slices farther apart or adding an extra slice on each side. Tuck a sprig of rosemary between the first and second rows so it looks like a pine branch peeking through. Continue building rows, widening each one as you move toward the trunk. The bottom row should be the widest, creating a classic Christmas tree silhouette.
Add Salami Roses and Folded Meat
Arrange salami rounds in a line, overlapping each one halfway over the previous slice. Use three rounds for a small rose or five for a larger one. Once you have a line of overlapping rounds, fold all the slices in half lengthwise so each round creates a half-moon shape. Tightly roll from one end to create the rose, pressing the roll together to hold its shape. If the rose won’t stay closed, secure it with a toothpick. Place the roses between rows of cheese or at the outer edges of the tree.
For prosciutto, fold each slice into quarters and tuck them into gaps between cheese slices. You can also drape full slices across sections of the tree for a softer texture.
Fill Gaps with Fruits, Nuts, and Crackers
Scatter green grapes, dried cranberries, and honey -roasted cashews in the spaces between cheese and meat. Add pomegranate arils in a curved line across the tree to mimic a garland. Tuck sourdough flatbread bites or crostini around the edges of the board so guests can grab them without disturbing the tree shape.
Finish with Garnishes
Tuck additional rosemary sprigs between rows to reinforce the pine branch effect. Place mini Brie rounds at intervals across the tree like ornaments. If you have leftover cheese scraps from cutting the star, use a small cookie cutter to cut them into ornament shapes and scatter them across the board. Add a small bowl of sour cherry jam near the trunk so guests can spoon it onto cheese or crackers.
Make-Ahead Timing
You can assemble the entire board up to 24 hours before serving. Cover it tightly with plastic wrap and refrigerate. The cheese and meat will stay fresh, and the crackers won’t go stale as long as they’re not touching anything wet.
Take the board out of the fridge one hour before guests arrive. Cheese tastes better at room temperature, and the flavors will be more pronounced after the chill wears off. If you’re worried about the board sitting out too long, keep it refrigerated until 30 minutes before serving, then bring it to the table.
Common Problems and How to Fix Them
- The tree shape looks lopsided: Measure the width of each row before you start placing ingredients. Use a ruler or your hand as a guide to make sure each row is centered and symmetrical.
- Salami roses won’t hold their shape: Use a toothpick to secure the roll, or fold the salami slices in half and stack them instead of rolling them. Half-moon stacks are easier to manage and still look decorative.
- The board looks too crowded: Leave small gaps between ingredients so each element stands out. If the board feels packed, move some items to a separate small plate nearby.
- Crackers get soggy: Keep crackers and bread away from wet ingredients like grapes and jam. Place them around the outer edges of the board or serve them in a separate basket.
- The cheese is too cold to taste: Let the board sit at room temperature for a full hour before serving. Cold cheese has muted flavors, and guests will notice the difference.
- Guests don’t know where to start: Place small cheese knives or toothpicks near the star and trunk so people know they can dig in. A small sign that says “Start at the top” can help if you’re worried about the tree getting demolished unevenly.
Ingredients
- 5 more cheddar cheese sticks, halved
- 1 (6-oz.) block of Gruyère
- 7 oz. (or more) cold salami rounds (about 2" in diameter)
- 6 mini rounds brie
- 1 1/2 tsp. (or more) sour cherry jam
- 1 (4-oz.) pkg. prosciutto slices
- 1 (4-oz.) box sourdough flatbread bites
- 8 oz. white cheddar, cut into 1" cubes
- Green grapes, rosemary sprigs, honey-roasted cashews, Castelvetralo olives, and dried cranberries, for decorating
- 1 1/4 " to 1 1/2" star cookie cutter
- Toothpicks
Instructions
- Set the cheese sticks on the bottom of a large cutting board, stacking them on top of each other to form the trunk.
- Cut the Gruyère into right triangles about 2 1/2" to 3" long. Slice the triangles 1/4" thick, you’ll need 24 total.
- Take 4 slices and fan them out with the pointed ends facing the left edge of the board. Do the same on the right edge. Repeat 4 more times facing different edges until you’ve created the outline of your tree.
- Set one salami round on the board, then place another about halfway over it, overlapping slightly. Keep going, using 3 total for small roses, 5 total for medium, and 7 for large, you’ll be making 3 sets of 3, for a total of 9 roses.
- Fold all the slices in half lengthwise so each round creates a half-moon shape.
- Roll tightly from one end to create the rose. Press the roll together gently to hold its shape. (Pro tip: Use a toothpick to hold the roses together and remove them once most of the other items are added to the board, that way, they’ll hold their shape.)
- Press the small star cutter gently on top of a brie round. Using a paring knife, help make cuts if needed, using the cookie cutter as a stencil. With the knife, peel off the rind to reveal a star indent, it should be shallow. (Be careful not to smush your mini brie. It’s best to do this when they’re cold and straight out of the fridge.)
- Using a small spoon, dollop a scant 1/4 tsp. in the center of the star (try to avoid jam chunks, if possible). With a toothpick, spread the jam carefully to fill the edges of the star in an even layer, adding more jam if needed.
- Cut a slice of prosciutto into thirds crosswise. Working one piece at a time, scrunch and pinch the piece from the bottom to let the edges bunch up at the top. Do the same with the remaining 2 pieces. Repeat the whole process until you have 6 bunches total. Gather all the bunches together, then pinch to form a larger horizontal bunch to make 1 set.
- Repeat to create 3 sets total (using 18 slices of prosciutto total).
- Set 3 mini brie stars on the top corner of the Gruyère slices pointing right. Set the remaining 3 stars on the bottom corner of the Gruyère slices facing left.
- Set a bunch of green grapes near the bottom of the top left Gruyère slices. Set another bunch on the bottom of the middle-right Gruyère slices. Set the last bunch on the top corner of the bottom left Gruyère slices, creating a zigzag pattern.
- Starting from the top left cheese slices, fan out the flatbread crackers (using 8 to 10) on their top right corner, then the mid-right, then the bottom left, using up the entire package.
- Starting near the top right group of cheese slices, set 1 small, 1 medium, and 1 large salami rose. Set the next set next to the left-center group of cheese, then the last near the bottom right group of cheese. Remove the toothpicks.
- Set a prosciutto bunch at the top-left of the tree next to the crackers. Set another under the mid-right brie star and next to the grapes. The last one should go left to the bottom right group of crackers and under the mid-left brie star.
- Set the cheddar in the empty spots down the middle of the tree. Fill any empty spots with olives and nuts.
- Set the rosemary sprigs to act as branches. Be sure to place 2 longer ones at the top to create an outline for the tree.
- Scatter a few dried cranberries on the cheddar and Gruyère.
- Scatter a few dried cranberries on the cheddar and Gruyère.
Frequently Asked Questions
Can I use a different cheese for the star?
Yes. Any firm cheese that holds its shape works. Aged gouda, white cheddar, or Gruyère all cut cleanly with a cookie cutter. Avoid soft cheeses like Brie or Camembert because they’ll squish when you press the cutter through.
What if I don’t have a star cookie cutter?
Cut a small triangle or diamond from a slice of cheese using a knife. The shape doesn’t have to be perfect. Guests will recognize it as the tree topper regardless of whether it’s a five-pointed star or a simple geometric shape.
How much meat and cheese do I need per person?
Plan for two ounces of meat and two ounces of cheese per person if the board is an appetizer. If it’s the main attraction, double that to four ounces of each. The recipe above serves eight as an appetizer.
Can I make this board gluten-free?
Yes. Swap the sourdough flatbread for gluten-free crackers, and use gluten-free pretzels for the trunk if you’re using pretzels instead of cheese sticks. Most whole milk cheeses don’t contain gluten, but check labels on low-fat versions because they sometimes use gluten-containing stabilizers.
What if I don’t have rosemary?
Eucalyptus sprigs work just as well and have a similar look. You can also skip the greenery entirely and rely on the shape of the tree itself. The board will still read as festive without the pine branch effect.
How do I keep the board from looking messy after guests start eating?
You can’t, and that’s fine. A half-eaten charcuterie board means people are enjoying it. If you want the tree shape to last longer, make a smaller decorative tree on one end of the board and pile extra ingredients on the other end for guests to refill from.
Conclusion
A Christmas tree charcuterie board gives you a festive centerpiece that doesn’t require cooking, and the tree shape makes assembly straightforward. Start with the star, build downward in widening rows, and tuck rosemary between layers for a pine branch effect. Make it the day before if you need to, then pull it out an hour before guests arrive so the cheese warms up and the flavors come through.