
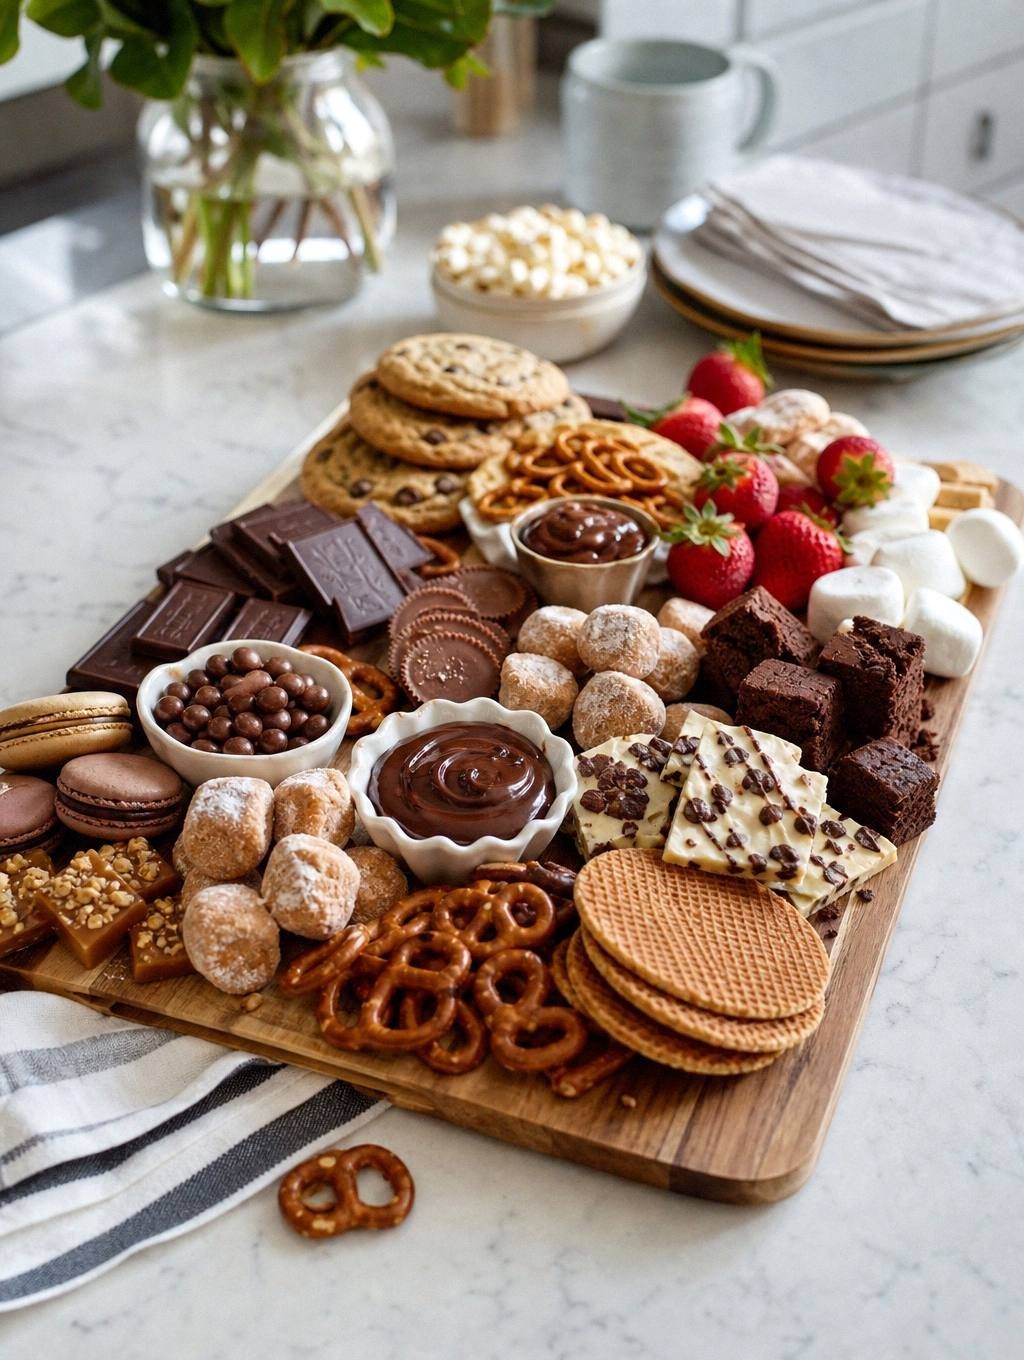
A dessert charcuterie board turns sweets into a shareable centerpiece that looks impressive but takes less effort than plating individual servings. You arrange cookies, chocolate, fruit, and dips on one large platter, letting guests graze at their own pace. The variety keeps everyone happy, and the visual appeal makes it feel special without requiring advanced baking skills.
What Makes a Dessert Board Different
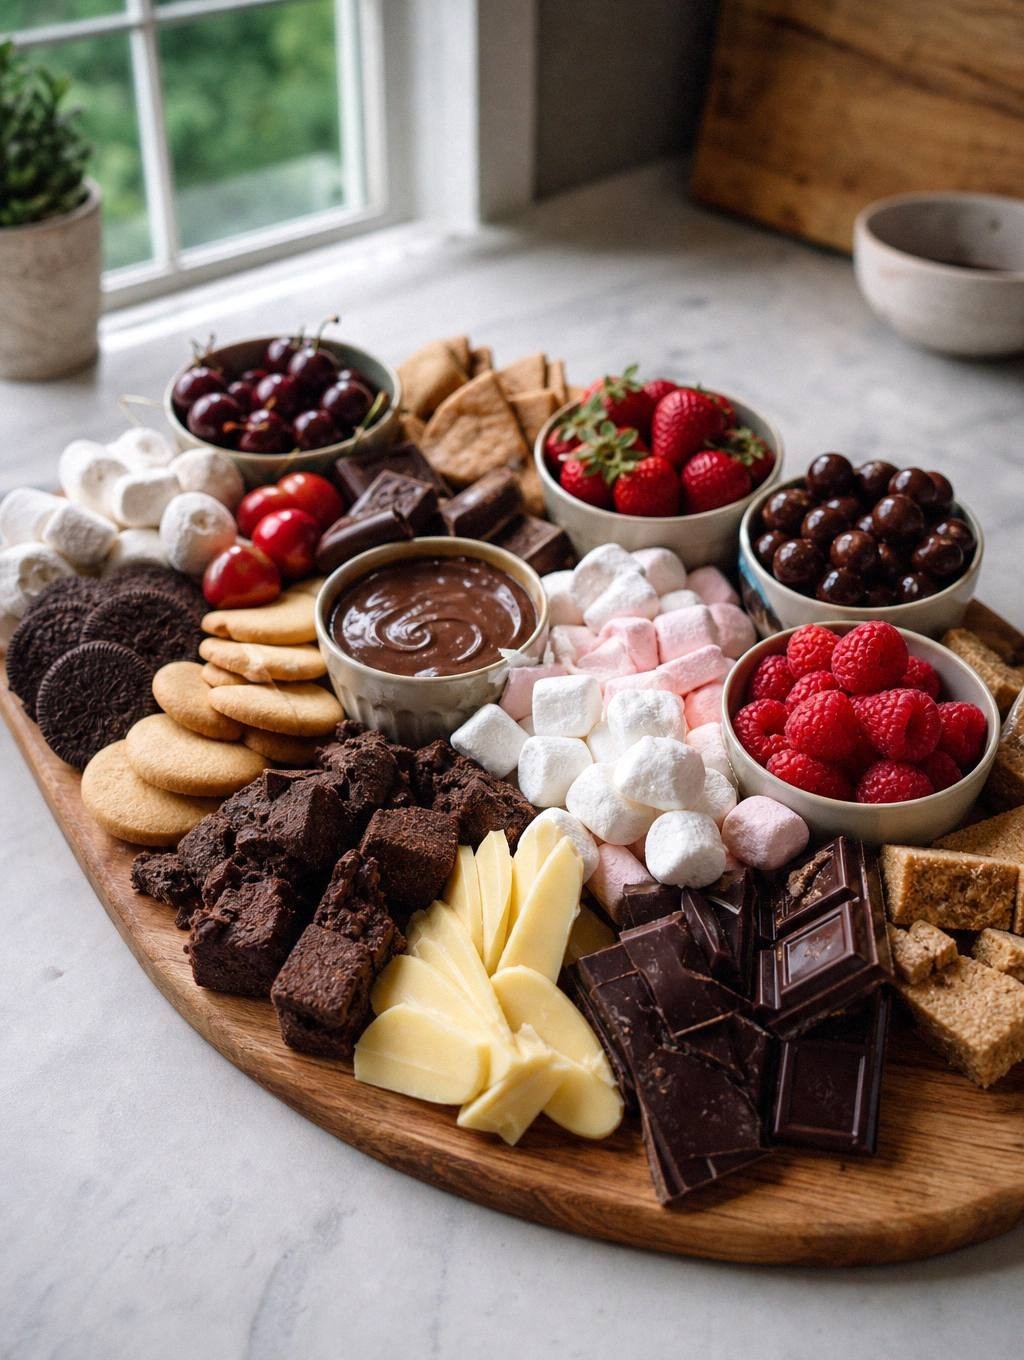
Traditional charcuterie features cured meats and savory accompaniments, but dessert boards borrow only the format. You’re building contrast and variety across sweet flavors and textures instead of balancing salt and fat. The goal is still the same: offer enough options that every bite feels different, and arrange them so the board looks abundant without becoming cluttered.
Unlike a cookie platter, a dessert board mixes categories. You’ll include baked goods, but also fresh fruit, chocolate, candy, and at least one dip. That range lets you balance richness with brightness, and it gives you natural color variation without food coloring.
Choosing Your Board or Platter
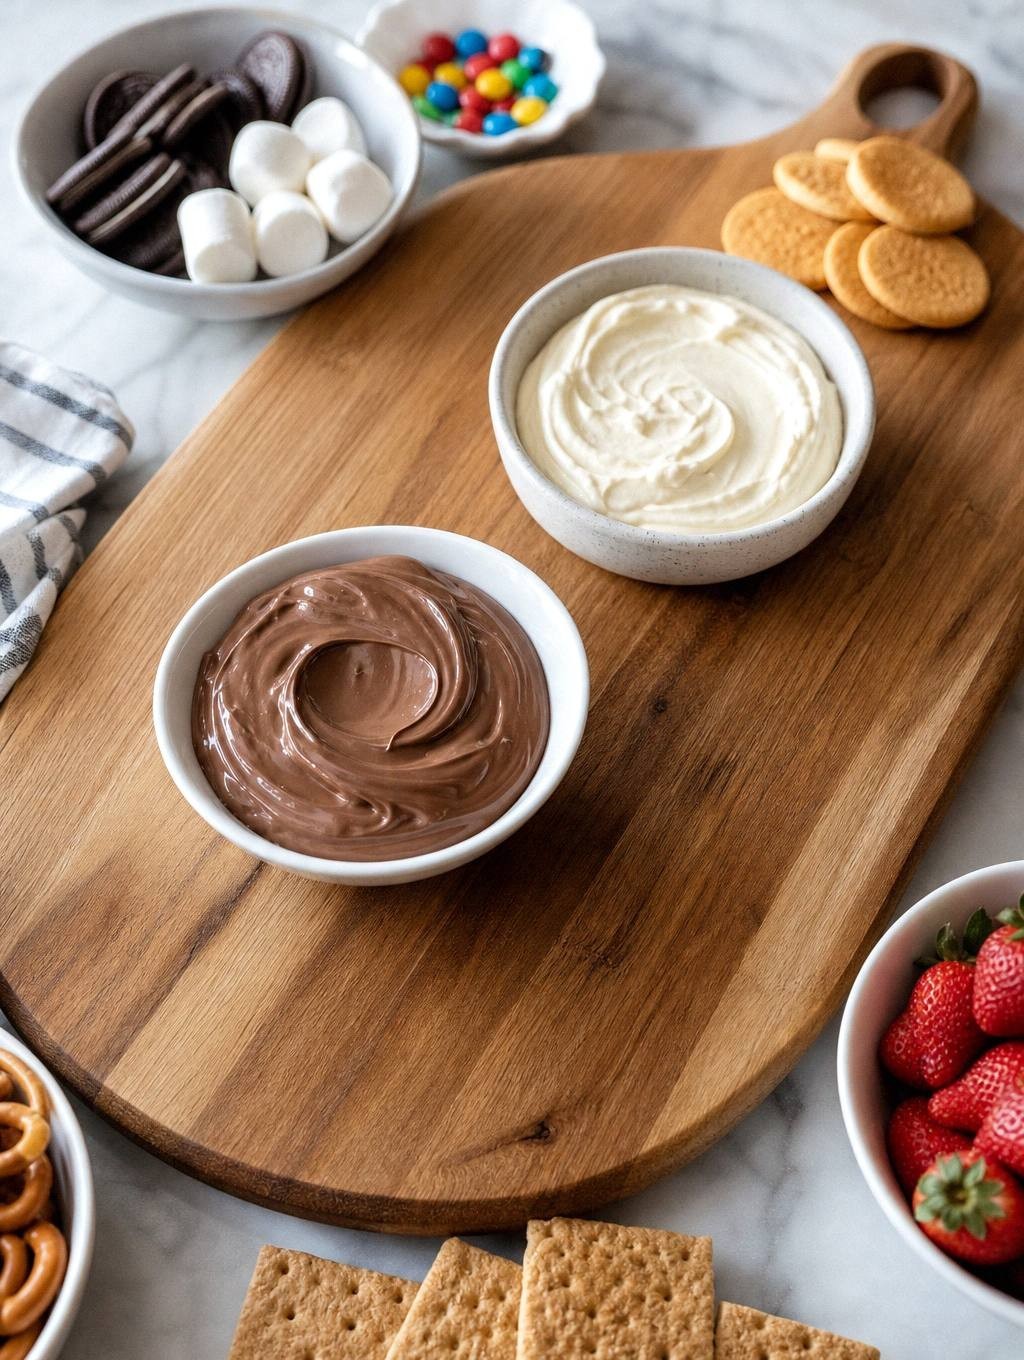
- Wooden cutting board: Works well for six to eight people and gives you enough surface area to create distinct zones
- Marble or slate platter: Stays cooler, which helps if you’re serving chocolate on a warm day
- Rimmed baking sheet with parchment: Best for larger gatherings, with a lip that keeps small items from rolling off and makes cleanup faster
- Multiple smaller boards: Better than one oversized platter for more than twelve people, allowing guests to access food from multiple sides
Avoid boards with deep grooves or unfinished wood that might absorb moisture from fresh fruit.
Core Ingredient Categories
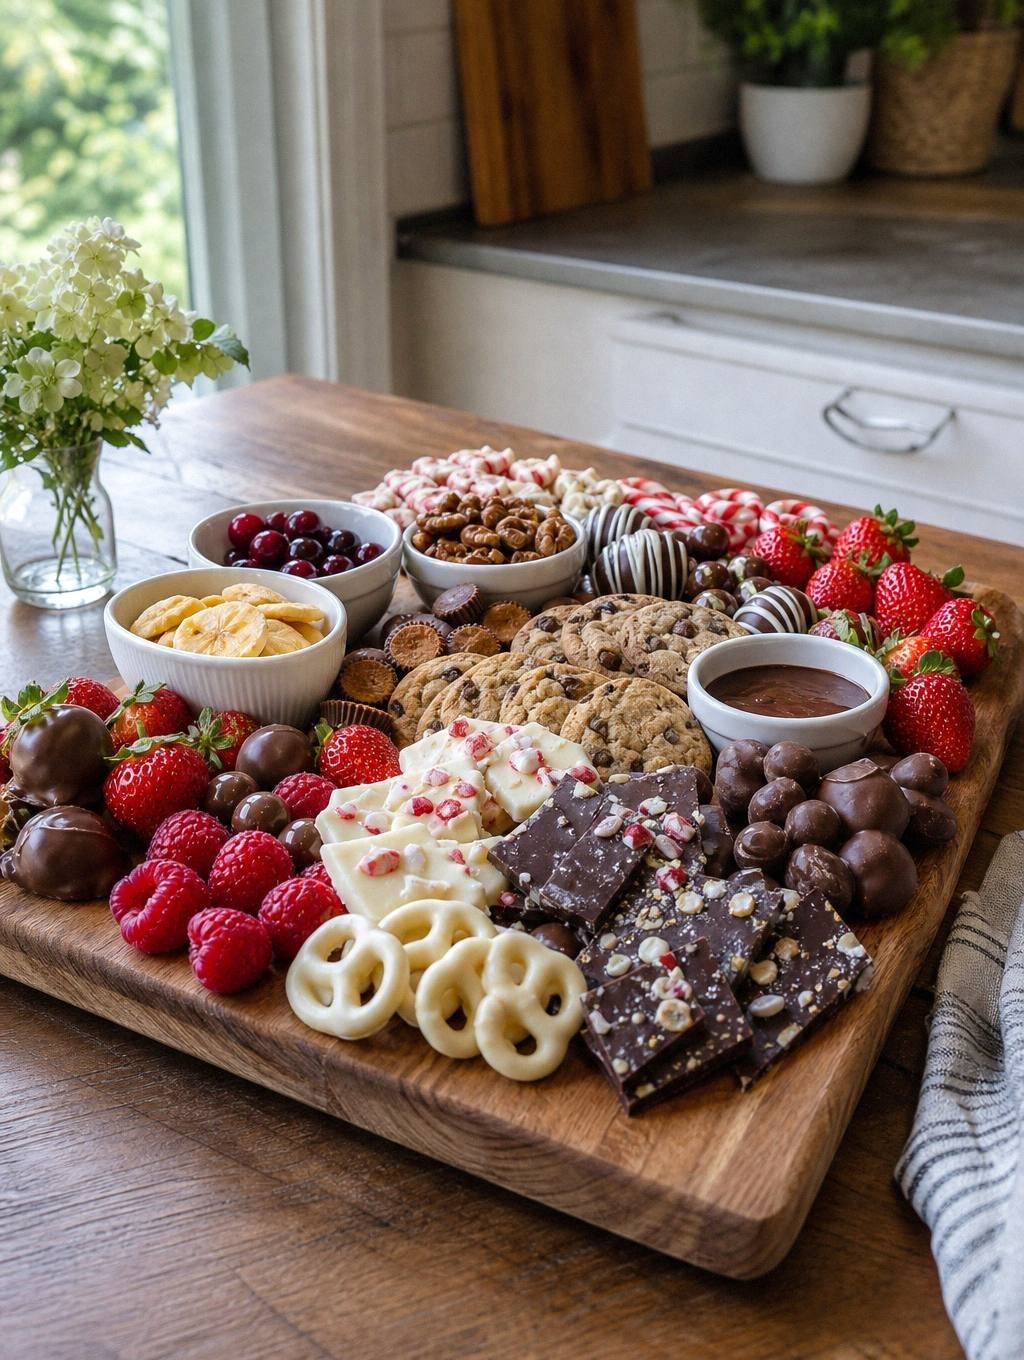
Start with two or three types of baked goods as your anchor items. Cookies with different textures, like crisp biscotti and soft chocolate chip, give guests a reason to try more than one. Brownies or pound cake cut into bite-sized squares add richness and fill space efficiently.
Include at least two kinds of chocolate. Dark chocolate bark breaks into irregular shards that look more interesting than uniform pieces, and chocolate-covered caramels add a chewy contrast. If you’re using chocolate dip or spread, put it in a small bowl rather than spreading it directly on the board so it doesn’t migrate into other ingredients.
Fresh fruit provides color and a lighter option between richer bites. Strawberries and raspberries hold up well at room temperature for an hour or two, and their acidity cuts through sweet and fatty flavors. Grapes and berries don’t need slicing, which saves prep time and keeps the board looking neat.
Add one or two crunchy elements that aren’t cookies. Pretzels, nuts, or thin wafer cookies like pizzelles give your mouth something to do between soft, rich bites. Honey -sweetened yogurt in a small bowl works as a dip for fruit and a contrast to chocolate-forward items.
Optional Savory Elements
A small amount of cheese, especially something mild like brie or a nutty aged cheddar, can make a dessert board feel more sophisticated. Pair it with honey or fruit preserves so it reads as part of the sweet experience rather than a savory intrusion. Salted nuts also bridge the gap, adding a savory note without requiring a separate cheese section.
Ingredients
- 1 cup honey-sweetened yogurt
- 1 cup chocolate dip or spread
- 6 chocolate chip cookies
- 6 large chocolate dipped almond biscotti
- 8 pizzelles or stroopwafel cookies
- 4 madeleines
- ½ pound dark chocolate bark
- 12 chocolate covered caramels cut into halves
- 1 cup fresh strawberries
- 1 cup fresh raspberries
- 2 blood oranges, sliced into wedges
- 1 hidden rose apple (other pink, red flesh apple)
- ½ pomegranate (broken into 1-inch pieces)
- ½ cup dried cherries or cranberries
- ½ cup dried apriots
- 1 cup dried prunes
- 8 dried persimmon slices
- 8 candied dried citrus slices
- ½ cup roasted almonds
- ½ cup toasted walnuts
- honey for yogurt
- mint and rosemary
- edible flowers
Instructions
- Set out the yogurt and chocolate dip in small bowls and place them on your board.
- Arrange the bars, cookies, and other sweet baked things on the board around the bowls, then add the candy and chocolate.
- Add the dried fruit and nuts, keeping them closest to the bars and cookies to create a barrier between the baked things and fresh fruit, which can drip or leak onto the baked goods and make them soggy.
- Add the fresh fruit last, making sure to keep juicy fruits like fresh citrus away from the baked goods.
- Garnish with honey or honeycomb, fresh herbs, and edible flowers.
Assembly and Arrangement Techniques
Place your dip bowls first because they anchor the layout and can’t be moved easily once the board is full. Position them off-center rather than dead in the middle so you have room to build around them. If you’re using two bowls, put them at opposite corners to create visual balance.
Add your largest items next, cookies, brownies, or chocolate bark, in loose clusters rather than tight rows. Overlap pieces slightly so the board looks abundant, but leave enough space that guests can grab one item without disturbing three others. Use the gaps between large items as landing spots for smaller elements like candy or nuts.
Fresh fruit goes on last because it’s the most perishable and the most likely to leave moisture on the board. Create a barrier of dried fruit or nuts between fresh berries and baked goods so juice doesn’t migrate. If you’re using sliced fruit like pears or apples, brush the cut surfaces with lemon juice to slow browning.
Store-Bought Versus Homemade Components
| Approach | Best For | Considerations |
|---|---|---|
| Store-bought items | Cookies, chocolate, candy | Saves hours of prep time; tastes just as good as homemade for most items |
| Homemade items | Brownies, simple dips | Focus effort on one or two items that benefit most from being fresh |
| Items to avoid | Cream cheese frosting, custard, whipped cream | Require refrigeration and don’t hold up at room temperature |
| Best homemade choices | Biscotti, shortbread | Stay crisp longer than soft, cake-like cookies |
Scaling for Different Party Sizes
For a small gathering of four to six people, a 12-inch board holds enough variety without overwhelming your budget or your counter. Plan on two to three pieces of each baked item per person, plus a handful of fruit and a few chocolates. One cup of dip serves six people if they’re grazing rather than treating it as a full dessert course.
For twelve or more guests, double the quantities but split them across two boards instead of crowding everything onto one oversized platter. Set the boards in different areas so guests don’t bottleneck around a single station. If you’re serving a crowd of twenty or more, calculate three to four bites per person and add an extra type of cookie or chocolate to keep the selection interesting.
Common Problems and How to Fix Them
- Chocolate melts or softens during display: Keep the board in a cool room and add chocolate just before guests arrive. If you’re serving outdoors, use chocolate-covered items instead of plain chocolate bark, since the coating provides some insulation.
- Fresh fruit browns or releases juice: Brush cut fruit with lemon juice and add berries no more than an hour before serving. Place a small piece of parchment paper under juicy fruit if you’re worried about staining a wooden board.
- Board looks sparse or unfinished: Fill gaps with small items like nuts, dried fruit, or candy rather than spreading everything out. Overlapping pieces slightly makes the board look fuller without requiring more food.
- Guests avoid certain items: Place popular items like chocolate and cookies in multiple spots across the board so they’re always within reach. Tuck less familiar items like biscotti or stroopwafel cookies next to crowd-pleasers so people try them while reaching for something else.
Frequently Asked Questions
What size board do I need for a dessert charcuterie?
A 12-inch board serves four to six people comfortably. For eight to ten guests, use a 16-inch board or a rimmed baking sheet. Larger groups benefit from two smaller boards instead of one oversized platter.
Can I use store-bought items for a dessert board?
Yes, and most people do. Store-bought cookies, chocolate, and candy save time and often taste just as good as homemade. Focus your effort on one or two fresh items if you want to bake, and buy the rest.
Should I include cheese on a dessert charcuterie board?
A small amount of mild cheese like brie works if you pair it with honey or fruit preserves, but it’s optional. The cheese should feel like part of the sweet experience rather than a savory detour.
How do I arrange items on a dessert board?
Place dip bowls first, then add large items like cookies and chocolate in loose clusters. Fill gaps with smaller elements like candy and nuts, and add fresh fruit last to keep it away from moisture-sensitive baked goods.
What fruits work best on dessert boards?
Strawberries, raspberries, grapes, and blueberries hold up well at room temperature and don’t require slicing. Avoid citrus or melon, which release too much juice and can make nearby items soggy.
How long can a dessert board sit out before serving?
Boards with only shelf-stable items like cookies, chocolate, and dried fruit can sit out for two to three hours. If you’ve included fresh fruit or yogurt dip, serve within one hour to keep everything fresh and safe.