Make probiotic fermented lemonade at home in just 3 days. Bright, lightly fizzy, and full of beneficial bacteria. The best summer drink you're not making yet.
The glass is cold before you even add the ice. You pour the lemonade and it moves differently than the store-bought kind. There’s a faint cloud to it, a tiny fizz that you see more than hear. The first sip is sharp and bright, then softens into something almost round. It tastes like lemonade made by someone who actually cared.
That’s what three days of wild fermentation does.
How Lacto-Fermented Lemonade Actually Works
Lacto-fermentation is one of the oldest food preservation methods on record. It shows up in Roman garum, Korean kimchi, European sauerkraut, and West African fermented grain drinks. The basic mechanism is always the same: wild Lactobacillus bacteria (naturally present in the environment and on fresh produce) consume sugars and produce lactic acid as a byproduct. That lactic acid both preserves the food and gives fermented things their characteristic tang.
With lemonade, the process is simple. Lemon juice is already acidic, which keeps harmful bacteria out of the picture from the start. The sugar feeds the good bacteria. The salt gives them a favorable environment. Over two to three days at room temperature, the bacteria get to work. The sugar drops, the sourness rises, and you get a lightly effervescent, probiotic-rich drink that didn’t exist when you set it out.
You can use fresh whey (the liquid that drains from yogurt or hangs behind when you strain it) as a starter. Whey is loaded with Lactobacillus and speeds up fermentation noticeably. But it’s entirely optional. If you skip the whey, the wild bacteria naturally present in the air and on the lemon skins do the job just fine. The result takes the same amount of time either way. What changes is predictability: whey gives you a more consistent, reliable ferment. Wild fermentation is slightly more variable but often produces more complex flavor.
The Recipe
This makes about 8 cups, enough for six generous servings over ice.
Ingredients
- 6 large lemons (about 3/4 cup fresh juice)
- 1/2 cup cane sugar or raw honey
- 8 cups filtered water, room temperature
- 2 tablespoons fresh whey (optional)
- 1/4 teaspoon sea salt
A note on water: use filtered water here. Tap water contains chlorine, which kills the bacteria you’re trying to cultivate. If you only have tap water, let it sit uncovered for an hour before using. Most chlorine will off-gas.
A note on sugar: cane sugar works well and gives a clean flavor. Raw honey also works but ferments a little faster and adds its own flavor notes, which can be pleasant or distracting depending on the lemon variety. Avoid refined white sugar if you can; the trace minerals in raw cane sugar support fermentation.
Step-by-Step Instructions
Day one: 15 minutes of work
Juice your lemons into a half-gallon glass jar or a large glass bowl. Aim for 3/4 cup of juice. Don’t strain out the pulp; it contains wild yeast and bacteria that contribute to a livelier ferment. Remove seeds.
Add the sugar and salt directly to the lemon juice. Stir for a full minute until the sugar is completely dissolved. Add the filtered water and stir again. If you’re using whey, add it now.
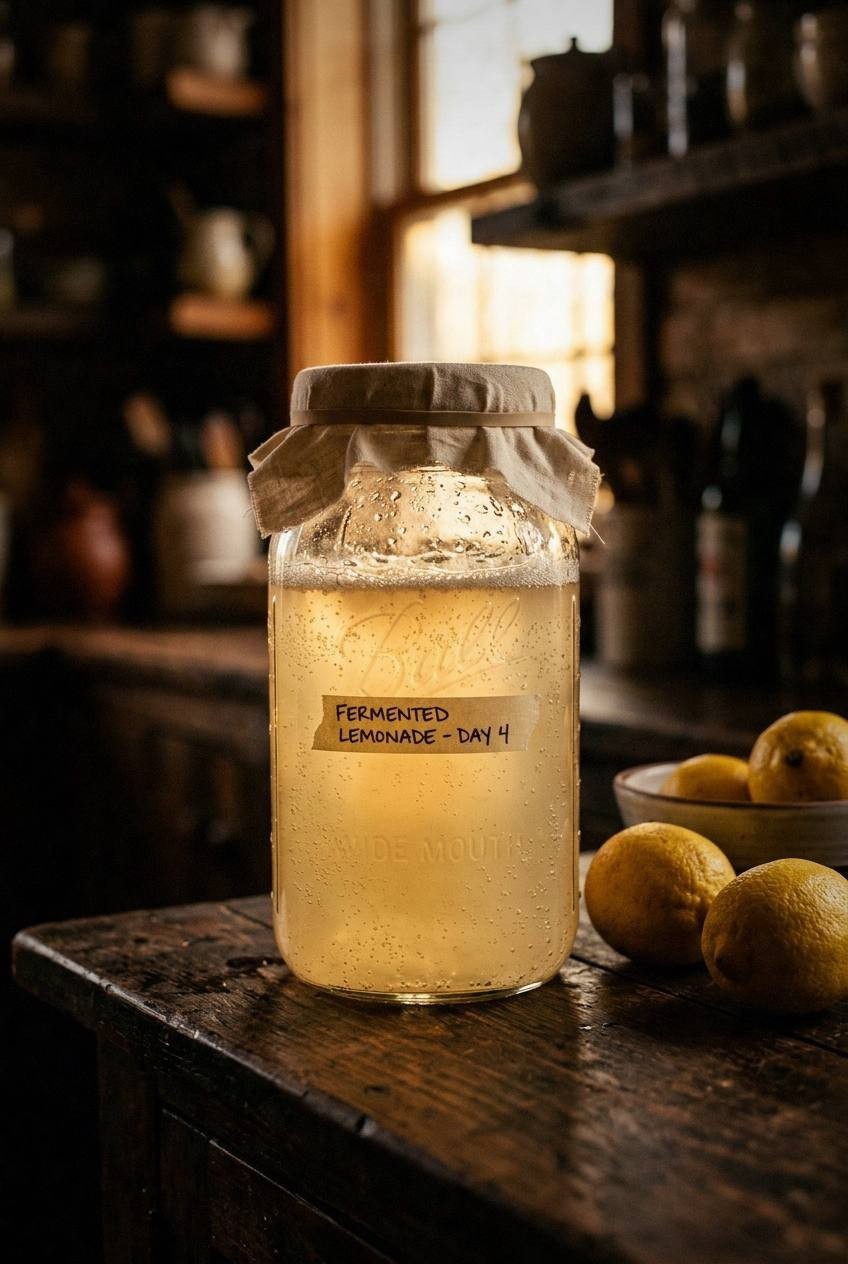
Cover the jar with a clean cloth (cheesecloth, a thin kitchen towel, or even a paper towel secured with a rubber band). The goal is to let the jar breathe while keeping dust and insects out. Do not use an airtight lid during active fermentation. Carbon dioxide needs somewhere to go, or pressure will build.
Set the jar somewhere warm. Room temperature between 68 and 75°F (20 to 24°C) is ideal. A countertop away from direct sunlight works perfectly in spring and summer. Cooler rooms slow fermentation; warmer rooms speed it up.
Days two through three: tasting and watching
Starting on day two, taste the lemonade once a day. You’re looking for two things: a shift from sweet to tart, and the appearance of small bubbles when you stir or disturb the liquid. Both are signs that fermentation is active.
On day two, many batches still taste mostly sweet with just a hint of sourness. That’s fine. Let it go another day.
On day three, the flavor should be noticeably tart, brighter and sharper than fresh lemonade, with some of the sweetness converted away. There may be a light fizz on the tongue. This is when most batches are ready.
If your kitchen is on the cooler side (below 68°F), you may need to go to day four. Taste, not time, is your guide.
Finishing the ferment
When the flavor is where you want it, strain the lemonade through a fine mesh strainer into a clean jar or pitcher. Seal it tightly and put it straight into the refrigerator. Cold temperatures slow fermentation dramatically. Your lemonade will continue to develop slowly in the fridge but won’t turn aggressively sour overnight.

Consume within two weeks. Flavor is best in the first week. After that, it continues to sour and the carbonation can build up, especially if your container isn’t fully airtight.
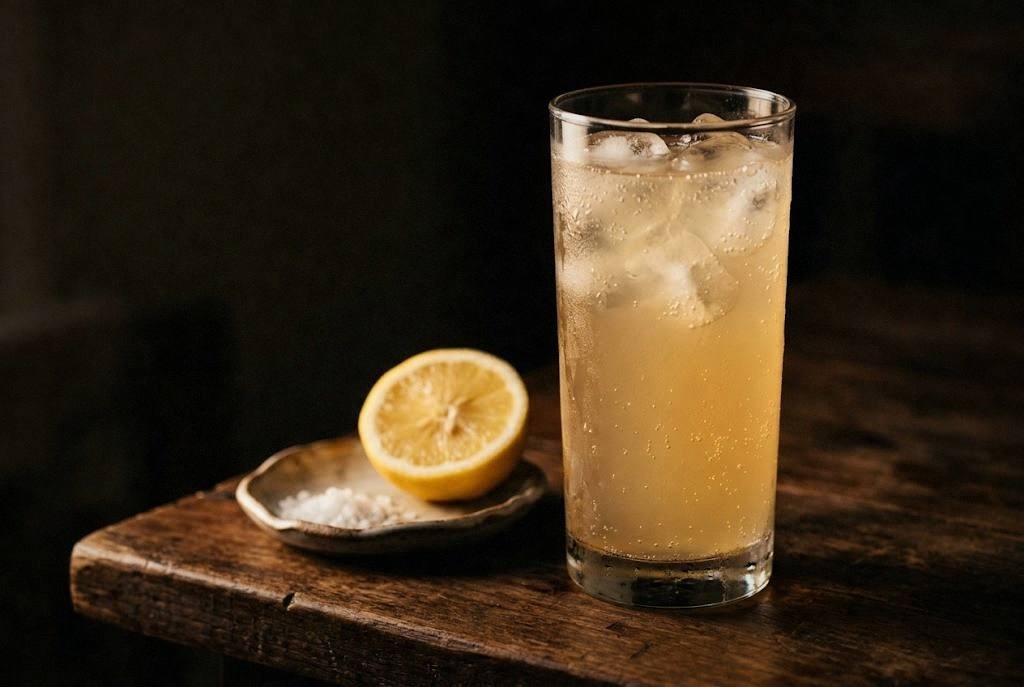
Serve over ice. It’s that simple.
What to Watch For
A white or light gray foam on top of the liquid during fermentation is normal. That’s Lactobacillus activity. Skim it off if it bothers you; it’s harmless.
A cloudy, whitish appearance to the finished lemonade is also normal and is actually a sign of active cultures. It’s not a defect.
If you see fuzzy mold (anything visibly fuzzy or brightly colored), discard the batch. True mold in fermented lemonade is rare because of the acidity, but it can happen if the jar was not clean or if the ratio was off. The lemon juice itself is protective. When in doubt, smell it. Active fermentation smells tangy, yeasty, and bright. Spoilage smells flat, off, or sulfurous.
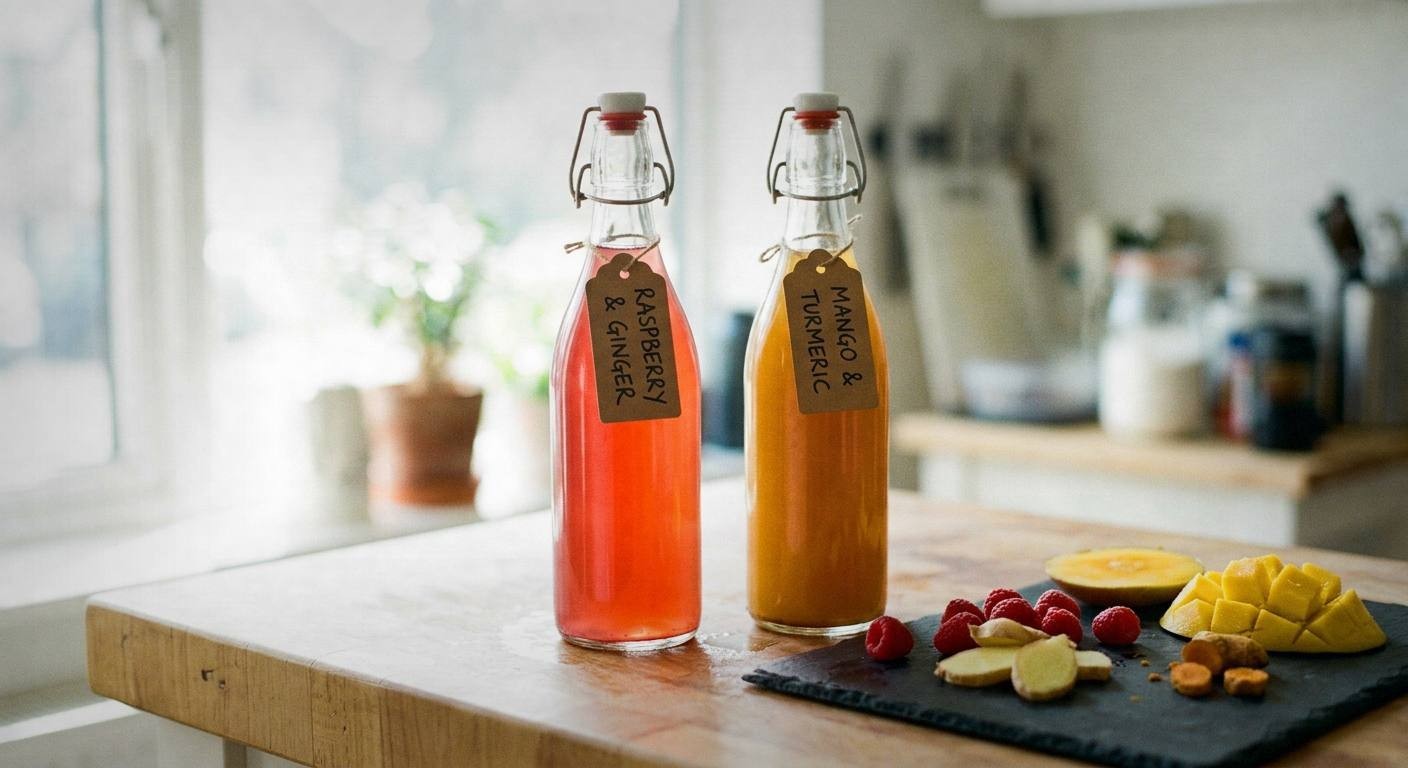
Variations Worth Making
Ginger fermented lemonade. Add a 1-inch knob of fresh ginger, sliced thin, to the jar before fermentation begins. Ginger brings its own wild yeasts and bacteria, which accelerates fermentation and adds a spicy warmth that pairs beautifully with lemon. This version is particularly good over crushed ice with a sprig of mint.
Mint lemonade. Add 8 to 10 fresh mint leaves on day one. Remove them when you strain. The mint doesn’t contribute to fermentation, but it steeps gently and gives the finished drink a cool, herbal note that’s especially welcome in July.
Basil lemonade. Same approach as mint: 6 to 8 large basil leaves added at the start. Basil gives a slightly floral, almost peppery edge. This variation pairs well with a small pinch of black pepper added to the jar.
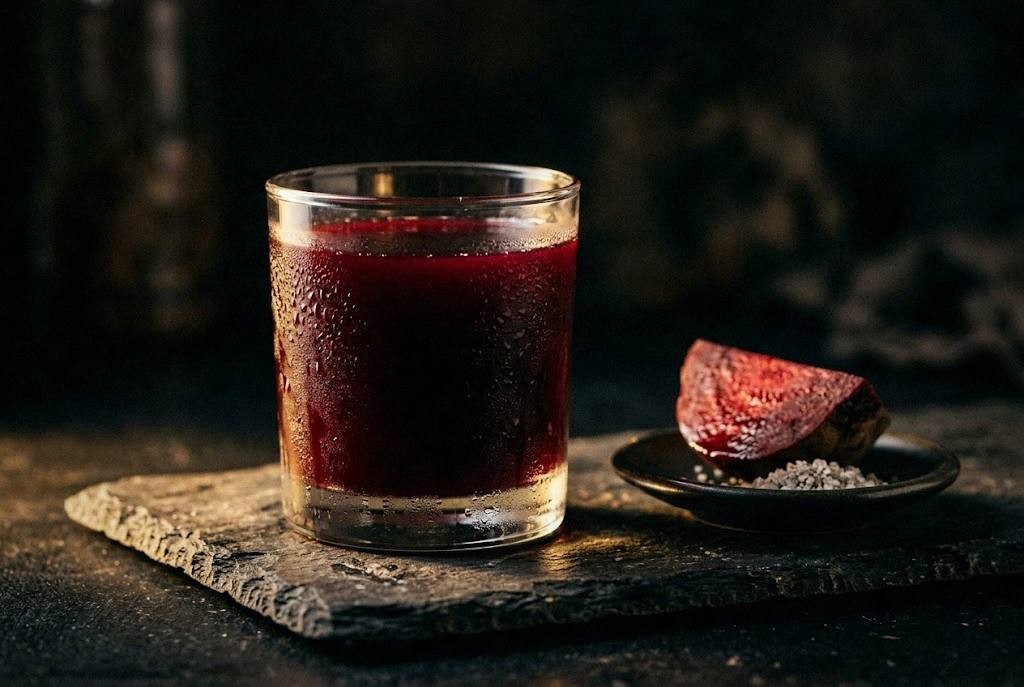
Berry fermented lemonade. Add 1/2 cup of fresh or frozen blueberries, raspberries, or strawberries before fermentation. Berries are high in wild yeast and will make the ferment more vigorous. The finished color is a soft pink or purple, and the flavor picks up a gentle berry note without being sweet.
Sparkling finish. For more carbonation, transfer the strained lemonade to a flip-top bottle after it comes out of fermentation. Seal it and leave it at room temperature for 12 to 24 more hours (this is called a second ferment), then refrigerate. Open carefully over a sink the first time. Pressure can build fast in a sealed bottle.

Storage and Serving Notes
Fermented lemonade keeps in the refrigerator for up to two weeks in a sealed jar. It will continue to slowly ferment even when cold, so expect the flavor to get progressively more sour over time. Most people find it tastiest in the first seven days.
If you want to pause fermentation almost entirely, keep it in the coldest part of your refrigerator. The back of the bottom shelf is usually your coldest zone.
Serve it straight over ice. Add sparkling water if you want more fizz without doing a second ferment. A ratio of two parts lemonade to one part sparkling water is a good place to start.
It works well as a mixer, too. A splash of fermented lemonade in a glass of iced green tea makes a quick probiotic Arnold Palmer. Stirred into a gin-based drink, it brings a brightness that premade mixers can’t match.
The batch is small enough that you can make a new one every week through the summer. Two jars going at once, one fermenting on the counter and one chilling in the fridge, keeps you covered without any gap.
Three days is not a long time to wait for a drink this good.

Camille writes about botanical drinks, herbal cocktails, and the old plant wisdom that makes them work. Most days you'll find her in the garden or the kitchen, turning herbs into something worth sipping.