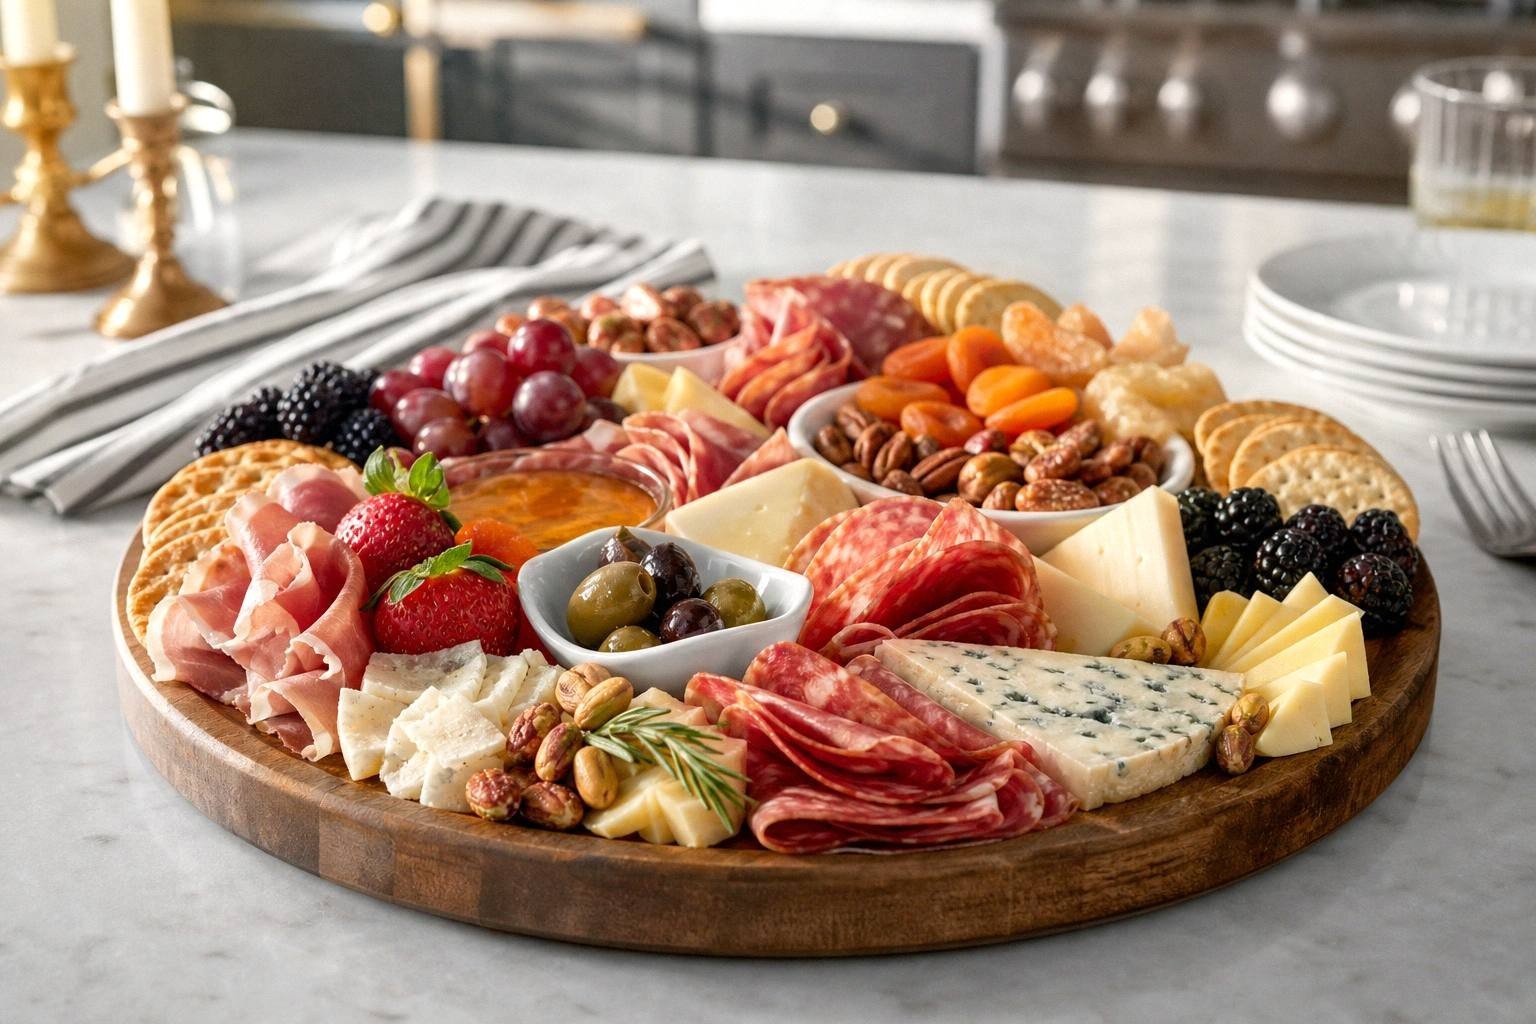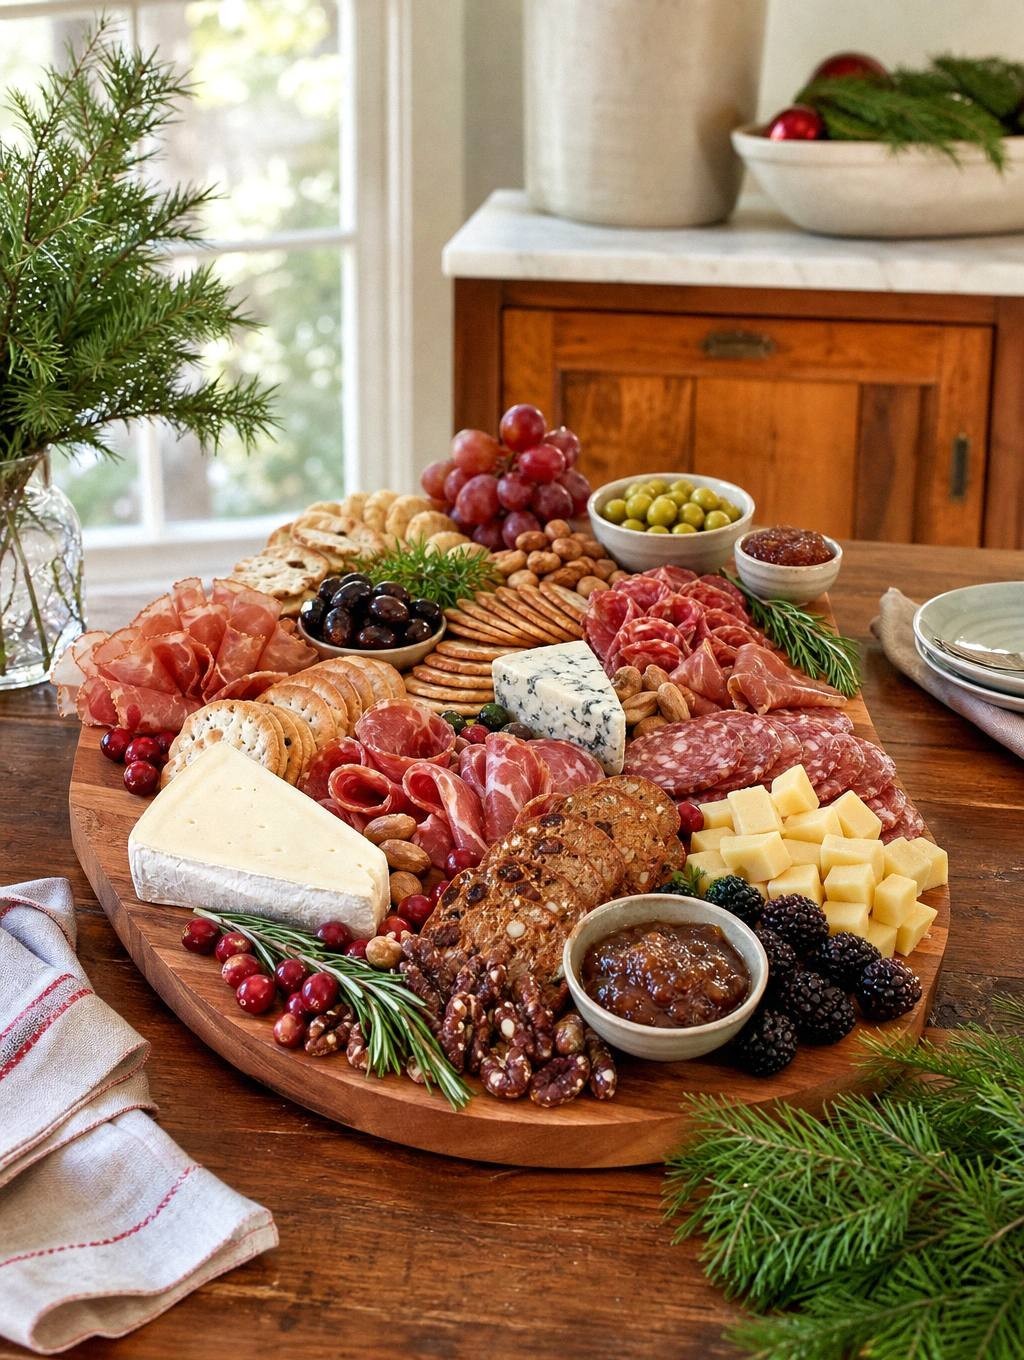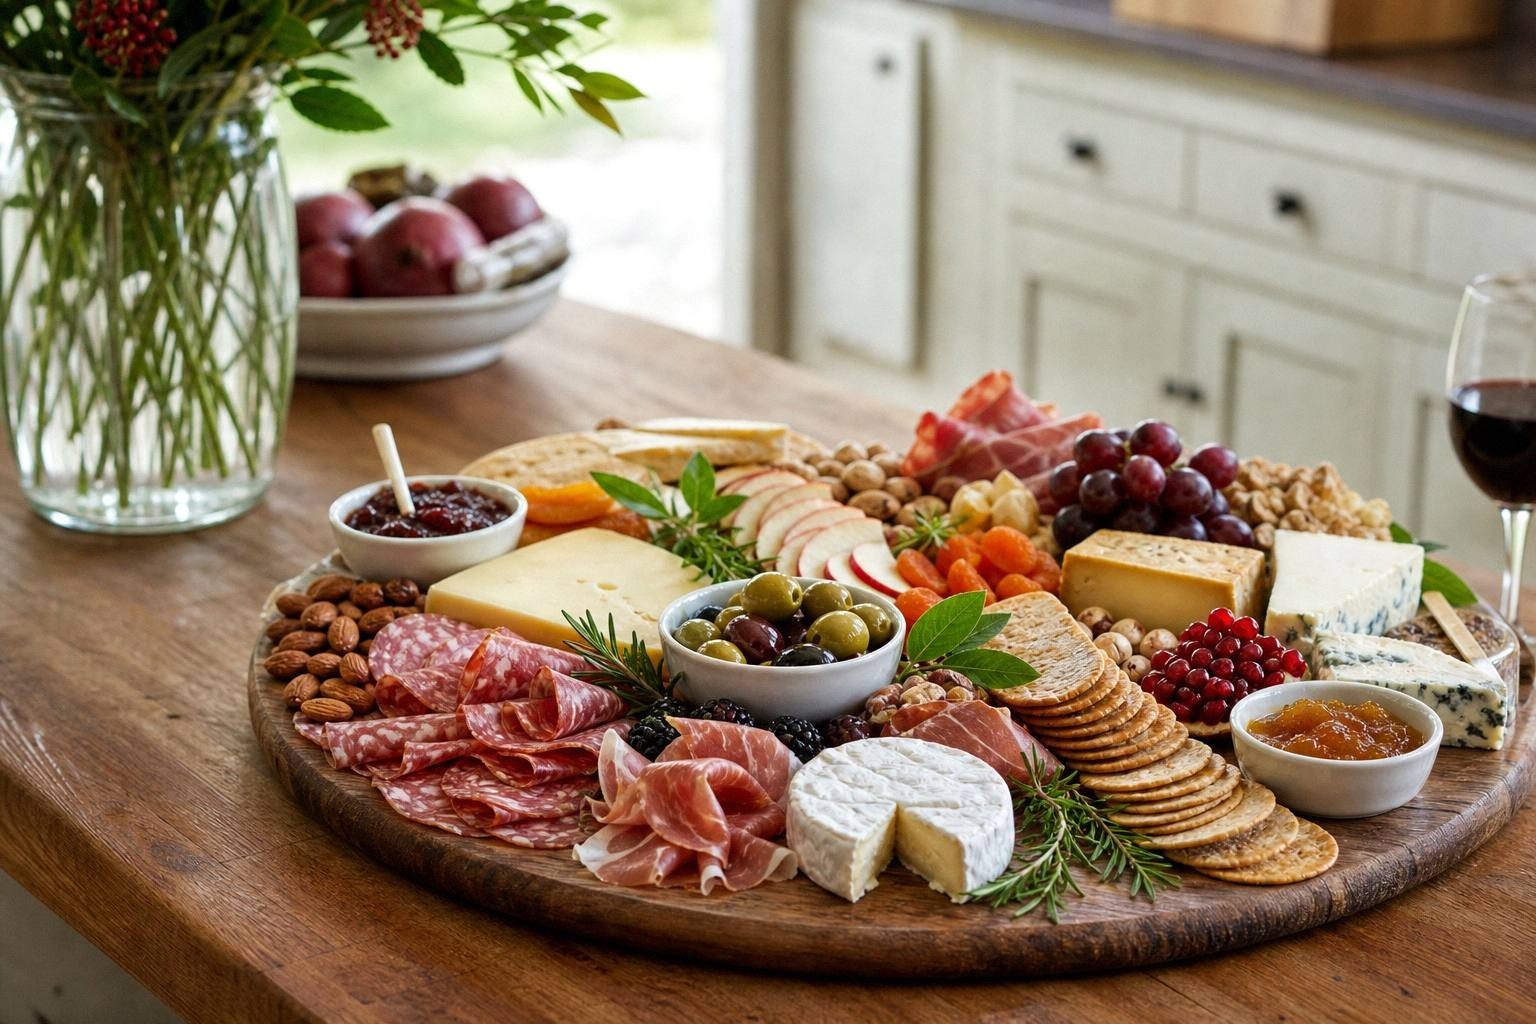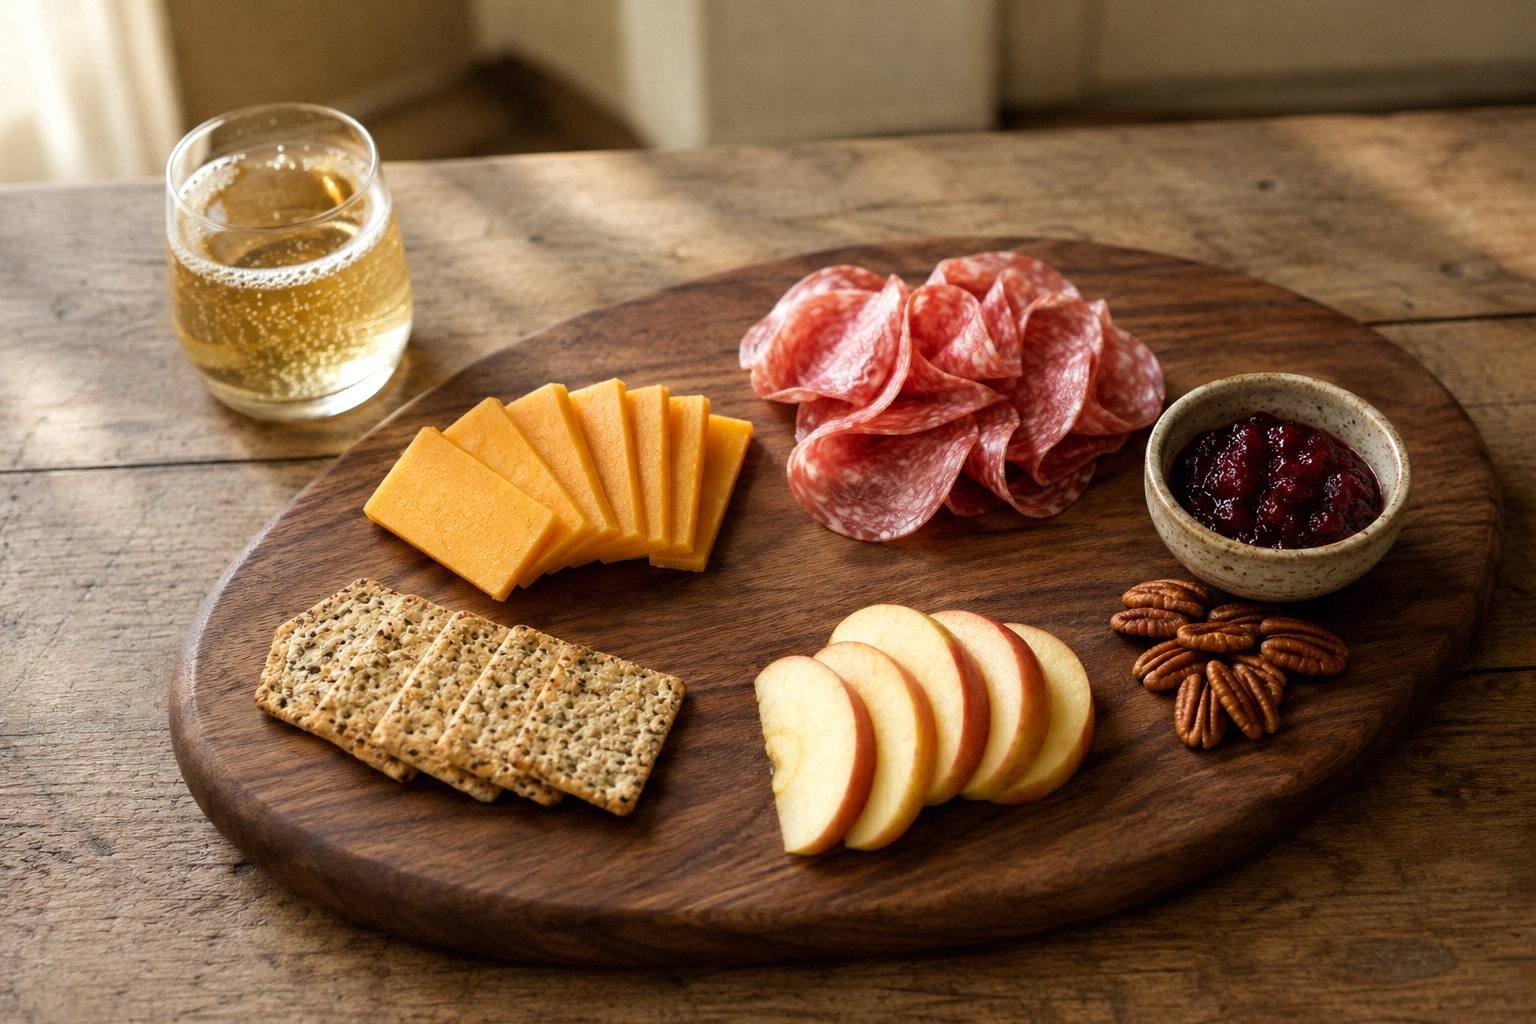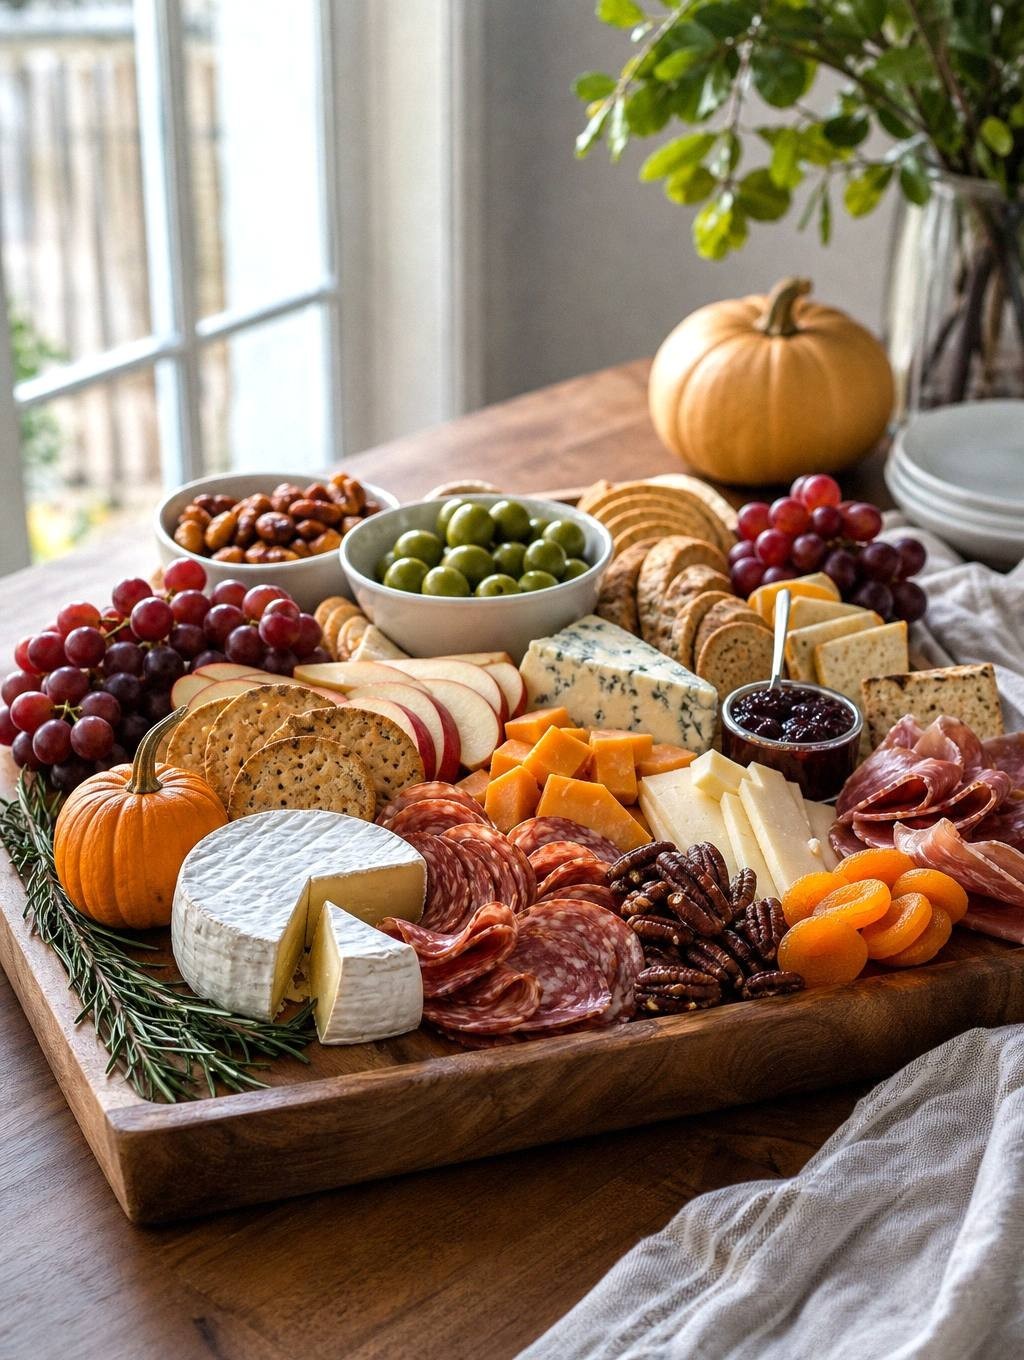
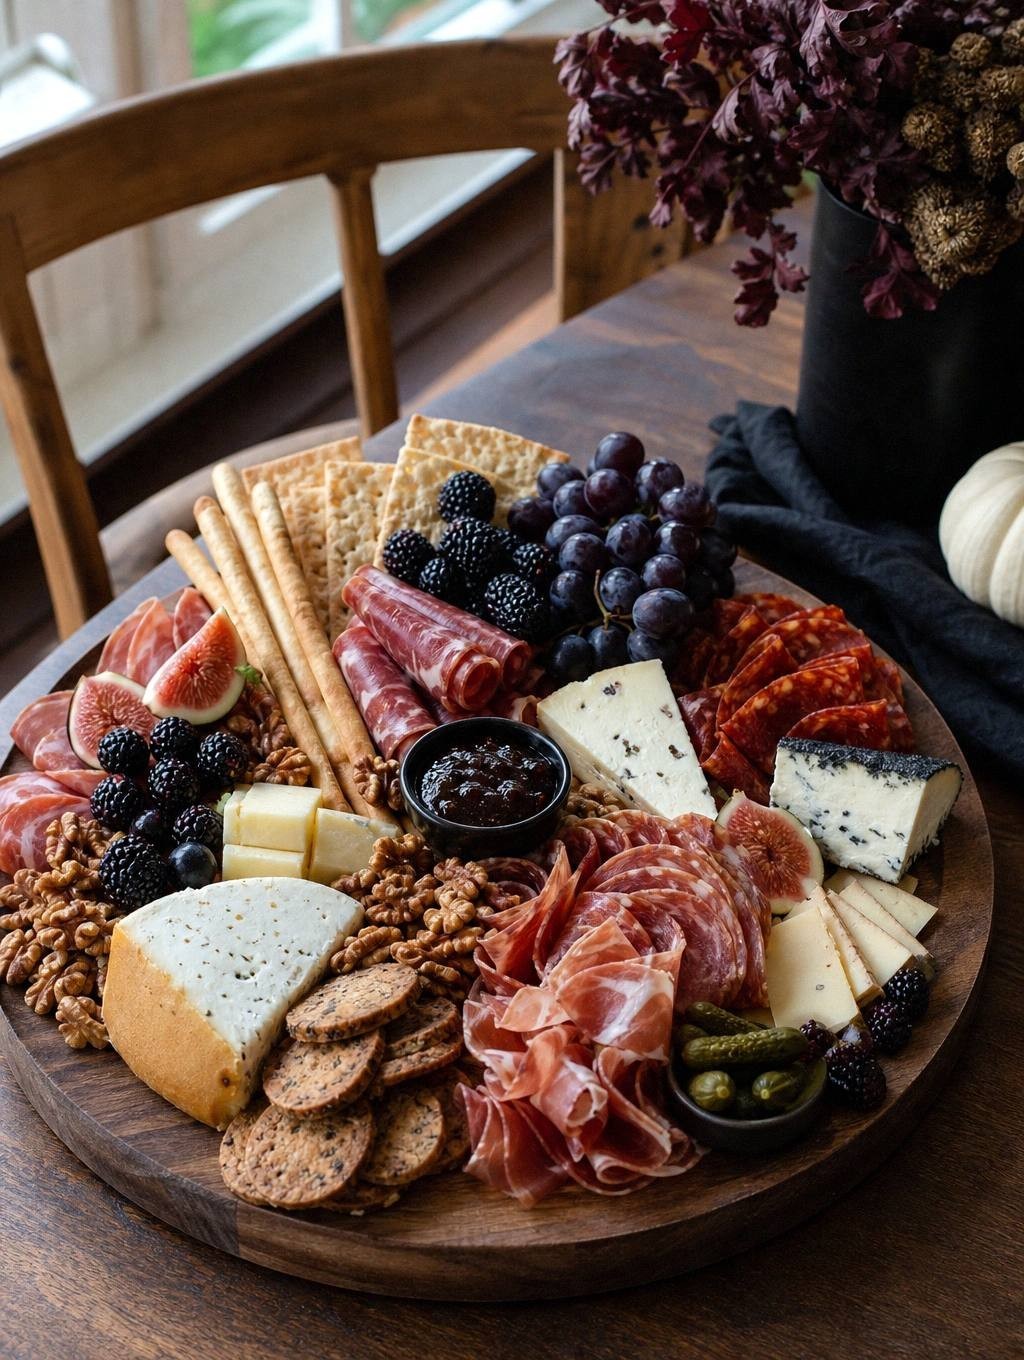
A Halloween charcuterie board turns your party spread into edible theater. You’re building a landscape where salami roses sit next to candy corn, aged cheddar shares space with caramel corn, and everything looks spooky without sacrificing flavor.
The best boards balance sweet and savory so guests can graze all night. The assembly takes less than thirty minutes once you’ve gathered your ingredients.
Why Halloween Charcuterie Boards Work for Parties
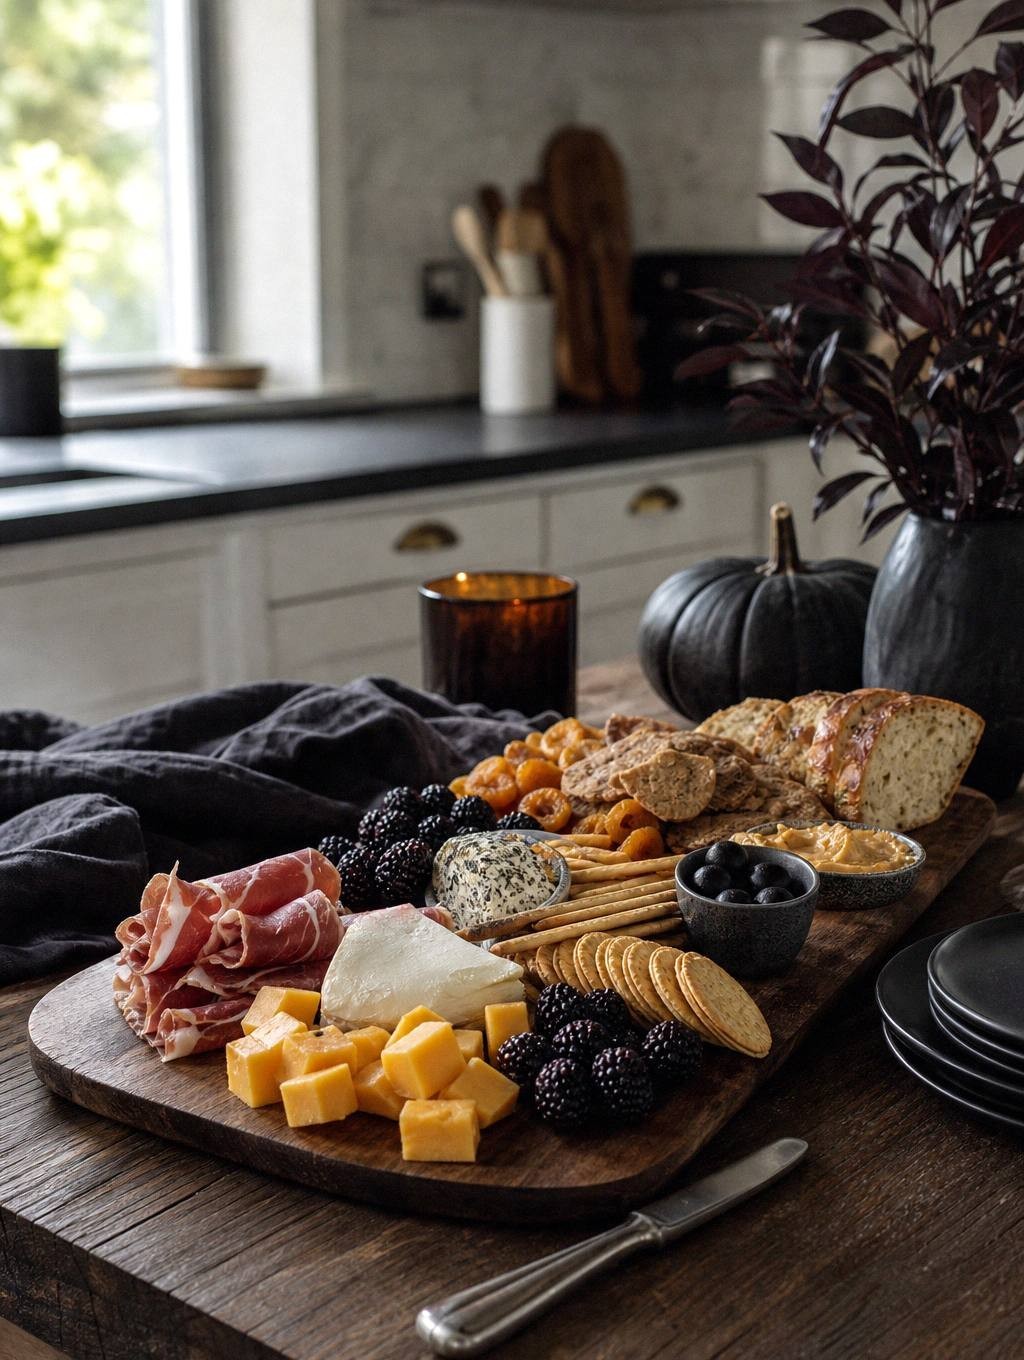
Charcuterie boards solve the Halloween party problem of feeding people who arrive hungry but don’t want a sit-down meal. Guests can pick at cheese and crackers between costume contests, grab a handful of candy corn during the movie, and come back for prosciutto when they’re ready. The board stays out for hours without anyone hovering over it.
The format also lets you skip cooking. You’re arranging purchased ingredients, not following recipes, so you can prep components ahead and assemble the board an hour before guests arrive .
Cold cheeses and cured meats hold up at room temperature for the length of a typical party. The sweet elements give kids something familiar while adults work through the aged cheddar.
Halloween boards look impressive because you’re using color and shape to create a theme. Orange cheese, purple grapes, black crackers, and strategically placed candy turn a standard spread into something that photographs well and makes people stop to look before they eat.
What to Put on a Halloween Charcuterie Board
Cheese Selection
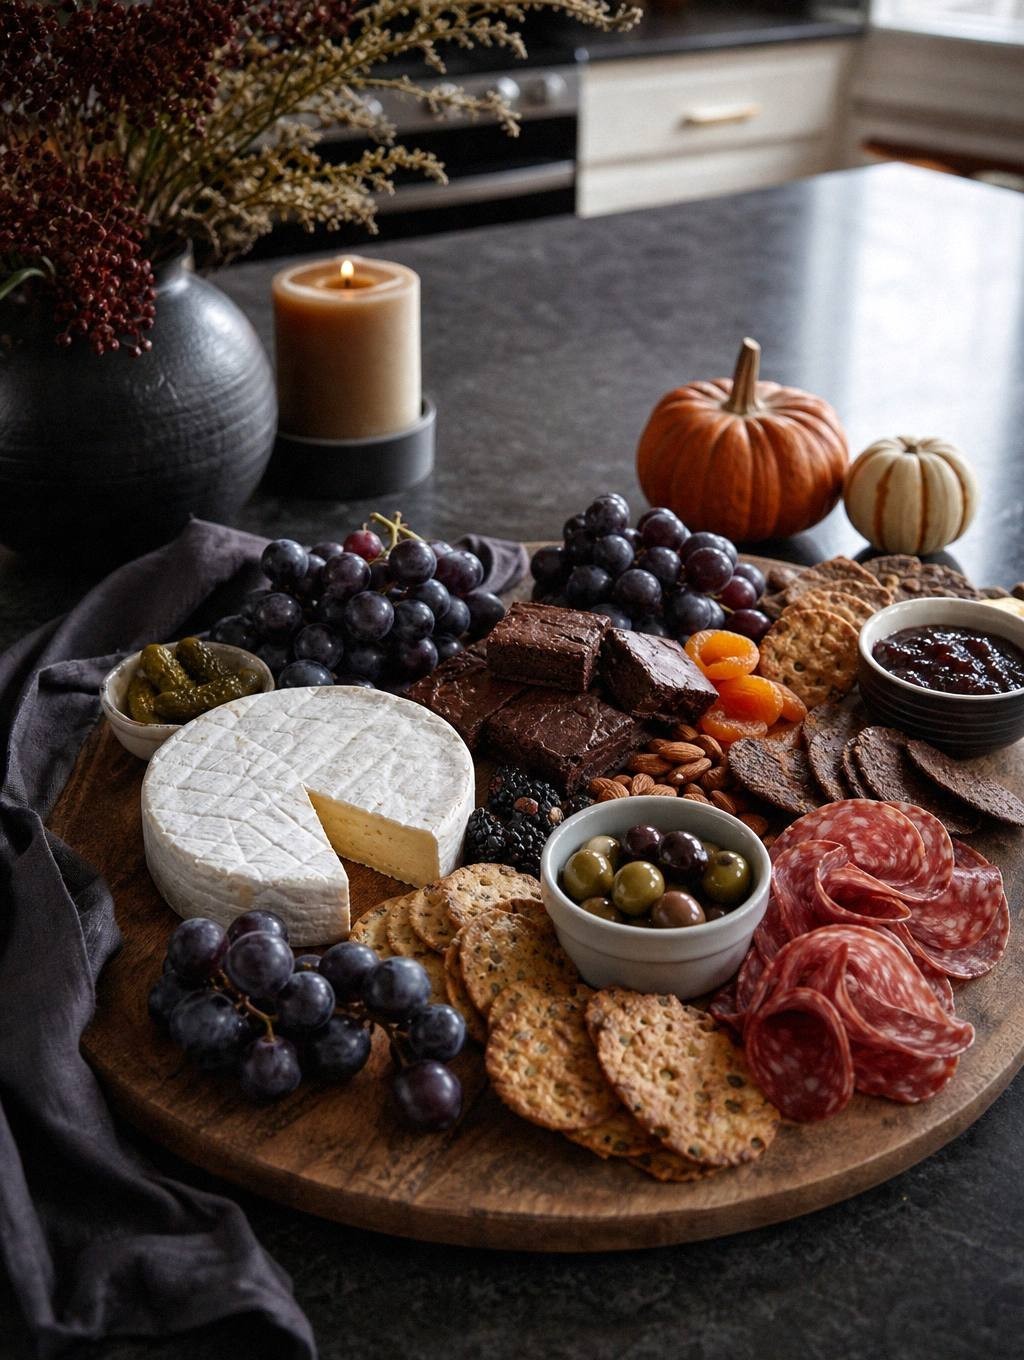
Start with three cheeses that cover different textures and flavors. A whole round of Brie anchors the board and gives you a soft, creamy option.
Aged cheddar adds sharpness and slices into neat rectangles. Gouda cubes provide a mild, slightly sweet cheese that appeals to cautious eaters. You can cut a pumpkin shape from the center of the Brie using a cookie cutter while it’s still cold, then place both pieces on the board.
Meat Options
For meats, use Genoa salami folded into quarters, dry Italian salami sliced thin, and prosciutto rolled into small bundles. The folding and rolling create height and texture variation across the board. Four to eight ounces of each meat feeds about twelve people when paired with cheese and other elements.
Fruit and Sweet Elements
Fruit balances the richness and adds color. Thinly sliced Honeycrisp apples and green pears stay crisp if you assemble close to serving time. Blackberries, cherries, and sliced plums or apricots bring deep purple and red tones that fit the Halloween palette.
Sweet elements turn the board into something kids will actually eat. Caramel corn adds crunch and a toasted sugar flavor. Candy corn is non-negotiable for Halloween and fills gaps between larger items.
Crackers and Extras
Crackers need to be sturdy enough to hold cheese without breaking. Water crackers, seeded flatbreads, and black sesame crackers all work. Overlap them in small stacks around the board’s edges so they’re easy to grab.
Ingredients
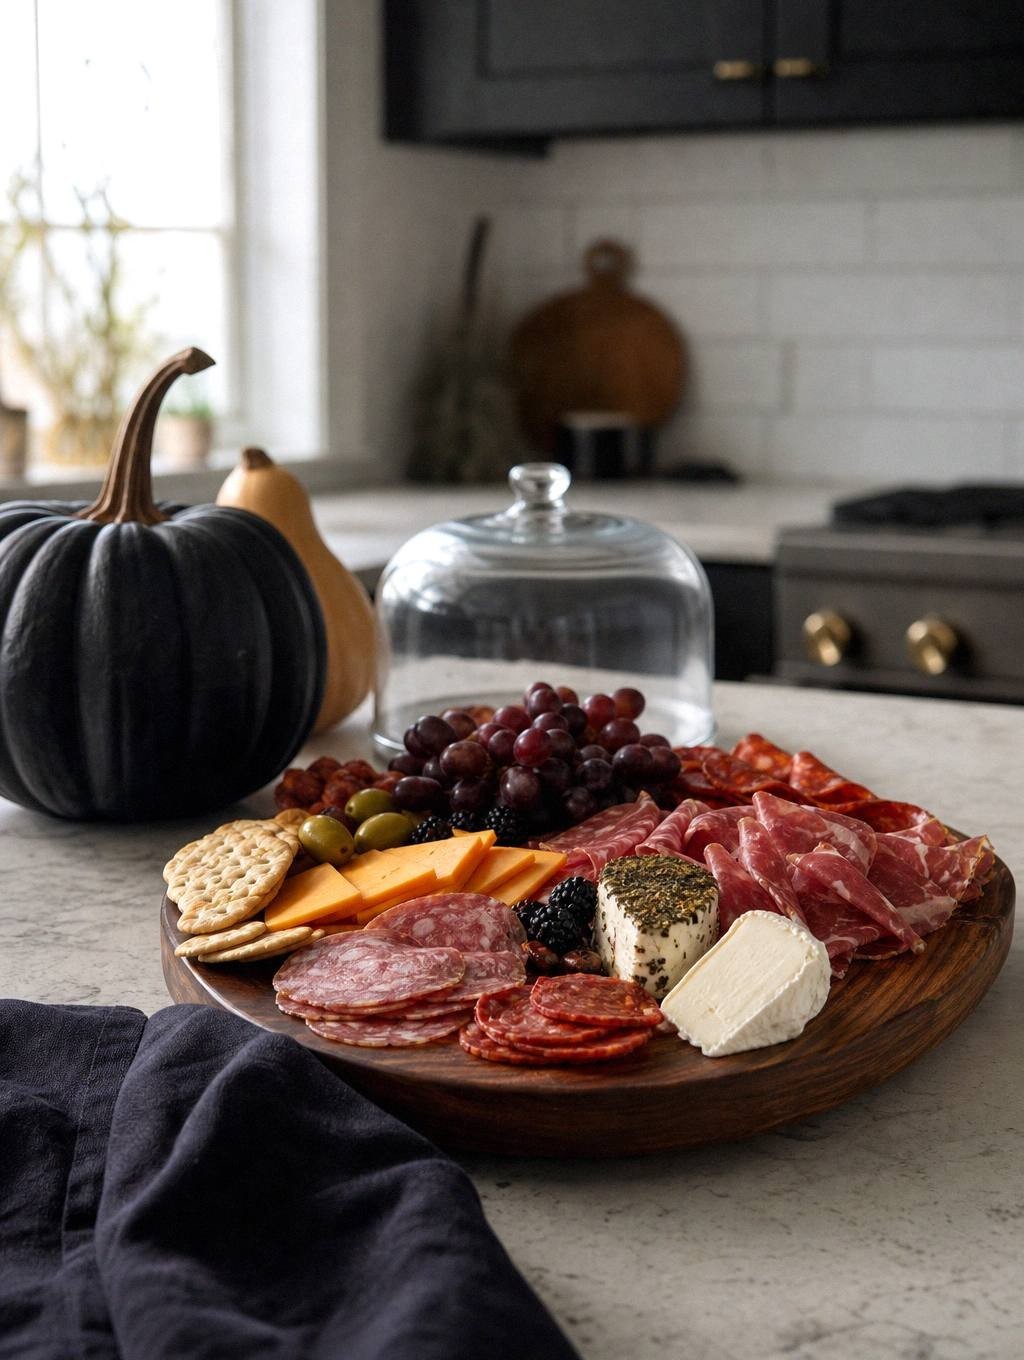
- 8 ounces deli ham
- 8 ounces genoa salami
- 8 ounces pepperoni
- 8 ounces Colby Jack cheese (cubed)
- 8 ounces cheddar cheese (sliced or cut into shapes)
- 8 ounces pepper jack cheese (cubed)
- green grapes
- blackberries (blueberries)
- fresh figs (strawberries, halved)
- pimento-stuffed green olives
- crackers
- candy corn (mellowcreme pumpkins)
- caramel corn (pumpkin cookies)
- fresh flowers (herbs)
- plastic spiders (candy eyes)
Instructions
- Fold or roll the meats and arrange them in separate areas of the board. Set each cheese next to one of the meats.
- Add the fruits and vegetables, using bowls to hold any that might roll away. Add the spreads or jams.
- Add the crackers, candy, cookies, and any other snacks. Layer and overlap as needed, and step back to check for gaps as you go.
- Garnish with the herbs and tuck in forks, spreaders, tongs, and any other utensils where needed. Add the Halloween decorations.
How to Arrange Items for Visual Impact
Start with your largest items first. The Brie wheel, ramekins, and any cookies or brownies anchor the board and give you reference points for everything else. Place them in a loose triangle or scattered pattern rather than a straight line.
Work in clusters rather than scattering single items everywhere. Group the folded salami together, stack the prosciutto rolls, and fan the apple slices.
Clustering creates visual weight and makes it easier for guests to see what’s available. It also prevents the board from looking chaotic.
Layer and overlap as you go. Cheese slices should shingle over each other slightly. Crackers can lean against cheese blocks.
Meats can drape over the edge of a ramekin. This layering makes the board look abundant even if you’re not using massive quantities of each ingredient.
Use small items like candy corn and berries to fill gaps and create color bridges between sections. Step back every few minutes to check for empty spots or areas where one color dominates too much. The goal is a balanced spread where your eye moves around the board rather than landing on one crowded corner.
Make-Ahead Strategy and Timing
Prep your components the morning of the party. Slice cheeses and store them wrapped in the refrigerator.
Fold and roll meats, then keep them covered. Wash and dry fruit, but don’t slice apples or pears until you’re ready to assemble since they brown quickly even with lemon juice.
Assemble the board one hour before guests arrive. This gives cheeses time to come to room temperature, which improves their flavor and texture. Cold Brie is rubbery and flavorless, but Brie that’s been sitting out for an hour spreads easily and tastes creamy.
If you need to prep further ahead, build the board without fruit and crackers. Add those elements thirty minutes before serving so crackers stay crisp and fruit looks fresh.
Food Safety and Serving Duration
Cheese and cured meats can sit at room temperature for up to two hours safely. After that, bacteria growth accelerates and you should discard anything that’s been out longer.
If your party runs past two hours, either refrigerate the board and bring it back out, or plan to refresh it with new ingredients halfway through.
Keep the board out of direct sunlight and away from heat sources like fireplaces or ovens. Heat speeds up spoilage and makes soft cheeses like Brie turn oily and separate. A cool room or a shaded outdoor table works best.
Provide small serving utensils so guests aren’t touching food with their hands. Cheese knives, small tongs for meats, and toothpicks for fruit keep the board cleaner and reduce contamination.
Frequently Asked Questions
Can you make a Halloween charcuterie board entirely sweet or entirely savory?
Yes, and both versions work well depending on your party timing. An all-savory board with cheeses, meats, olives, nuts, and crackers suits an adult cocktail party . An all-sweet board with cookies, candy, chocolate, caramel corn, and fruit becomes a dessert spread.
What crackers fit a Halloween theme without tasting artificial?
Black sesame crackers, charcoal crackers, and seeded rye crisps all look dark and dramatic without flavored coatings. Pumpkin seed crackers add orange flecks. Standard water crackers and flatbreads work fine too since they disappear visually once you load them with cheese.
How do you keep apples and pears from browning on the board?
Slice them as close to serving time as possible. If you must prep ahead, toss slices in a bowl with lemon juice or submerge them briefly in cold water with a splash of lemon juice, then pat dry.
What serving vessel creates the best Halloween effect?
A large wooden cutting board or slate platter works for any theme and lets the food colors stand out. If you want something more theatrical, coffin-shaped serving boards and skull-shaped cheese molds are available seasonally. Just make sure the vessel is food-safe and large enough that items aren’t crammed together.
Can you accommodate dietary restrictions on a Halloween charcuterie board?
Swap meats for roasted vegetables, hummus, or marinated mushrooms to make it vegetarian. Use vegan cheeses or skip cheese entirely and focus on nuts, olives, fruit, and crackers for a vegan version. For gluten-free guests, replace crackers with vegetable sticks, rice crackers, or gluten-free pretzels.
How much does a Halloween charcuterie board cost to make?
Expect to spend forty to sixty dollars for a board serving twelve people, depending on cheese and meat quality. Buying pre-sliced salami and packaged cheese costs more but saves prep time.
Conclusion
A Halloween charcuterie board gives you a party spread that looks deliberate, feeds a crowd, and requires no cooking. Arrange your cheeses and meats first, add fruit and crackers to fill gaps, then use candy corn and caramel corn to reinforce the theme.
Assemble it an hour before guests arrive so flavors develop, and plan for it to stay out no longer than two hours. The result is a table centerpiece that people actually eat.