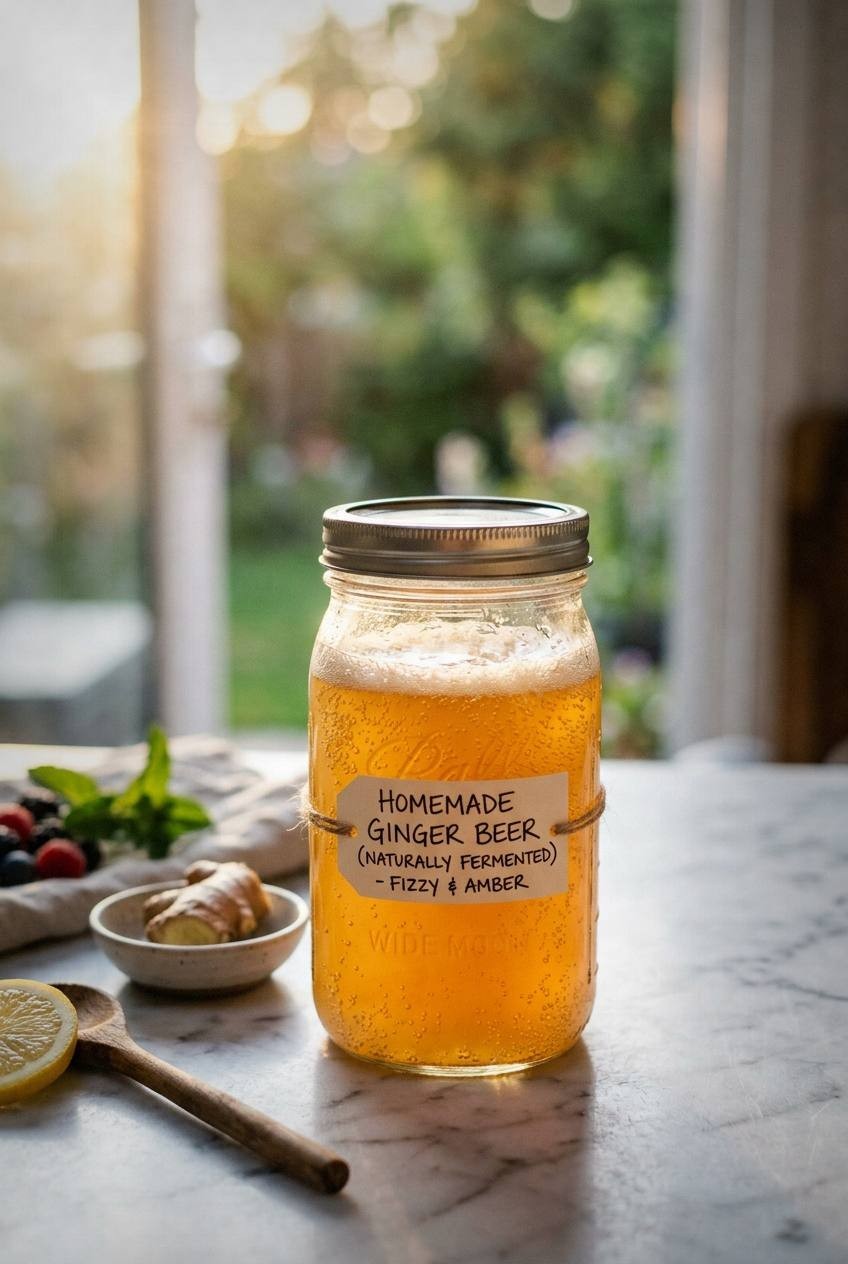
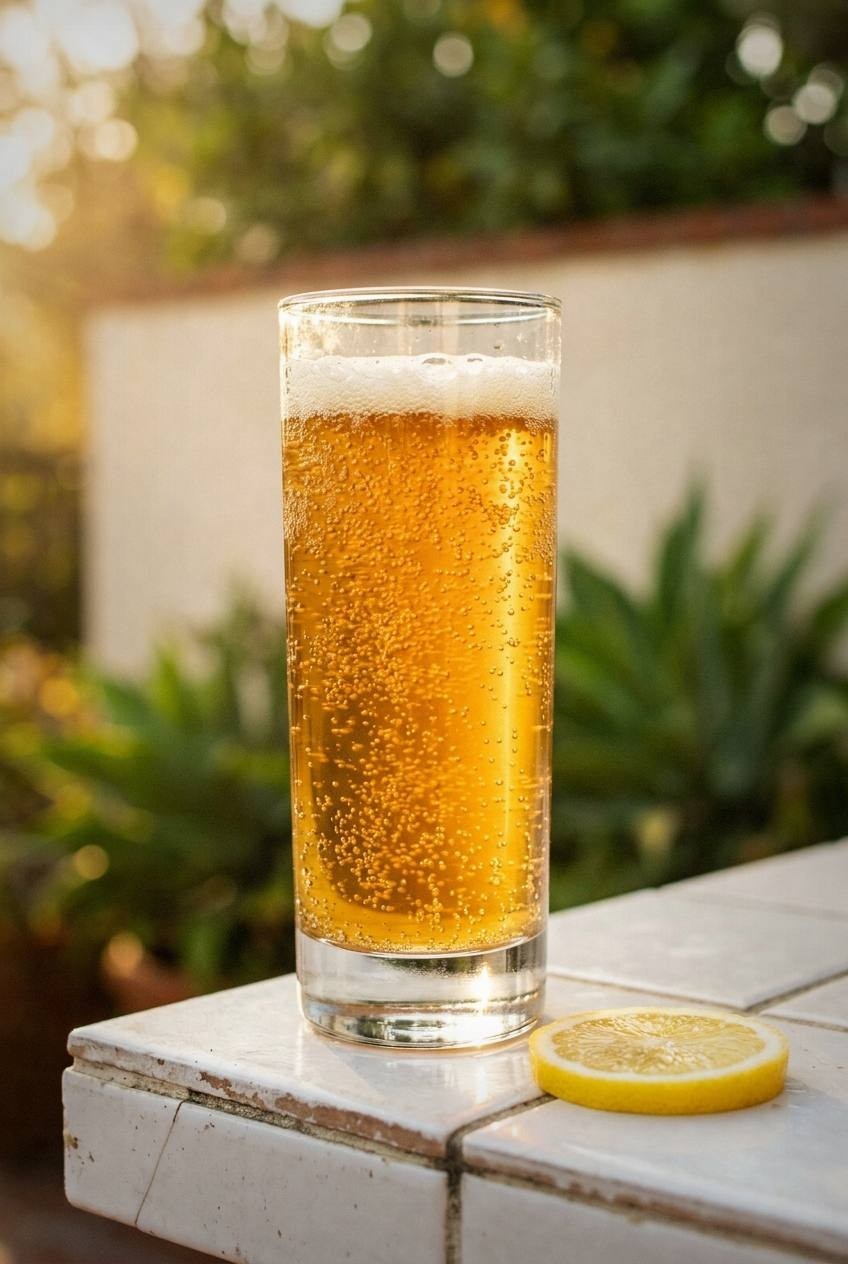
Naturally fermented ginger beer from a homemade ginger bug. Spicy, fizzy, and probiotic. Includes a quick version for same-day drinking.
Ginger beer from a bottle is fine. Ginger beer you fermented yourself from a ginger bug starter is a different thing entirely. It is spicier, more complex, genuinely carbonated by wild yeast instead of force-carbonated at a factory, and alive with the same lactobacillus bacteria that make kombucha and yogurt beneficial for your gut. It also costs pennies per bottle once you have the bug going.
At a Glance
| Detail | Info |
|---|---|
| Prep time | 15 minutes (plus 5 days for ginger bug) |
| Total time | About 8 days start to finish |
| Yield | About 1 liter |
| Difficulty | Moderate (fermentation timing is the skill) |
| Key ingredient | Fresh ginger root + ginger bug starter |
| Best for | Moscow Mules, Dark and Stormys, drinking straight |
| Flavor profile | Spicy, citrusy, fizzy, slightly sweet |
| Alcohol content | Under 0.5% (trace) |
Two Methods: Choose Your Path
Method 1: Naturally fermented (the real deal). You build a ginger bug starter, use it to ferment a ginger-sugar-lemon mixture, and bottle it for natural carbonation. Takes about a week from start to first glass. This is what this article focuses on.
Method 2: Quick ginger beer (same day). Simmer ginger, sugar, and lemon, strain, add sparkling water. Ready in 30 minutes. No fermentation, no probiotics, no wild yeast. Still tastes good. Scroll to the Quick Version section below if you want this instead.
The difference between them is the difference between sourdough bread and white bread. Both are bread. One has more going on.
Part 1: Building Your Ginger Bug
A ginger bug is a wild yeast and lactobacillus culture that you grow from fresh ginger, sugar, and water. It is the sourdough starter of the fermentation world. Once it is active, you can keep it alive indefinitely and use it to ferment batch after batch of ginger beer.
Day 1: Grate 2 tablespoons of fresh ginger (skin on, organic preferred). Add it to a clean quart jar with 2 tablespoons of granulated sugar and 2 cups of non-chlorinated water. Stir well. Cover loosely with a cloth or coffee filter secured with a rubber band.
Days 2 through 5: Feed the bug every day. Add 1 tablespoon of grated ginger and 1 tablespoon of sugar each time. Stir vigorously. Keep the jar at room temperature (68-78F is ideal), out of direct sunlight.
Signs it is ready: Within 3 to 5 days, you should see active bubbling when you stir. The liquid will smell yeasty and pleasantly gingery. Tiny bubbles will form on the surface within minutes of stirring. If you hold the jar to your ear, you might hear faint fizzing. If nothing happens after 7 days, start over with organic ginger. Conventional ginger is sometimes irradiated, which kills the wild yeast on the skin.
Maintaining the bug: Once active, feed it 1 tablespoon each of ginger and sugar every 2 to 3 days. If you are not using it for a while, put it in the fridge and feed it weekly. To reactivate after refrigeration, bring it to room temperature and resume daily feeding for 2 to 3 days.
Part 2: Brewing the Ginger Beer
Once your bug is active and fizzing, you are ready to brew.
Roughly chop about 6 inches of fresh ginger. No need to peel it. The skin has flavor and the wild yeast on it contributes to fermentation.
Combine the chopped ginger with 1 cup of granulated sugar and 4 cups of water in a saucepan. Bring to a boil, then simmer for 15 minutes. The kitchen will smell incredible.
Strain out the ginger pieces. Add the juice of 2 lemons and 4 cups of cool filtered water. This brings the total to about 8 cups and cools the liquid below 100F. The temperature matters because hot liquid will kill the beneficial microbes in your ginger bug.
Add 1/4 cup of active ginger bug liquid (strained if you want clarity, unstrained if you do not mind some sediment). Stir gently.
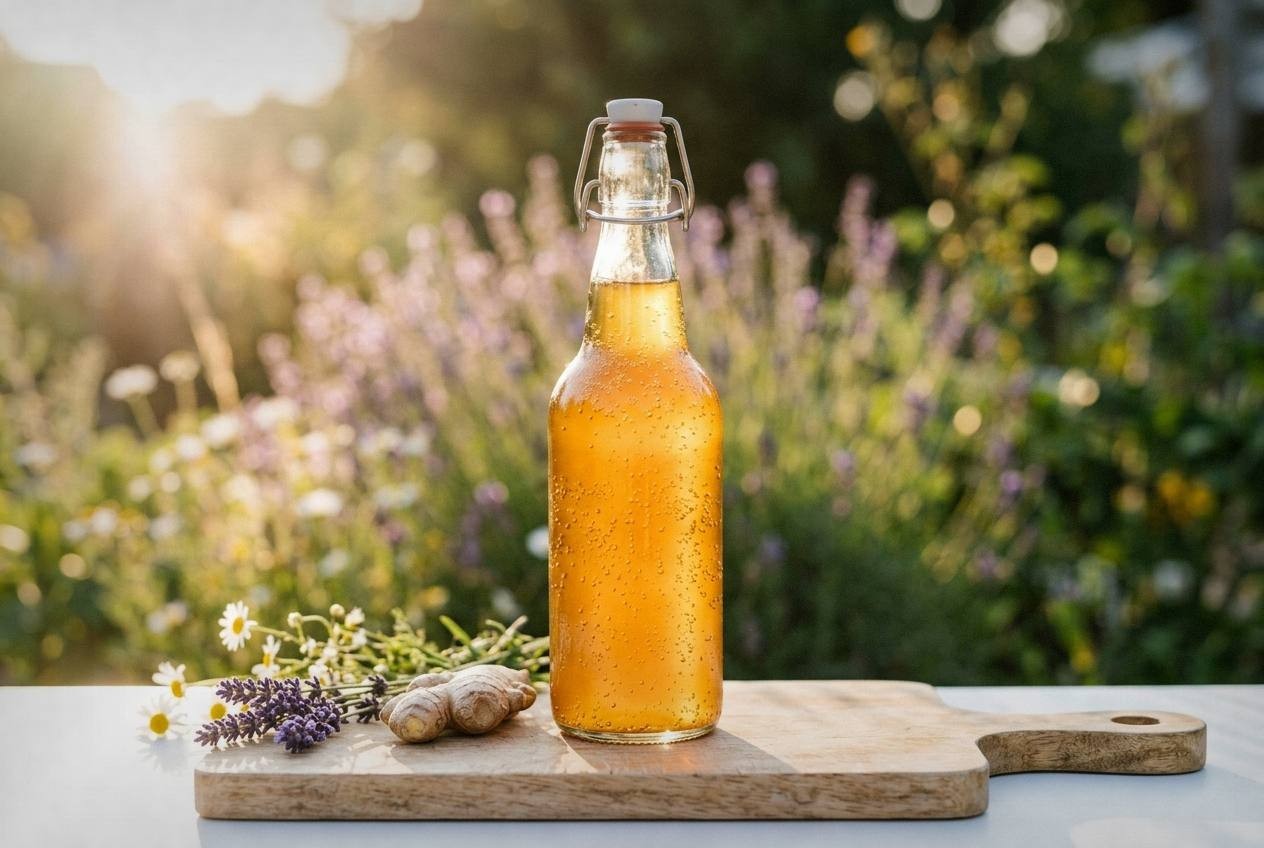
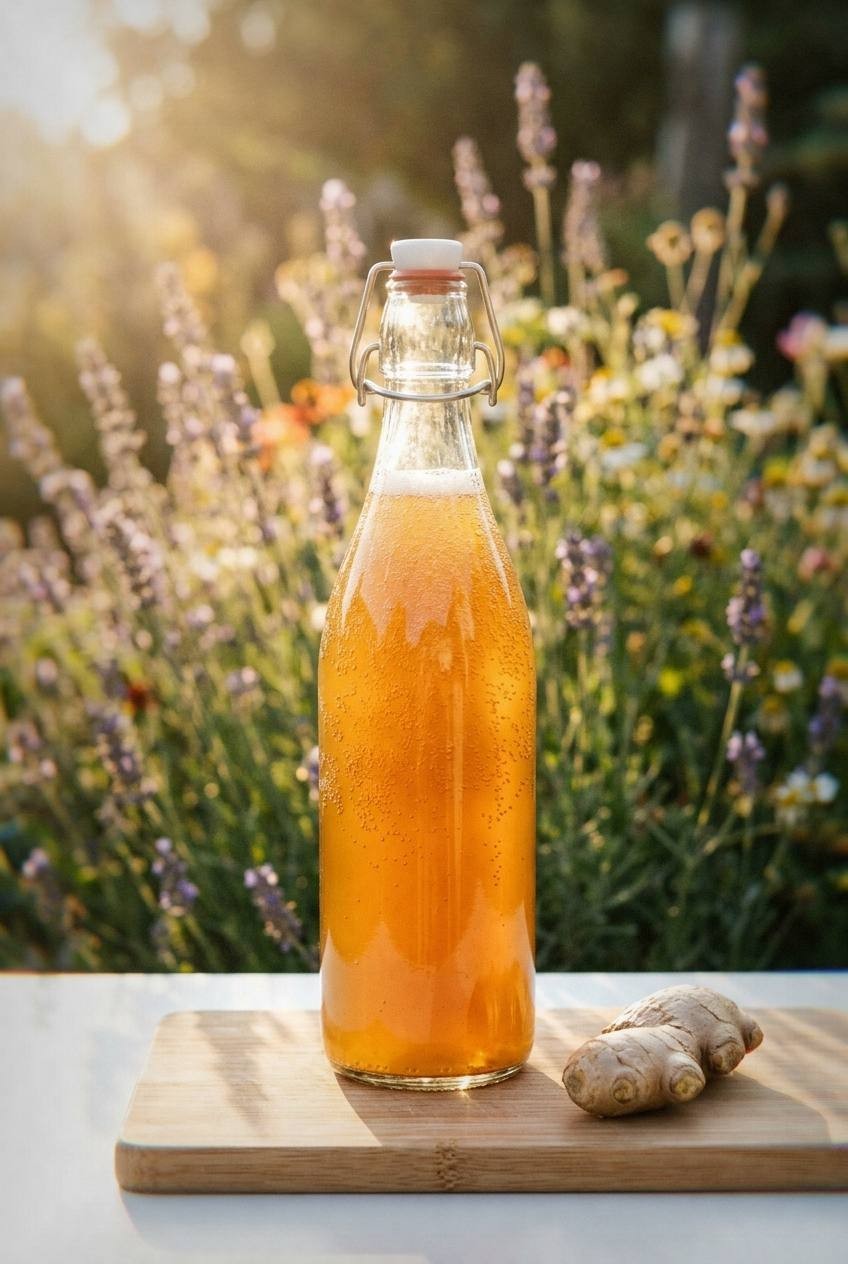
Pour into flip-top swing-top bottles (Grolsch-style), leaving 1 to 2 inches of headspace for carbonation to build. Do not use screw-top bottles, which can fail under pressure.
Leave the bottles at room temperature (68-78F) for 2 to 3 days. Warmer rooms ferment faster.
Burp the bottles once daily by briefly opening and reclosing the cap. This prevents dangerous pressure buildup. Seriously. Do this.
After 2 to 3 days, crack open a test bottle. If it hisses and fizzes when opened, the carbonation is there. If it is flat, leave it another day. When you are happy with the fizz, move all bottles to the fridge. Cold temperatures slow fermentation nearly to a stop.
Ginger Beer vs. Ginger Ale
These are different drinks despite the similar names. Ginger ale is typically a carbonated soft drink with ginger flavoring. Canada Dry and Schweppes are ginger ales. They contain minimal actual ginger and zero fermentation.
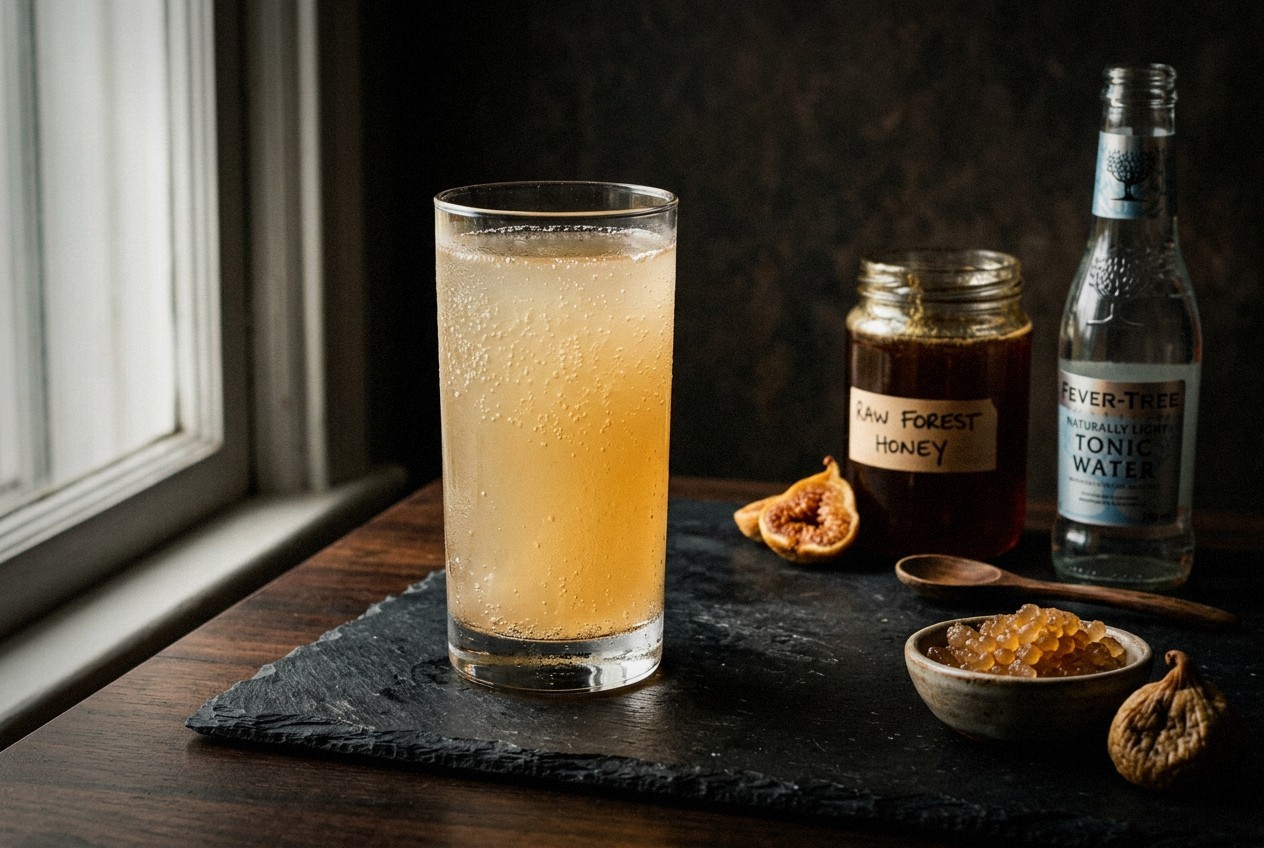
Ginger beer was historically always fermented, spicier, cloudier, and more assertive in flavor. Commercial ginger beer (Fever-Tree, Bundaberg, Reed’s) varies widely in quality. Some are genuinely brewed. Some are just strong ginger ale with different marketing. The Kitchn has a good breakdown of the distinction.
Homemade ginger beer is the most ginger-forward version. You control the spice level by the amount of ginger. You control the sweetness by fermentation time (longer = less sweet, more alcohol). You control the fizz by how long you bottle-condition.
The Quick Version (No Fermentation)
If you want ginger beer today and do not have a ginger bug, this gets you 80% of the way there.
Grate or finely chop 4 inches of fresh ginger. Simmer with 1/2 cup sugar and 2 cups water for 10 minutes. Strain.
Add the juice of 1 lemon. Let cool completely.
Pour 2 to 3 tablespoons of this ginger concentrate into a glass of ice. Top with sparkling water (Topo Chico for maximum fizz).
No probiotics, no wild yeast, no fermentation magic. But it is fresh, spicy, and ready in 30 minutes. Good enough for a Moscow Mule on short notice.
How to Use It
Moscow Mule: 2 oz vodka, 4 oz homemade ginger beer, 1/2 oz fresh lime juice. Copper mug, lots of ice.
Dark and Stormy: 2 oz dark rum, 4 oz ginger beer, squeeze of lime. The traditional Bermuda cocktail.
Mocktail mixer: Use ginger beer as the base for any mocktail that needs spice and fizz. It pairs well with our passion fruit mocktail (replace the sparkling water with ginger beer for a tropical-spicy twist) or the peach ginger fizz.
Straight: Over ice with a squeeze of lime. This is the purest way to appreciate what you made.
Safety
Pressure buildup is real. Fermentation produces CO2 in a sealed container. If you do not burp your bottles daily, the pressure can build enough to shatter glass. Use flip-top bottles designed for fermentation. Never use thin glass or bottles that were not designed for pressure.
Alcohol content is minimal. A 2 to 3 day fermentation at room temperature produces roughly 0.2% to 0.5% ABV. That is comparable to kombucha and well below the 0.5% threshold for non-alcoholic beverages. Longer fermentation (5+ days) and warmer temperatures can push it higher, potentially up to 2%.
Fermentation is forgiving. If your ginger beer tastes too sweet, ferment it longer. If it tastes too dry, shorten the fermentation. The sugar is there to feed the yeast. More fermentation = less sugar = more fizz and more alcohol. You are in control.
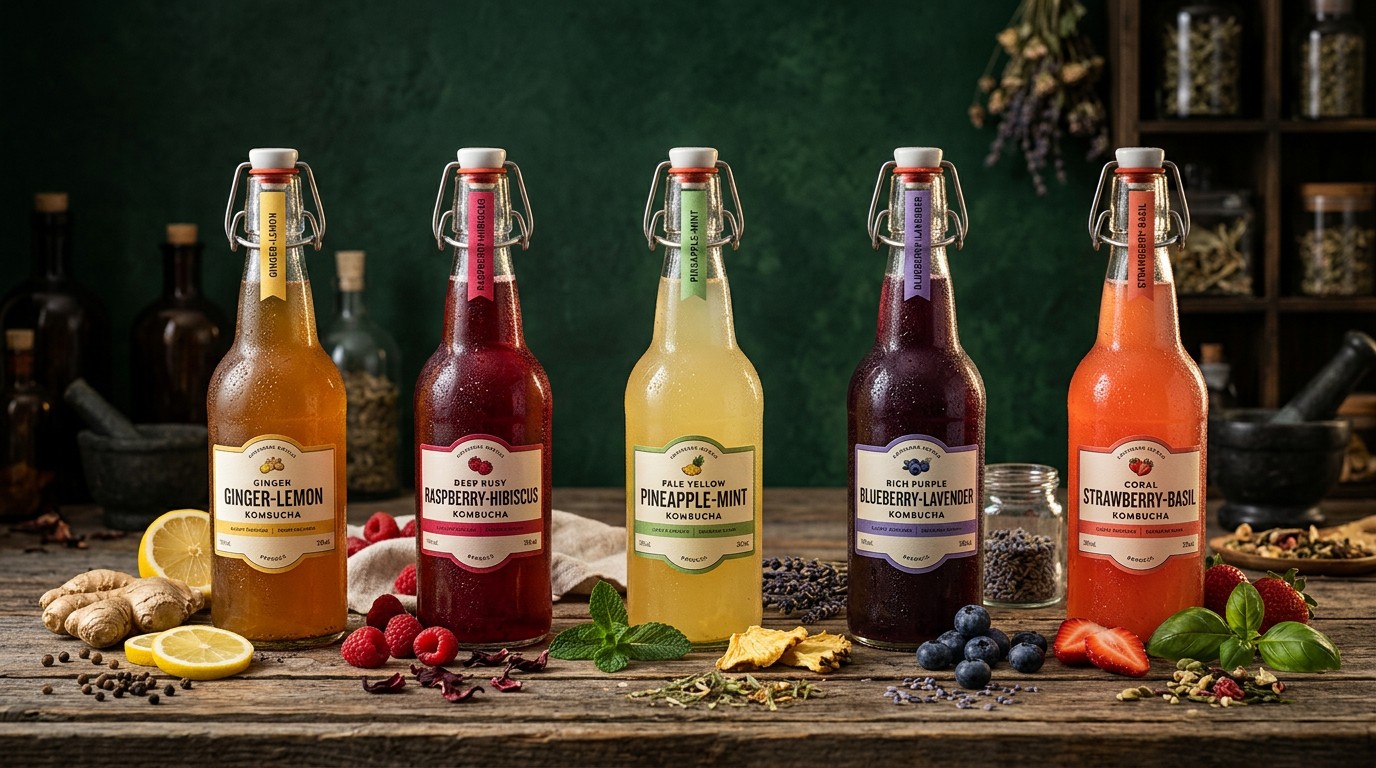
For more fermentation projects, our homemade kombucha guide covers the SCOBY-based approach, the tepache recipe uses pineapple rinds, and the spring kombucha flavors article has seven second-fermentation ideas.
Before You Start
Use organic ginger if possible. The wild yeast lives on the ginger skin. Conventional ginger is sometimes irradiated for shelf stability, which kills the yeast you need for fermentation. Organic ginger from the produce section is the safest bet.
Non-chlorinated water is essential. Chlorine kills microbes, which is the opposite of what you want. Use filtered water, spring water, or let tap water sit uncovered for 24 hours to off-gas the chlorine.
Temperature controls everything. 68-78F is the sweet spot. Below 65F and fermentation stalls. Above 80F and it gets too active, producing off-flavors and excessive alcohol.
Start with less ginger if you are spice-sensitive. Use 4 inches instead of 6 for a milder ginger beer. You can always add more ginger to the next batch.
Common Questions
How do I know when the ginger bug is ready?
Active bubbling when stirred, a pleasant yeasty-ginger smell, and visible bubbles forming on the surface within a few minutes of stirring. If it smells like alcohol or vinegar, it has been at room temperature too long between feedings. Start over.
Can I use the ginger bug for other fermented drinks?
Yes. A ginger bug will ferment any sugar-water mixture. Use it to naturally carbonate fruit sodas, switchels, or herbal tisanes. The technique is the same: make a flavored sugar water, cool it below 100F, add ginger bug liquid, bottle, and ferment 2-3 days.
How spicy will it be?
That depends on how much ginger you use and whether you include the skin. Six inches of ginger makes a noticeably spicy beer. Four inches is moderate. The spiciness also intensifies slightly with fermentation as the gingerols concentrate.
How long does homemade ginger beer last?
Refrigerated in sealed flip-top bottles, it lasts 2 to 3 weeks. The carbonation holds well in cold storage. After about a week, the flavor starts shifting as the yeast continues working slowly. It is best in the first 10 days.

Camille writes about botanical drinks, herbal cocktails, and the old plant wisdom that makes them work. Most days you'll find her in the garden or the kitchen, turning herbs into something worth sipping.