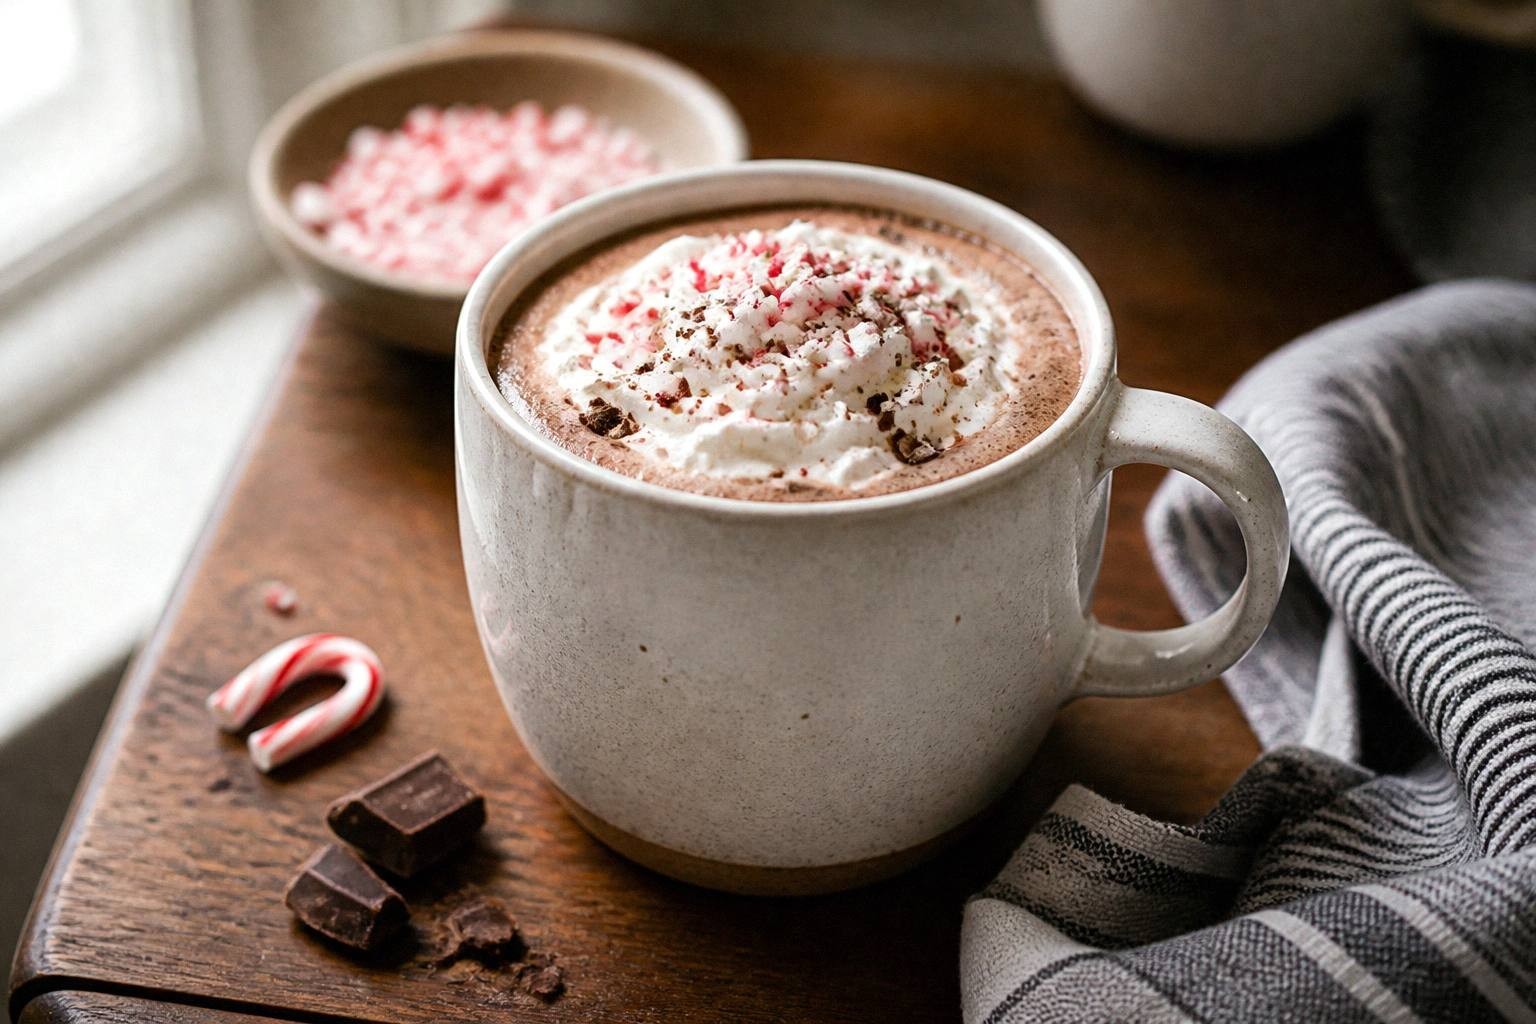
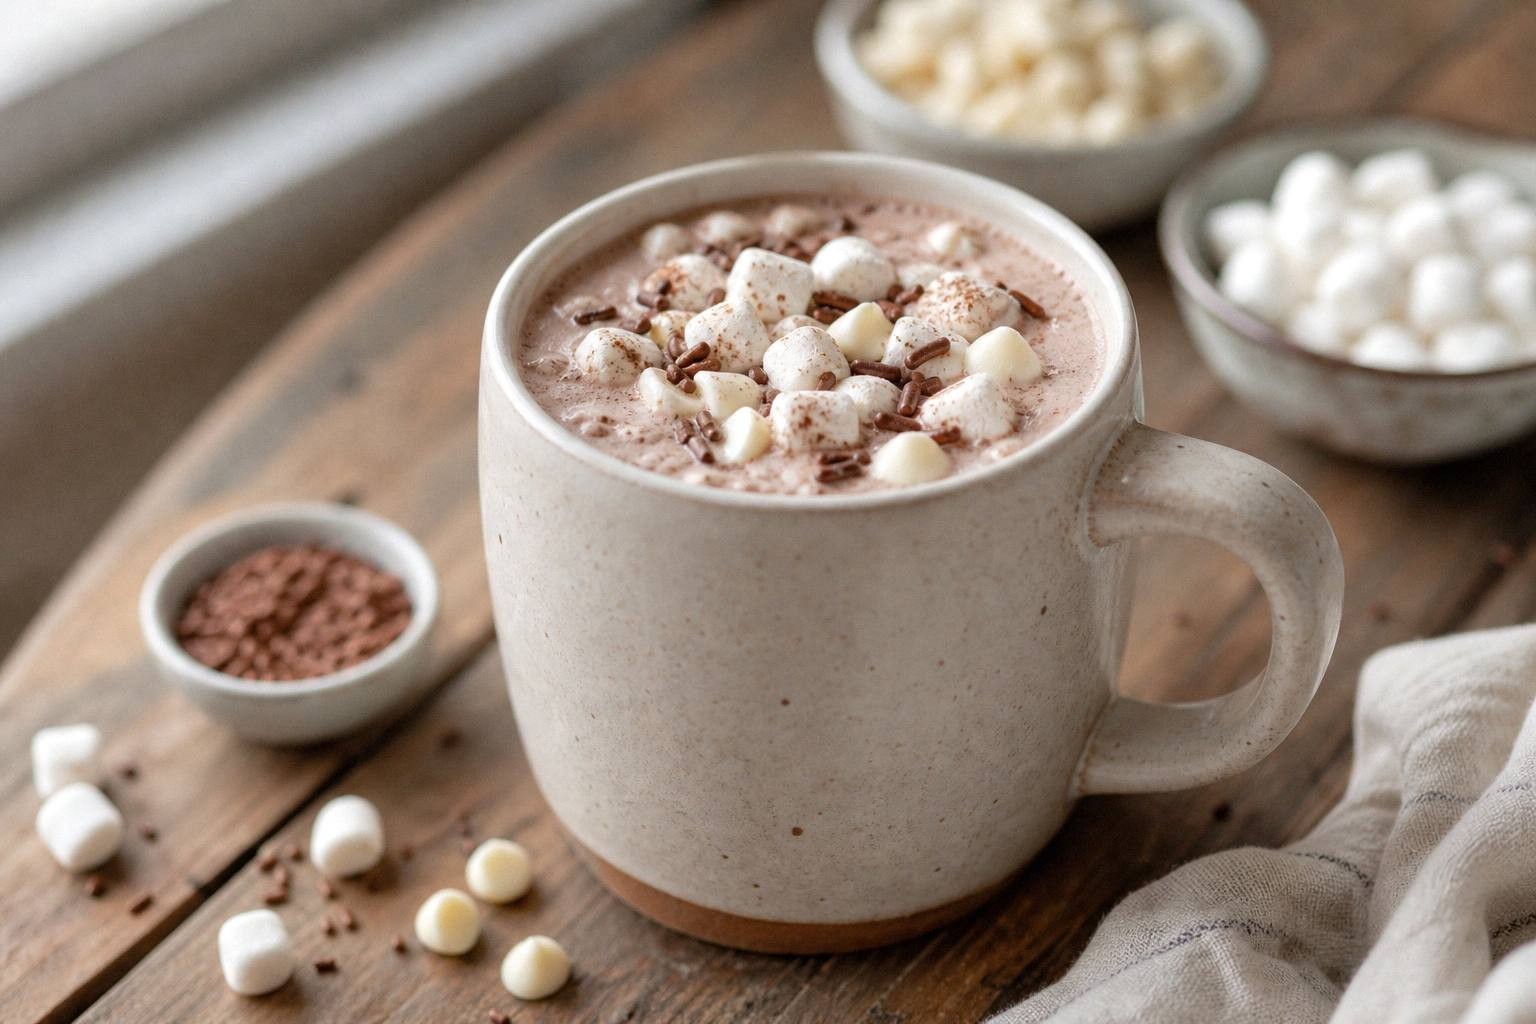
Hot chocolate bombs are hollow chocolate spheres filled with cocoa mix and marshmallows that melt dramatically when you pour hot milk over them. They’ve become a viral sensation for good reason: watching the shell crack open and release a swirl of chocolate and marshmallows into your mug is as satisfying as the drink itself. Making them at home requires just a few ingredients, a silicone mold, and a little patience while the chocolate sets.
What Hot Chocolate Bombs Are and How They Work
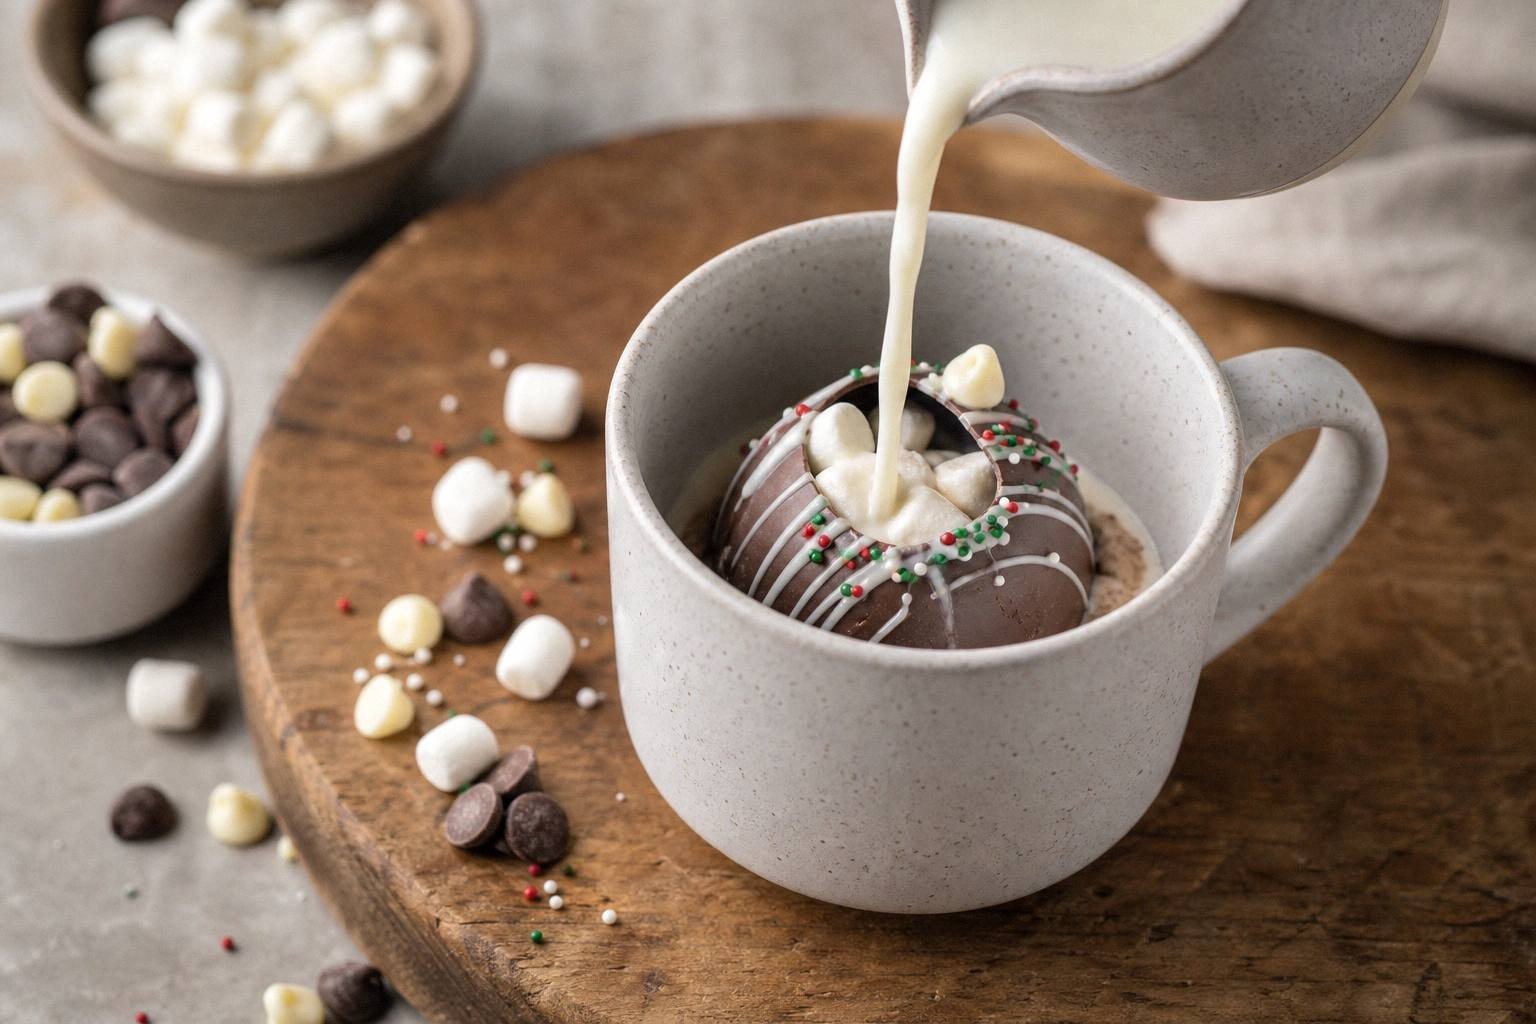
A hot chocolate bomb is a thin-walled chocolate shell that holds dry cocoa mix and mini marshmallows inside. When you place the bomb in a mug and pour hot milk over it, the heat melts the chocolate shell, releasing the filling into the liquid. The result is a rich, creamy hot chocolate with floating marshmallows, all made in a single pour.
The technique relies on creating a shell thick enough to hold its shape at room temperature but thin enough to melt quickly when hot milk hits it. Too thick and the bomb won’t dissolve smoothly; too thin and it cracks during handling. Most successful bombs use a double coating method, building up the shell in two layers with a freeze between each one.
The visual drama comes from the temperature contrast. Room-temperature chocolate meets milk heated to around 160°F, and the shell collapses inward as it softens. Warmer milk creates a faster, more dramatic melt, while cooler milk takes longer and produces a gentler release.
Choosing the Right Chocolate and Molds
| Chocolate Type | Characteristics | Best For |
|---|---|---|
| Milk chocolate | Melts smoothly in hot liquid, mild flavor that pairs with any cocoa mix | Standard hot chocolate bombs |
| Dark chocolate | More intense flavor, can overwhelm sweet fillings | Adult-oriented or less sweet versions |
| White chocolate | Melts faster, lacks cocoa richness | Decorative drizzles or specialty flavors |
| Chocolate chips | Convenient, melt reliably | Easy preparation |
| Bar chocolate (chopped) | More control over quality | Premium results |
| Mold Type | Size | Notes |
|---|---|---|
| Silicone sphere molds | Around 2 inches in diameter | Standard tool, fits comfortably in a mug, holds enough filling to flavor 8 to 10 ounces of milk |
| Plastic Easter egg molds | Varies | Can work in a pinch, but harder to unmold cleanly because chocolate sticks to seams |
Avoid molds with intricate details or sharp angles. The chocolate needs to release cleanly when you peel back the silicone, and complex shapes create weak points where the shell can crack. Smooth, rounded cavities give you the most consistent results.
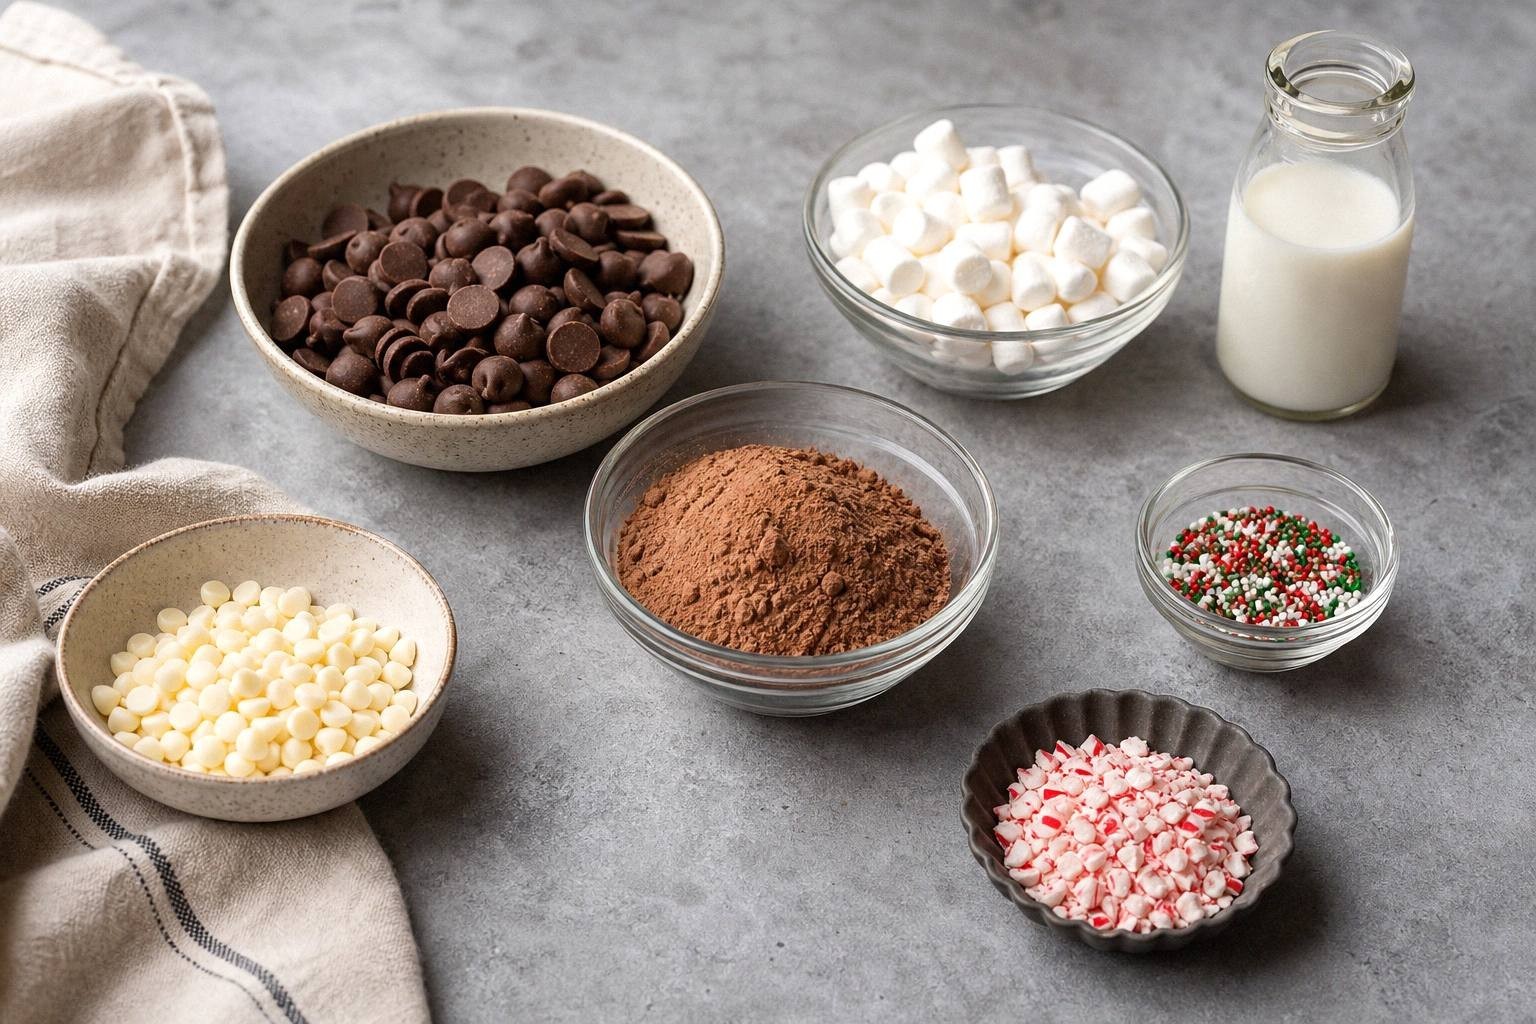
Ingredients
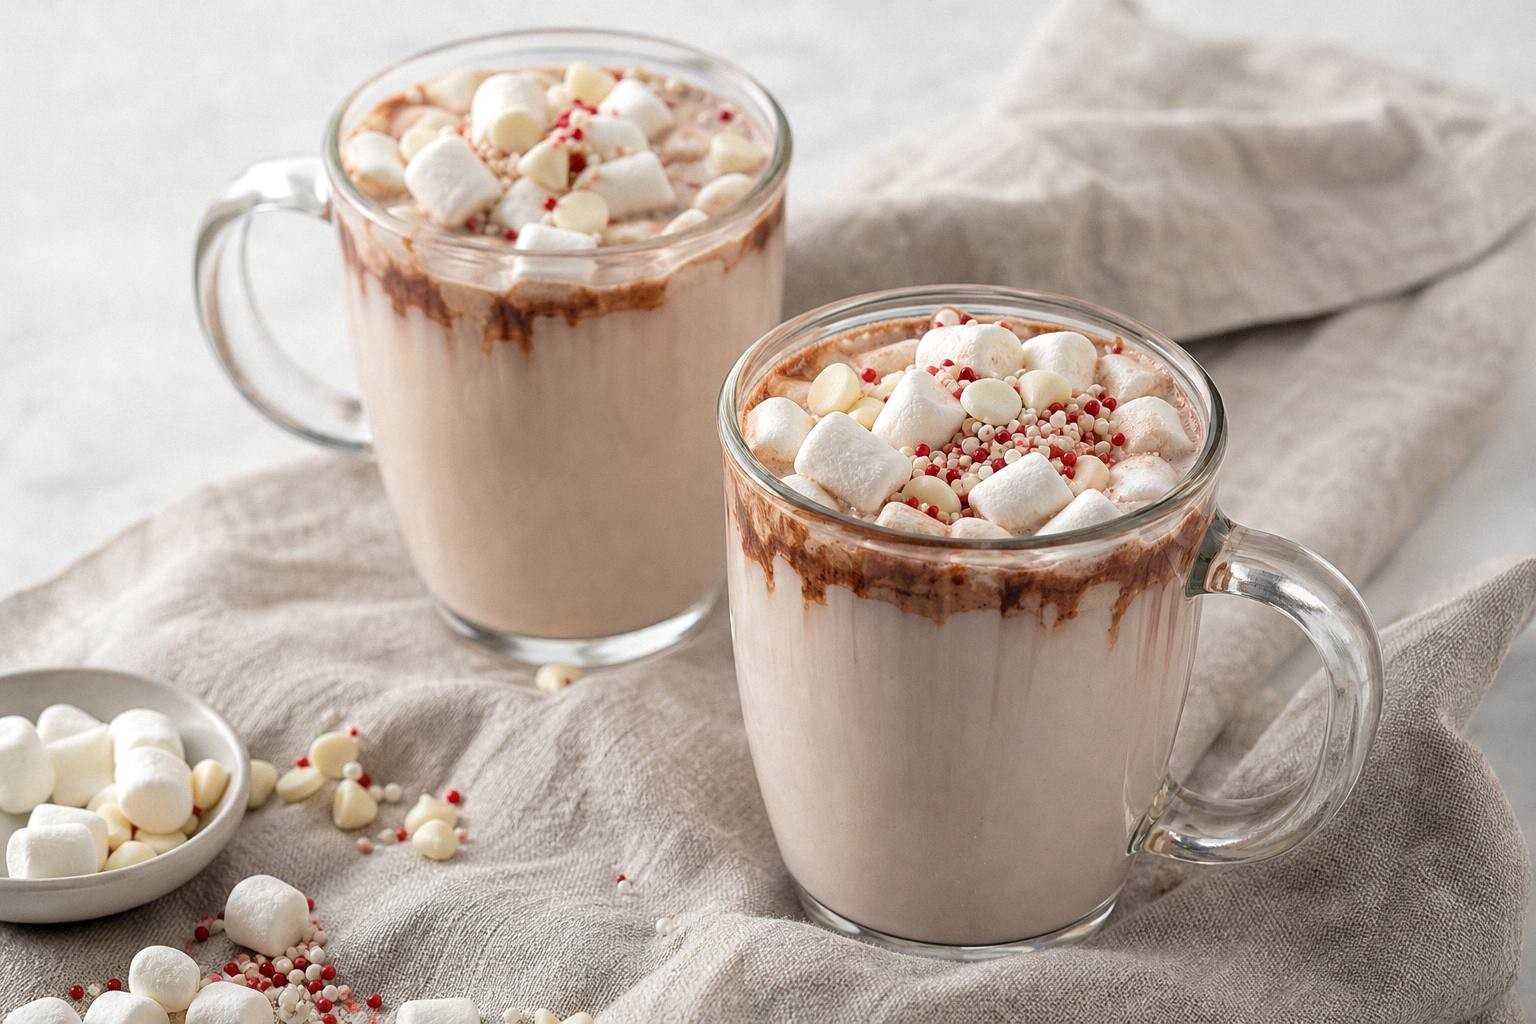
- 1 cup milk chocolate chips
- 6 teaspoons hot chocolate mix
- 6 teaspoons mini marshmallows
- 1/4 cup white chocolate chips
- sprinkles
Instructions
- Melt the milk chocolate in a microwave-safe bowl, stirring every 30 seconds until smooth.
- Add 1 tablespoon of the melted chocolate into the molds and use the back of the spoon to spread it across the bottom and up the sides of the dome mold.
- Place the molds on a flat surface like a cutting board or baking sheet and freeze for at least 15 minutes.
- Depending on the thickness of the chocolate shell, you may want to do a second coat, spreading melted chocolate onto the first hardened coat and chilling it again.
- Gently peel the silicone mold back and pop the half-spheres out. Place them on a piece of parchment paper. Fill six of the semi-spheres with your hot chocolate mix and marshmallows.
- Place a pan over medium heat. One at a time, take an empty semi-sphere and place it in the hot pan for 2 to 3 seconds until the rim gets melted.
- Place the melted rim on top of the semi-sphere filled with cocoa mix and marshmallows and press until attached. Continue this process until you have 6 cocoa bombs.
- Melt the white chocolate in a microwave-safe bowl, stirring every 30 seconds. Transfer to a plastic baggie and cut off the corner.
- Make sure the white chocolate isn’t too hot, because it will melt the bomb, then drizzle the white chocolate on the hot chocolate bombs.
- Add some sprinkles and chill for 5 to 10 minutes until the chocolate is set. Store at room temperature or in the fridge for hotter climates.
Tempering vs. Simple Melting
You don’t need to temper chocolate for hot chocolate bombs, but understanding the trade-off helps you decide whether the extra step is worth it. Tempered chocolate has a glossy finish, snaps cleanly, and stays stable at room temperature without developing white streaks or soft spots. Untempered chocolate melts just as easily in hot milk but may look dull or develop bloom, a harmless white film caused by cocoa butter rising to the surface.
For bombs you’ll use within a week or two, simple melting works fine. The shells hold their shape, the filling stays dry, and any cosmetic imperfections disappear the moment the bomb hits hot milk. If you’re making a large batch for gifting or want a professional-looking finish, tempering gives you a sturdier shell that resists fingerprints and stays shiny for weeks.
The seeding method is the most reliable tempering technique for small batches. Melt two-thirds of your chocolate to around 115°F, then stir in the remaining third in small pieces. The unmelted chocolate seeds the mixture with stable crystals, bringing the temperature down to the working range of 88 to 91°F. You’ll know it’s tempered when a small test smear on parchment sets firm and glossy within a few minutes at room temperature.
Filling and Decoration Ideas
Hot chocolate mix and mini marshmallows are the classic filling, but you can customize the bombs to match any flavor or occasion. Crushed peppermint candies, caramel chips, or a pinch of cinnamon add seasonal flair without changing the basic technique. Keep the total filling volume to around 2 teaspoons per bomb so the shell has room to seal properly.
For decoration, drizzle melted white or dark chocolate over the sealed bombs in a zigzag pattern, then add sprinkles, edible glitter, or crushed freeze-dried fruit before the drizzle sets. You can also dust the finished bombs with cocoa powder or powdered sugar for a matte finish. Handle decorated bombs gently, since the toppings can smudge or flake off if you grip them too firmly.
Themed bombs work well for holidays. Use red and green sprinkles for Christmas, pastel colors for Easter, or orange and black for Halloween. You can also tint white chocolate with oil-based food coloring to create custom drizzle colors, though gel or water-based dyes will seize the chocolate and ruin the texture.
Storage and Gifting
Store hot chocolate bombs in an airtight container at room temperature, away from direct sunlight and heat sources. They’ll keep for up to two weeks if the chocolate was properly melted and the shells are thick enough to resist cracking. Don’t refrigerate them unless your kitchen is unusually warm, since condensation can form on cold chocolate when it returns to room temperature, creating a sticky surface.
For gifting, wrap each bomb individually in a clear cellophane bag tied with ribbon, or nestle them in small boxes lined with tissue paper. Include a card with usage instructions: place the bomb in a mug, pour 8 to 10 ounces of hot milk over it, and stir until fully melted. Specify whether the recipient should use dairy milk, since some plant-based milks don’t get hot enough to melt the shell quickly.
If you’re shipping bombs, pack them in a sturdy box with plenty of cushioning and avoid sending them during hot weather. Chocolate softens above 80°F, and a bomb that arrives melted can’t be salvaged. Consider adding a cold pack if you’re shipping in summer, though overnight delivery is the safest option.
Common Problems and How to Fix Them
- Shells crack when you unmold them: The chocolate layer is too thin. Add a second coat and freeze again before removing the shells from the mold.
- Shells won’t release from the mold: They haven’t frozen long enough, or the mold has residue from a previous batch. Freeze for an extra 5 minutes and make sure the mold is completely clean and dry before you start.
- The seam doesn’t seal: The rim wasn’t warm enough when you pressed the halves together. Heat the pan a bit longer, or hold the rim against the hot surface for an extra second before joining the pieces.
- Chocolate develops white streaks or spots: This is bloom, caused by temperature fluctuations or moisture. It’s harmless and disappears when the bomb melts, but you can prevent it by storing bombs in a cool, dry place and avoiding the refrigerator.
- Fingerprints show on the finished bombs: Handle the shells by the edges only, or wear clean cotton gloves when decorating. Tempered chocolate resists fingerprints better than untempered.
- The bomb doesn’t melt fully in the mug: The milk wasn’t hot enough, or the shell is too thick. Heat the milk to at least 150°F and aim for shells no thicker than an eighth of an inch.
Frequently Asked Questions
What chocolate works best for hot chocolate bombs?
Milk chocolate chips are the easiest option because they melt smoothly and taste mild enough to pair with any cocoa mix. Bar chocolate chopped into small pieces works too, though you’ll need to stir it more often to avoid scorching. Avoid chocolate with added oils or coatings, since those can make the shells greasy or prevent them from setting properly.
Do you need to temper chocolate for hot chocolate bombs?
No, tempering is optional. Untempered chocolate melts just as well in hot milk and tastes identical. Tempering gives you a glossy finish and a sturdier shell that resists bloom and fingerprints, which matters if you’re gifting the bombs or storing them for more than a week.
What size mold should I use?
A 2-inch diameter sphere mold is the standard size. It yields bombs that fit in a regular mug and hold enough filling to flavor 8 to 10 ounces of milk. Larger molds work if you want a more dramatic presentation, but you’ll need to increase the filling proportionally and use a bigger mug.
How do you get the chocolate shells out of the molds?
Freeze the molds for at least 15 minutes until the chocolate pulls away slightly from the silicone. Gently peel the mold back from the edge and the shell should pop out cleanly. If it sticks, freeze for another 5 minutes and try again.
How long do hot chocolate bombs last?
They’ll keep for up to two weeks in an airtight container at room temperature, away from heat and sunlight. The chocolate stays firm and the filling stays dry as long as the shells are sealed properly and stored in a cool, dry place.
What can you put inside hot chocolate bombs?
Any dry ingredient that dissolves or softens in hot milk works. Try crushed peppermint candies, caramel chips, instant coffee granules, or a pinch of cinnamon. Keep the total filling to around 2 teaspoons per bomb so the shell seals without gaps.
Conclusion
Hot chocolate bombs turn a simple mug of cocoa into a small event, and making them at home lets you control the chocolate quality and customize the fillings. The technique is forgiving once you understand how thick the shells need to be and how to seal them without cracking. Whether you’re making a batch for yourself or wrapping them as gifts, the process is straightforward enough to repeat whenever you want a little extra drama in your hot chocolate routine.