Rosemary hair rinse with fresh rosemary, distilled water, and optional apple cider vinegar. Herbal DIY for scalp and shine. Includes ratio and steep time.
Rosemary hair rinse is an old kitchen-sink sort of beauty project. You steep the herb, let the water cool, and use it after shampooing when your hair wants something lighter than another product.
This is not a miracle hair-growth cure, and I would not use it that way. A quick water-based rosemary rinse is not the same thing as a studied rosemary oil preparation. What it can be is simple, fragrant, scalp-freshening, and easy enough to make on a Sunday night.
The finished rinse smells green and clean. I like it most on the days when hair feels a little flat from dry shampoo, sweat, or too much conditioner.
At a Glance
| Detail | Info |
|---|---|
| Prep time | 10 minutes |
| Steep time | 20 to 30 minutes |
| Yield | About 2 cups |
| Difficulty | Beginner |
| Best for | Normal to oily hair, dull hair, product buildup days |
| Optional add-in | 1 teaspoon apple cider vinegar |
| Storage | Refrigerator |
| Use within | 3 to 4 days |
Why Rosemary Works Well in a Hair Rinse
Rosemary has a crisp, resinous scent that smells clean without turning perfumey. In a rinse, it gives plain water a light herbal bite. Nothing complicated.
There is also a reason rosemary has become so popular in hair care conversations. A 2015 randomized trial listed in PubMed compared rosemary oil with 2 percent minoxidil for androgenetic alopecia over six months. That study gets mentioned often online, but it is important to keep the context straight: it studied rosemary oil for a specific hair loss condition, not a homemade rosemary water rinse.
So I would keep the promise modest. Use it as a fresh herbal rinse for shine, scalp feel, and a clean finish after shampoo. If you are dealing with sudden shedding, patchy hair loss, scalp pain, or a medical condition, this is not the replacement for a clinician.
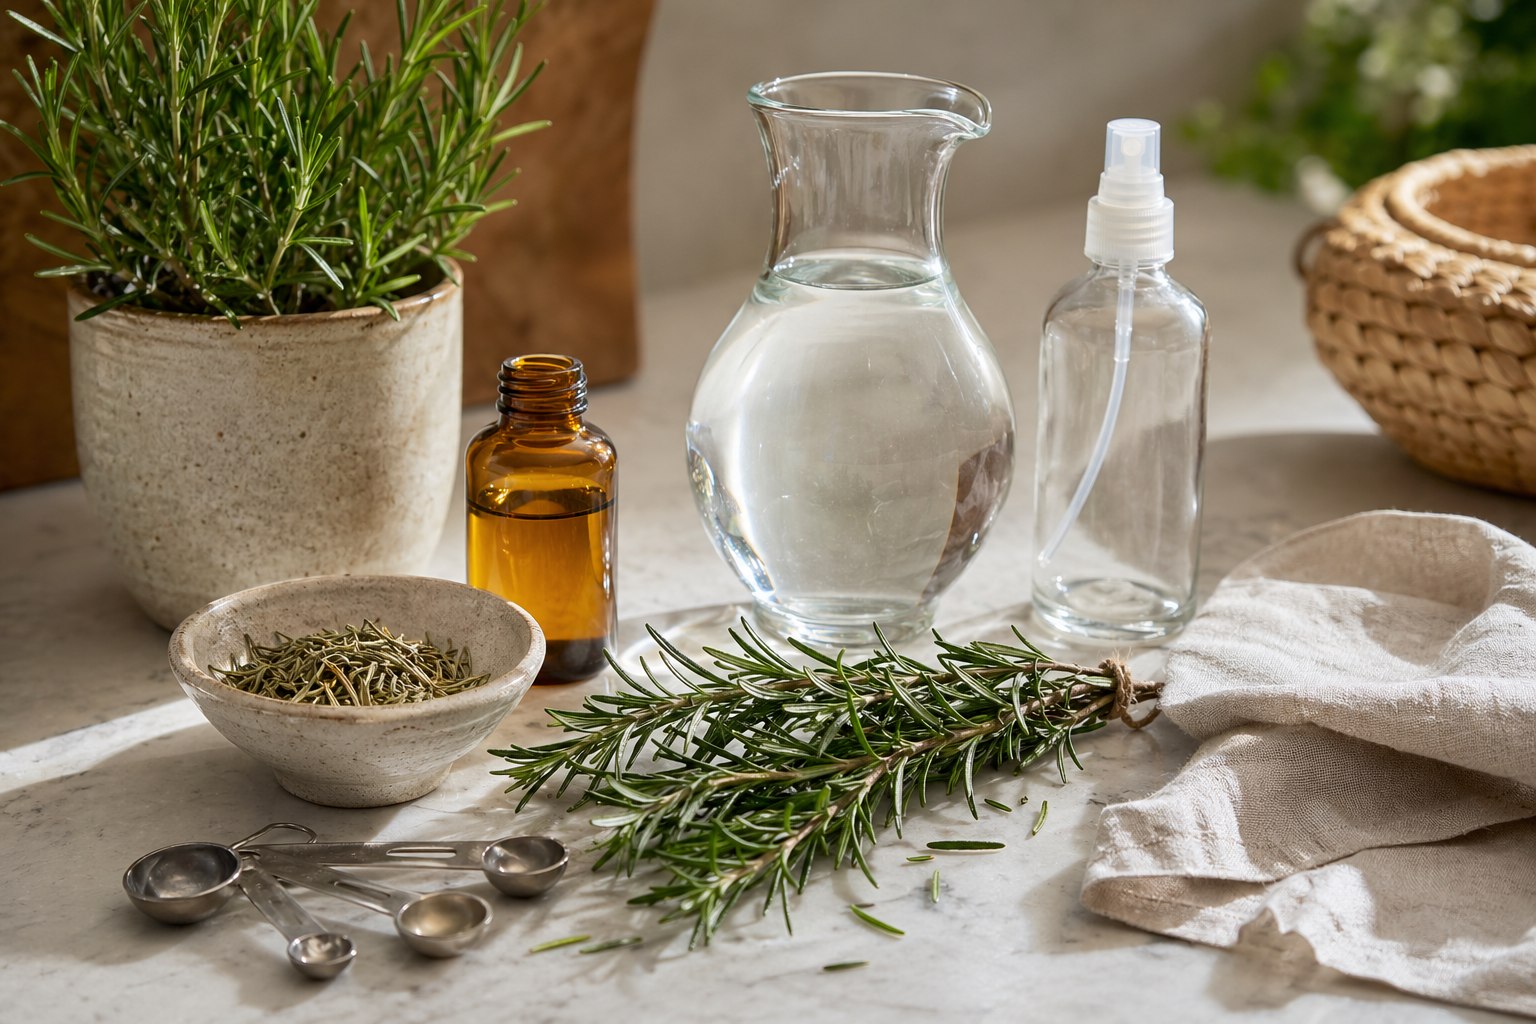
Ingredients
- 2 cups distilled water
- 3 to 4 fresh rosemary sprigs, or 2 tablespoons dried rosemary
- 1 teaspoon apple cider vinegar, optional
- 1 clean glass jar or spray bottle
Distilled water: Use distilled water if you can. It gives the rinse a cleaner starting point and avoids the mineral smell tap water sometimes brings.
Fresh or dried rosemary: Fresh sprigs look beautiful and smell bright. Dried rosemary is stronger and easier to keep in the pantry. Either works.
Apple cider vinegar: This is optional. Use only a small amount. Too much vinegar can make hair feel rough, and some scalps hate it.
A clean bottle: This is a water-based DIY with no preservative system, so do not treat the bottle like a casual kitchen jar. Wash it well, rinse it, and let it dry before filling.
Make the Rosemary Rinse
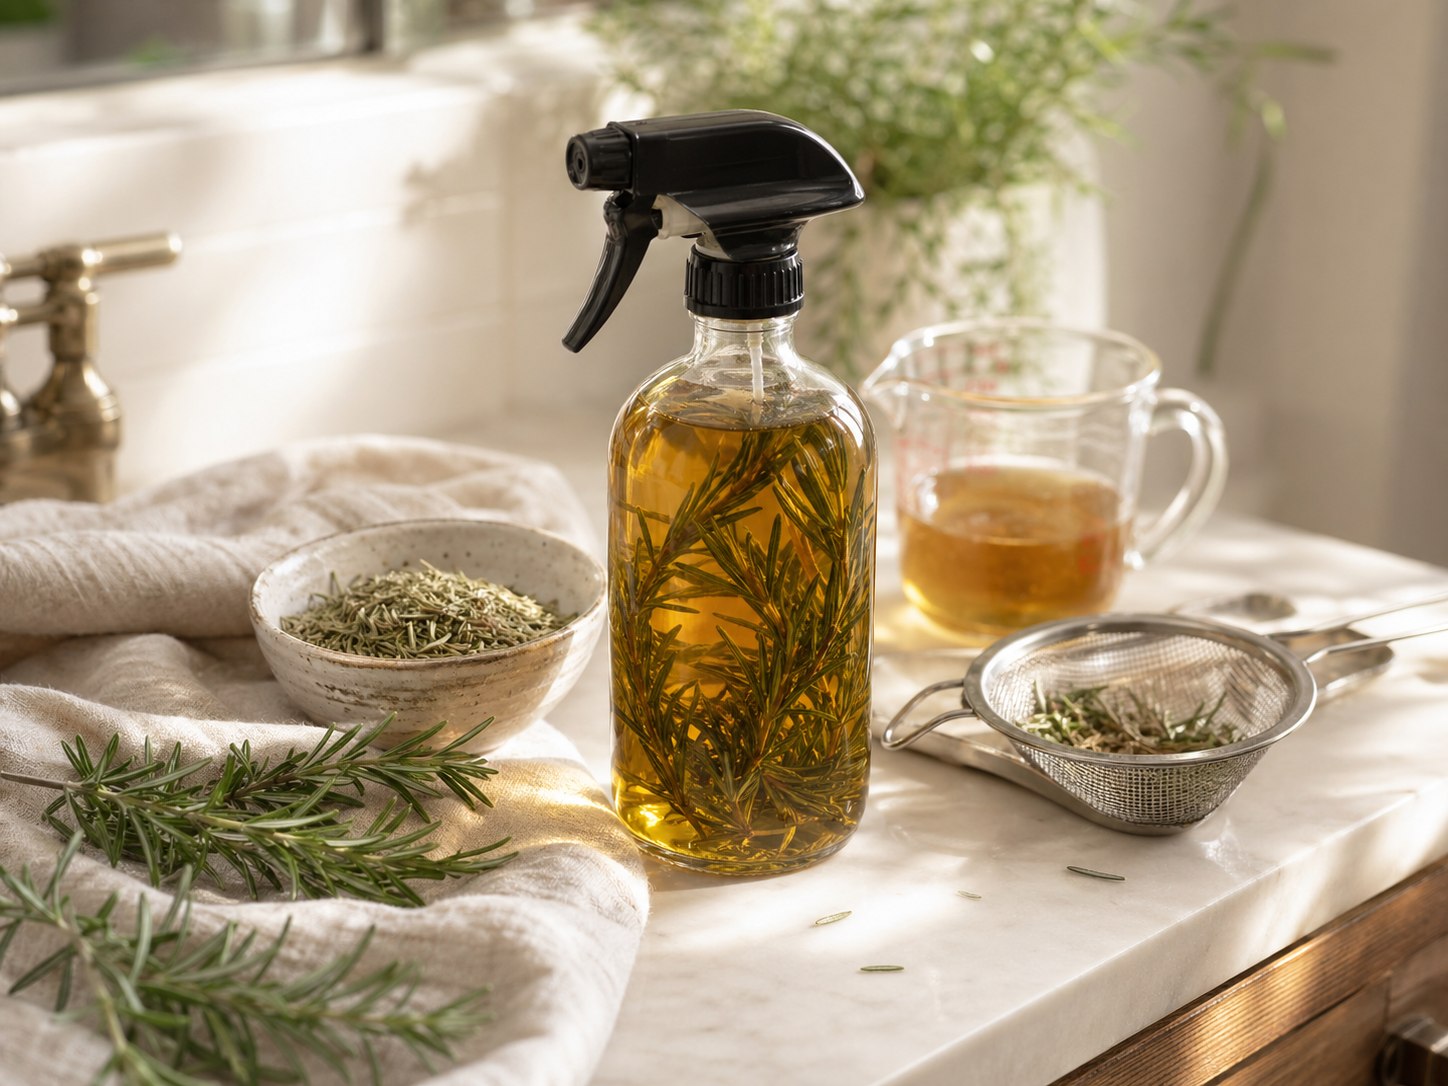
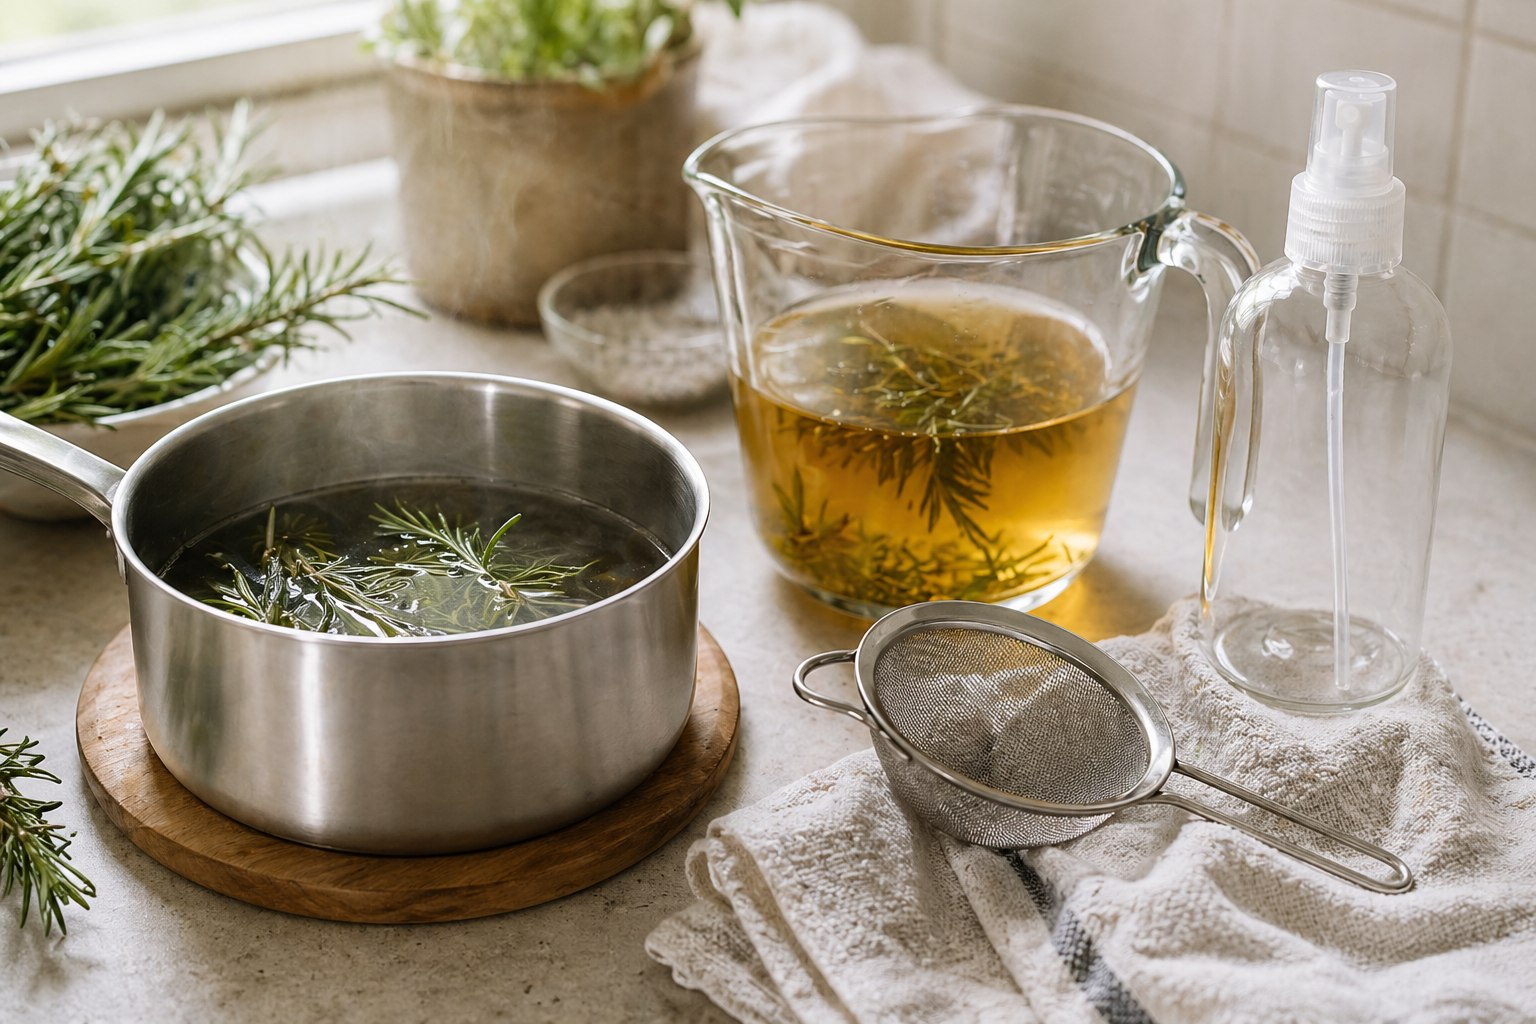
Bring 2 cups distilled water just to a simmer. Turn off the heat, add the rosemary, and cover the pot. Let it steep for 20 to 30 minutes.
The water should turn pale gold to greenish amber. If it looks very dark or smells harsh, it probably steeped too long or had too much dried rosemary in it.
Strain through a fine mesh strainer or cheesecloth. Let the rinse cool completely before using it on your scalp.
If you want a slightly more clarifying rinse, stir in 1 teaspoon apple cider vinegar after the liquid cools. Do not add more the first time. Hair and scalp tolerance is personal.
How to Use It
Shampoo as usual. After rinsing out shampoo, pour or spray the rosemary rinse over your scalp and hair. Massage lightly with your fingertips for a minute.
You have two options:
- Rinse it out after 2 to 3 minutes if your hair is fine, dry, color-treated, or easily irritated.
- Leave a light amount in if your scalp tolerates it and your hair does not feel coated.
For the first use, rinse it out. That gives you a cleaner read on how your hair responds before you start leaving it in.
Use once or twice a week. More is not automatically better. If your scalp feels itchy, tight, flaky, or irritated, stop using it.
Storage and Shelf Life
This is the boring part people skip, and it is the part that matters.
Homemade rosemary water is not shelf-stable. It contains water, plant material, and no preservative. The FDA notes that moisture, heat, fingers in containers, and time can all affect cosmetic shelf life and make microbial growth more likely.
Store this rinse in the refrigerator and use it within 3 to 4 days. If it smells off, changes color, gets cloudy in a strange way, or develops anything floating in it, throw it out.
The lowest-fuss version is the safest one: make only what you need for one or two showers.
Safety Notes
Patch test first. Dab a little cooled rinse on the inside of your arm and wait a day if your skin is reactive.
Do not use it on broken skin, a painful scalp, open sores, or an active rash. Keep it out of your eyes. If it gets in your eyes, rinse with clean water.
Skip the apple cider vinegar if your hair is freshly colored, your scalp is sensitive, or acidic rinses have made your hair feel rough before.
Do not add rosemary essential oil to this water rinse unless you already know how to dilute essential oils safely. Essential oil does not mix evenly into water, so it can sit on the surface in strong droplets.
Easy Variations
Rosemary mint rinse: Add 1 tablespoon dried peppermint or a few fresh mint leaves for a cooler scalp feel. Avoid this if mint bothers your skin.
Rosemary nettle rinse: Add 1 tablespoon dried nettle for a more earthy herbal rinse.
Rosemary lavender rinse: Add 1 teaspoon dried lavender for a softer scent. Keep it light so it does not smell like a sachet.
No-vinegar shine rinse: Leave out the apple cider vinegar and use only rosemary water. This is the gentlest first batch.
When I Would Use This
I like this kind of rinse after a simple shampoo, especially when hair feels dull from dry shampoo, sweat, or styling product. It is also nice before an everything-shower reset, when the bathroom already smells like warm water and clean towels.
The appeal is not that it replaces a real treatment. The appeal is that it is simple, fresh, and useful.
A few sprigs of rosemary, a clean bottle, and half an hour. That is enough for a good home apothecary project.
Printable recipe
Rosemary Hair Rinse Recipe for Shiny Hair
Rosemary hair rinse with fresh rosemary, distilled water, and optional apple cider vinegar. Herbal DIY for scalp and shine. Includes ratio and steep time.
Ingredients
- 2 cups distilled water
- 3 to 4 fresh rosemary sprigs, or 2 tablespoons dried rosemary
- 1 teaspoon apple cider vinegar, optional
- 1 clean glass jar or spray bottle
Instructions
- Bring distilled water just to a simmer, then turn off the heat.
- Add rosemary, cover, and steep for 20 to 30 minutes.
- Strain well through a fine mesh strainer or cheesecloth.
- Let the rosemary rinse cool completely.
- Stir in apple cider vinegar if using.
- Pour into a clean jar or spray bottle.
- Use after shampooing, then rinse out or leave in lightly if your scalp tolerates it.
- Store in the refrigerator and use within 3 to 4 days.
Keep browsing
Turn this into the next thing you make

Camille writes about botanical drinks, herbal cocktails, and the old plant wisdom that makes them work. Most days you'll find her in the garden or the kitchen, turning herbs into something worth sipping.