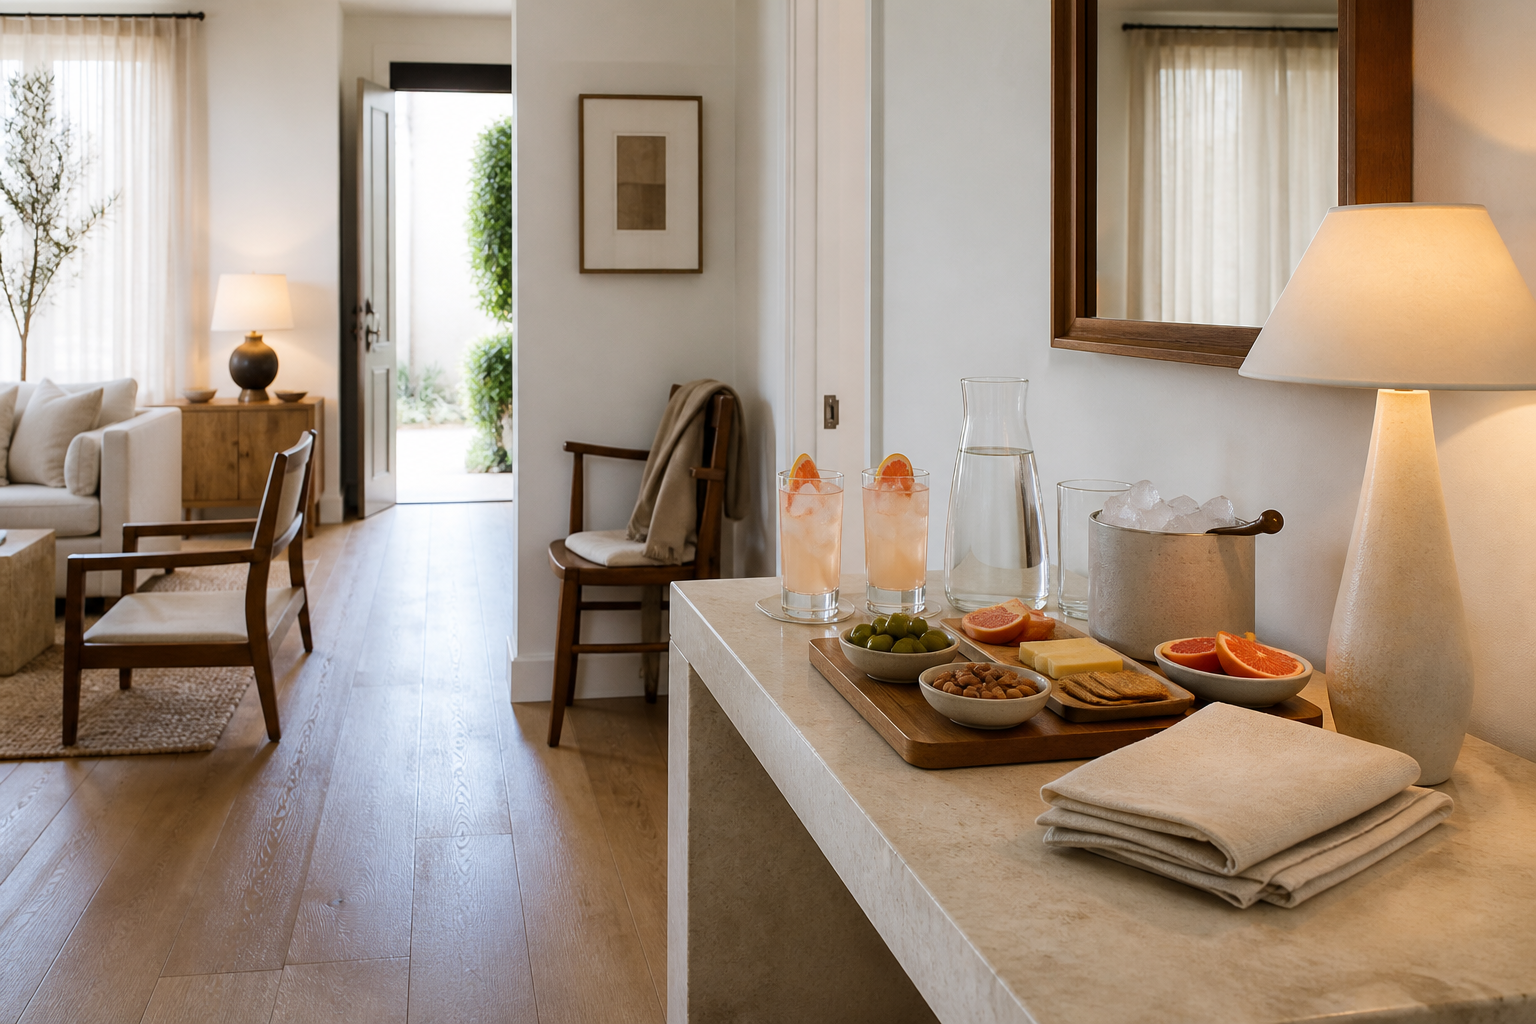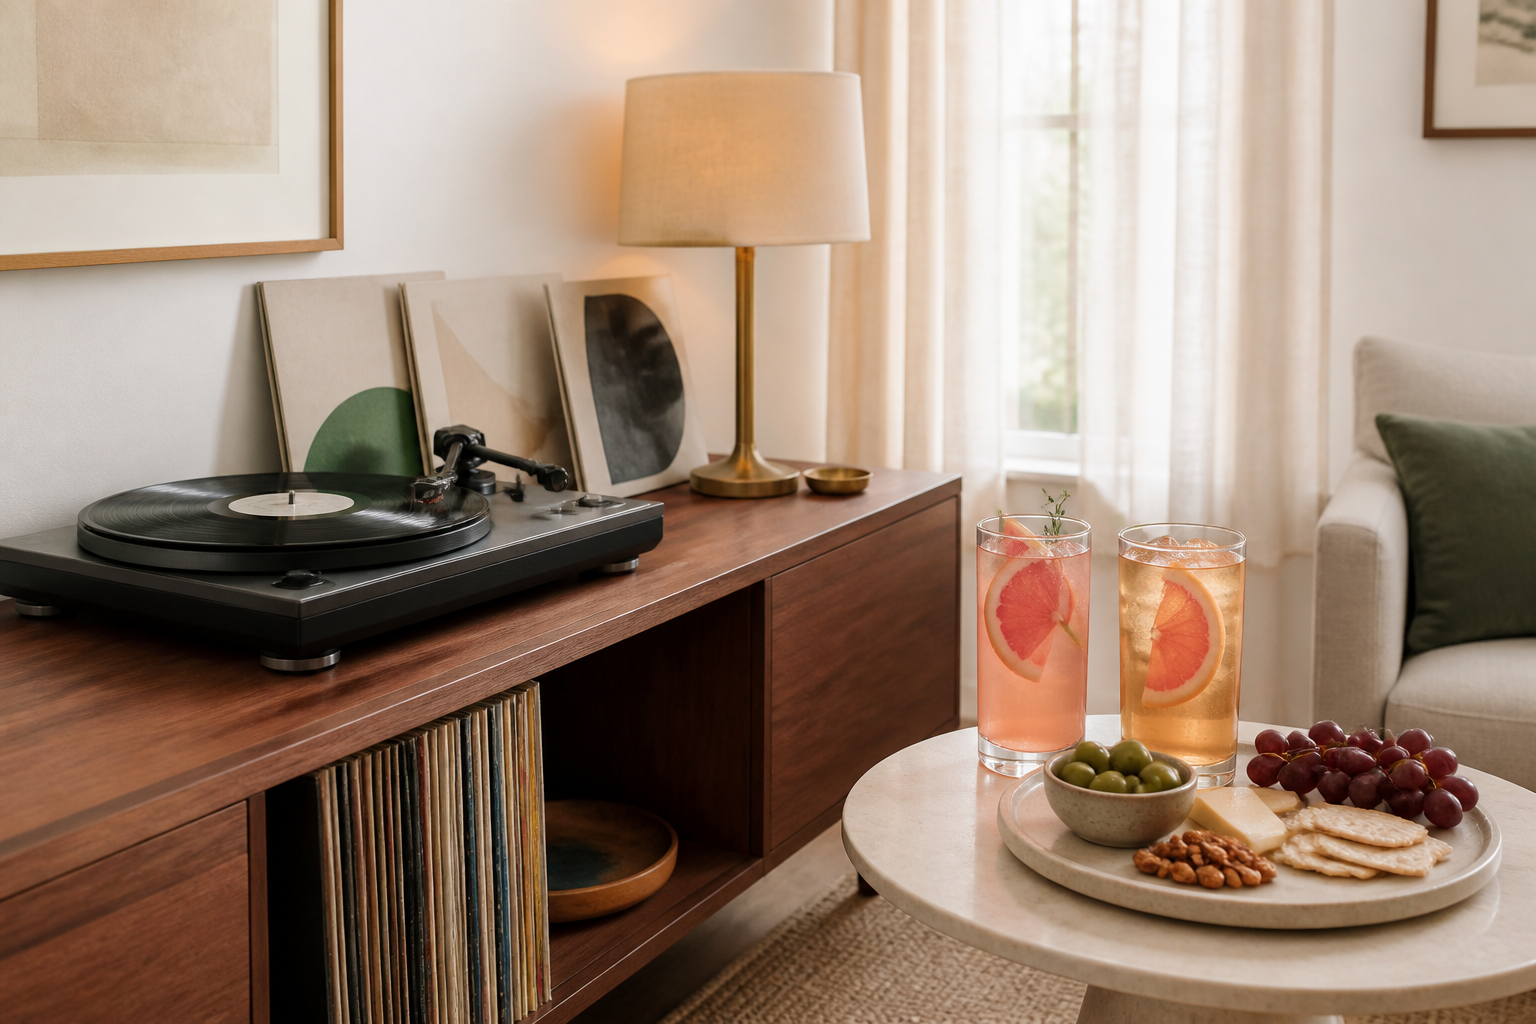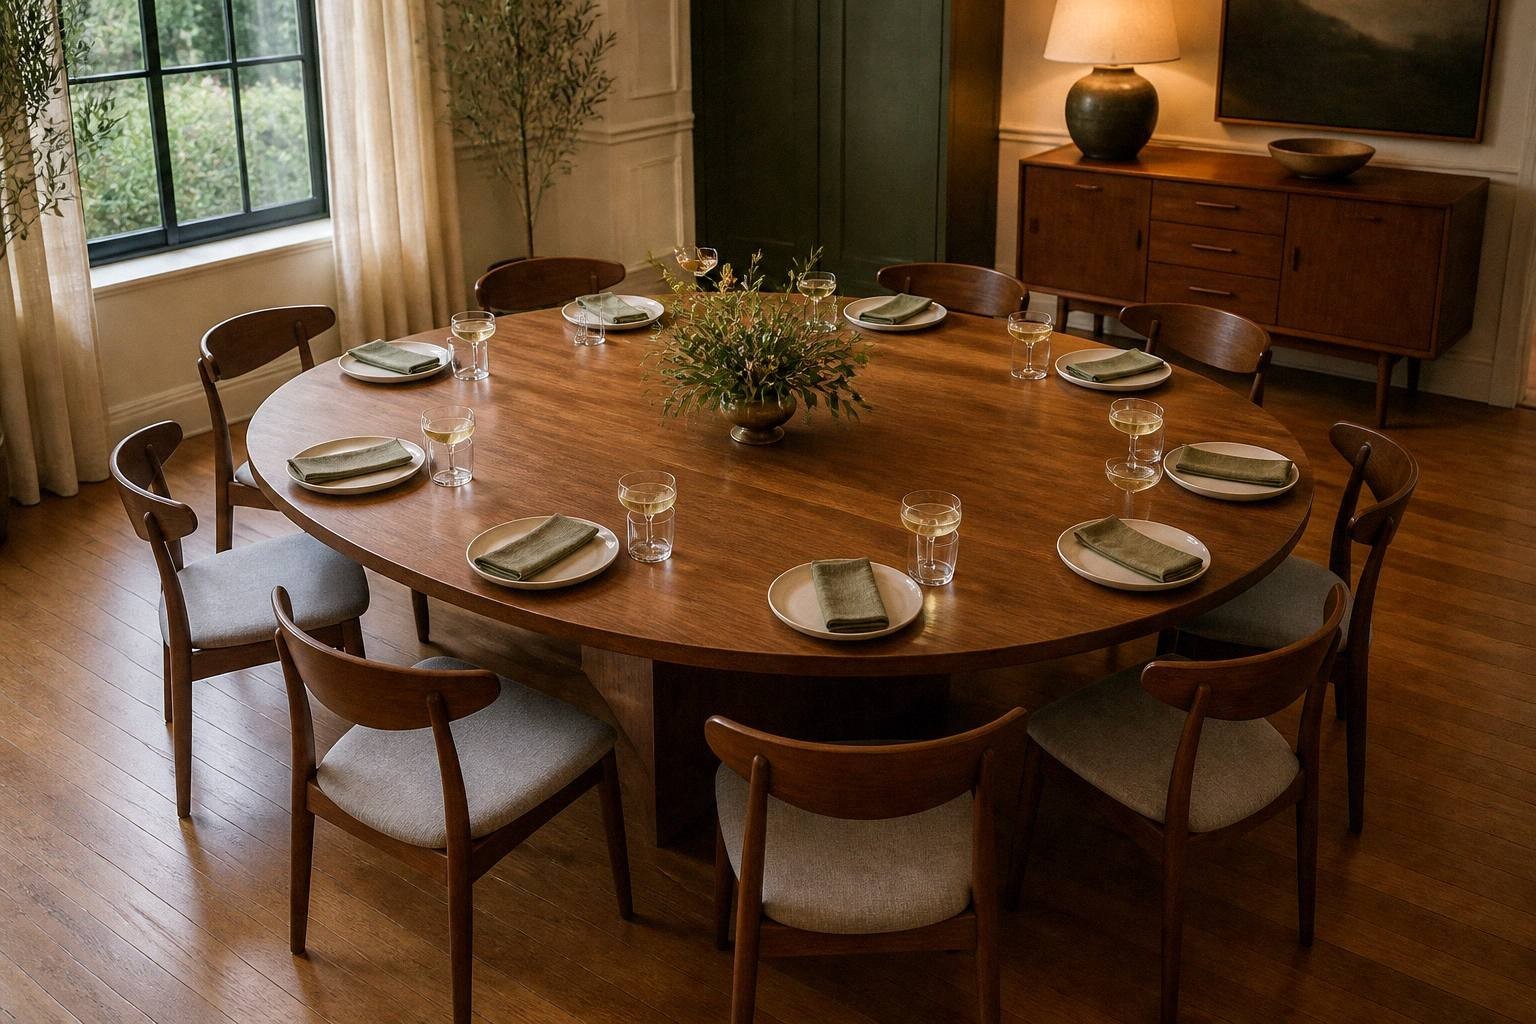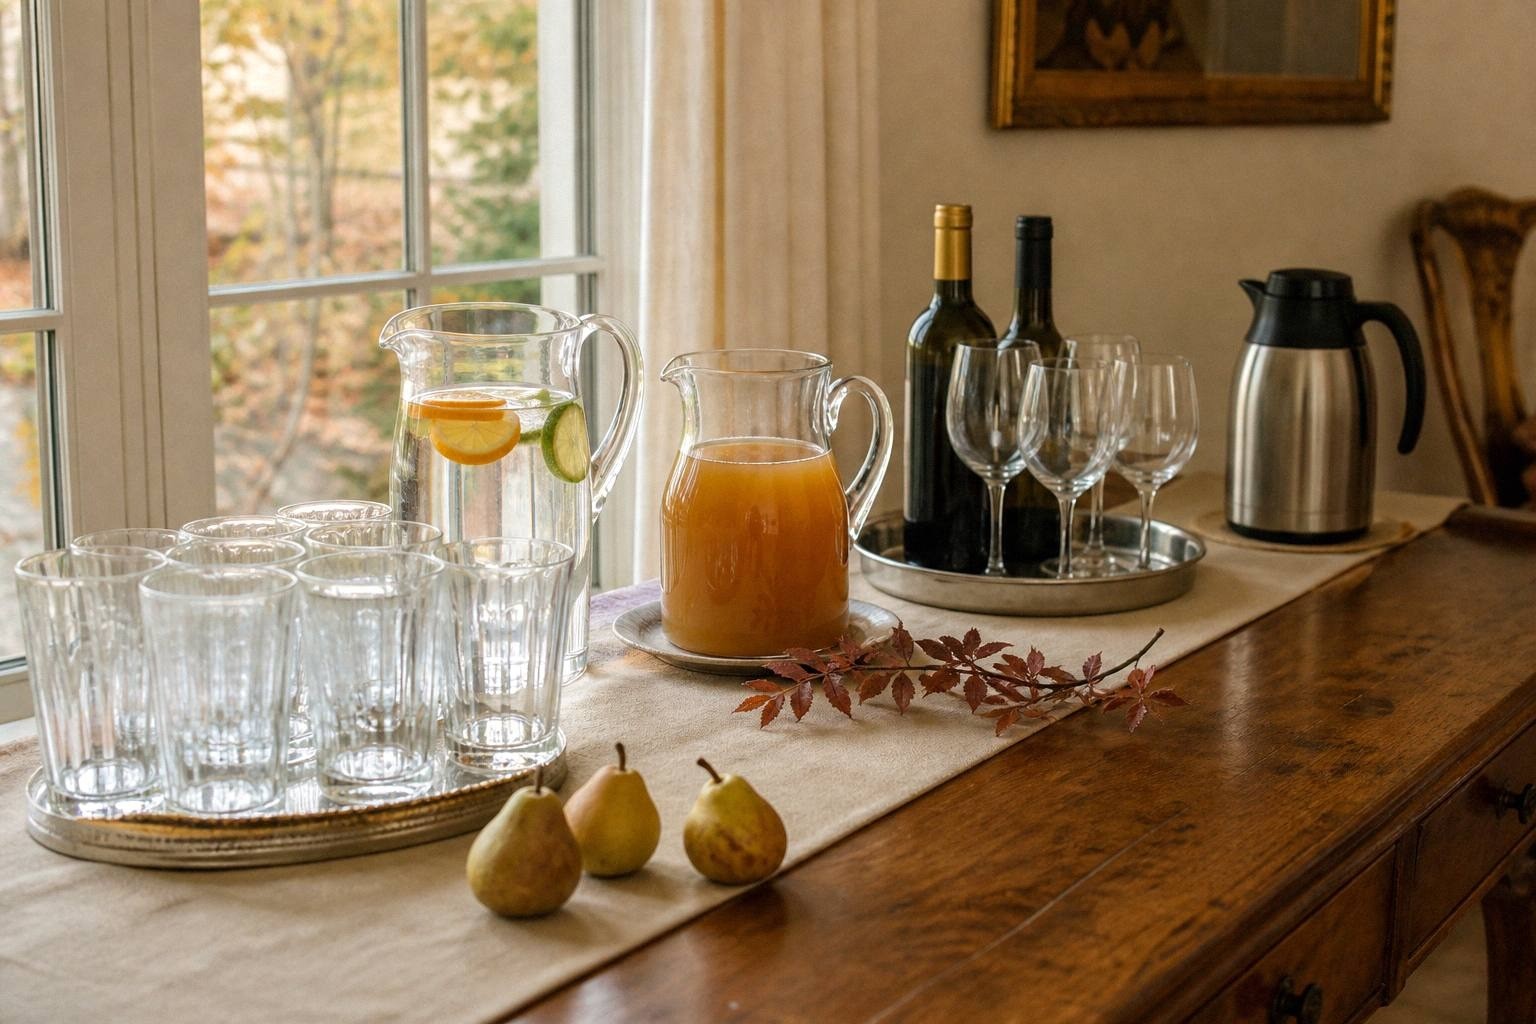
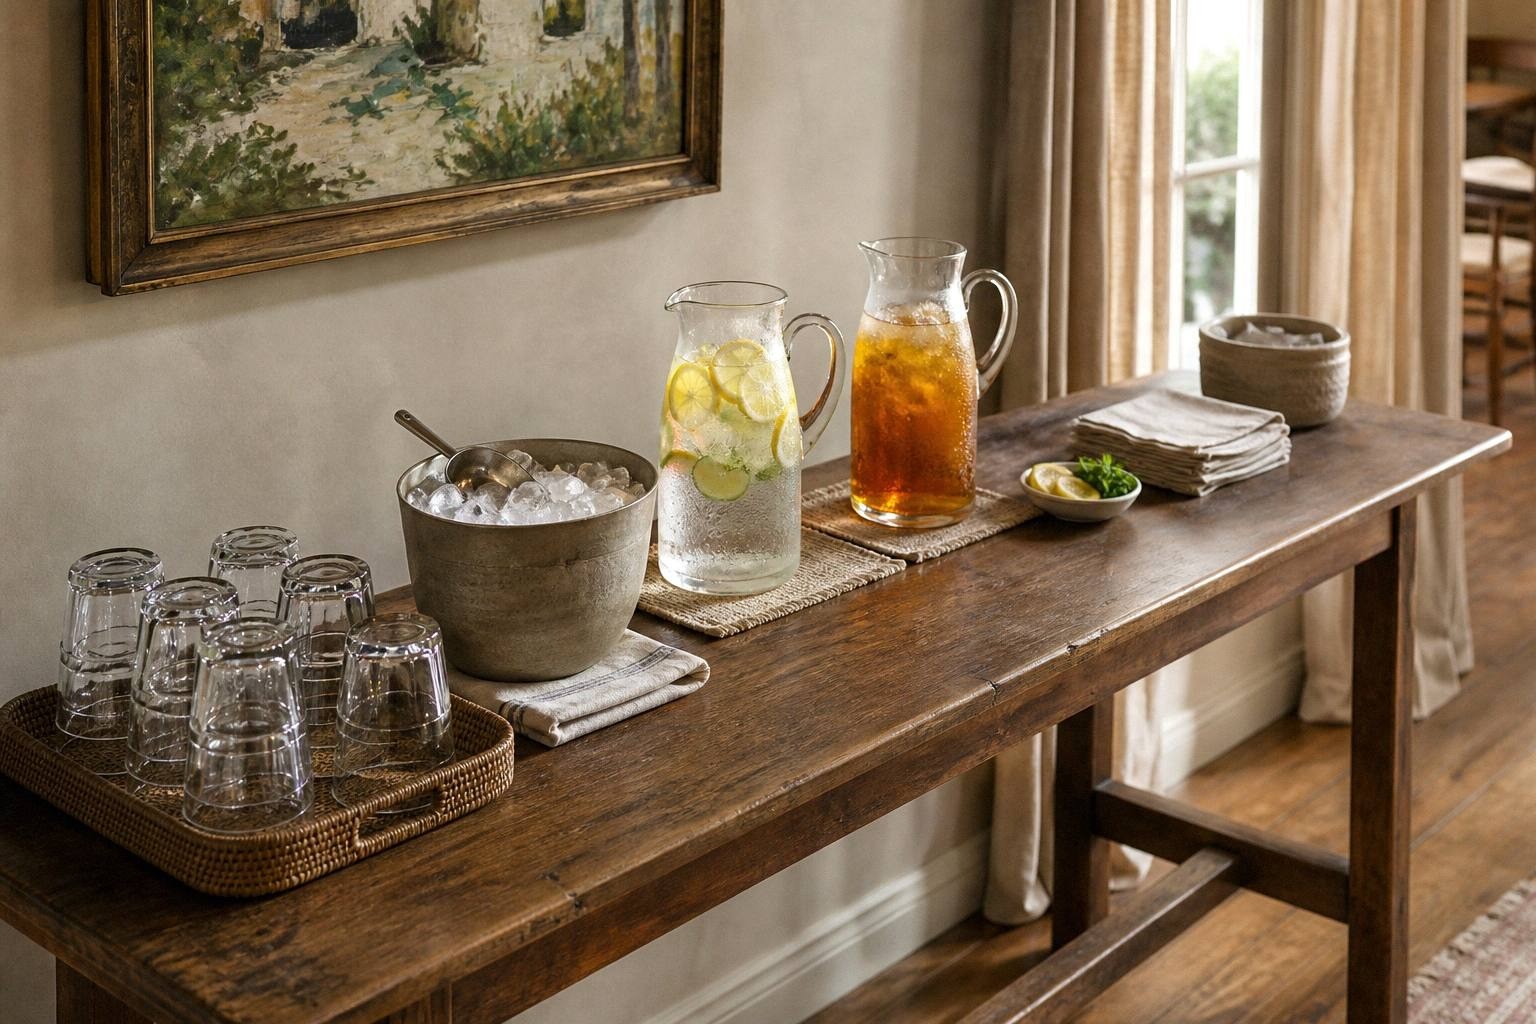
The easiest self-serve drink table follows the order a guest actually moves: cup, ice, drink, garnish, napkin. Put the heaviest refills below the table, keep a towel directly under the wettest pour, and move decorative pieces out of the hand path. On a six-foot table, give each step about 12 to 18 inches instead of squeezing every bottle into the center.
That is the quick answer. The useful part is deciding which layout fits the room you have.
This guide is about placement, measurements, and traffic. If you still need help choosing drinks, quantities, and equipment, start with the broader drink station setup guide . If you are building an outdoor cookout station, the 72-inch BBQ drink table plan adds serving quantities and weather-minded equipment.
Start with the guest’s hands, not the decorations
I like a drink table that makes sense before anyone reads a sign. A guest should be able to walk up with empty hands, see the first step, build a drink, and leave without doubling back through the next person.
For a ready-to-pour pitcher or dispenser, use this order:
- Cups or glasses
- Ice and scoop, if the drink is not already cold enough
- Pitcher or dispenser
- Garnish and stirrers
- Napkins, drip towel, and a small discard bowl
For a simple mix-your-own station, keep the same beginning and end, but place the measured base before the fizzy topper:
- Cups or glasses
- Ice
- Batched base
- Sparkling water or other topper
- Garnish, napkins, and discard bowl
Do not put the cups in the middle because they look symmetrical there. That forces every guest to reach across the pour zone before the drink has even started.
The 72-inch one-way drink table layout
A six-foot table gives a party station enough room to breathe. Use the long edge as a single route and keep roughly 6 inches at both ends so elbows and tablecloth corners do not become part of the setup.
72-inch table: one-way guest path
Cups
12 in.
Ice
12 in.
Two drinks
24 in.
Garnish
12 in.
Napkins
12 in.
Below: sealed refill pitcher, backup ice, extra cups, and one clean towel.
The drink zone gets 24 inches because two dispensers need room for a hand, a cup, and a drip tray. If you use one pitcher, leave the spare space empty. Empty work surface is not unfinished decor. It is where a guest sets down a glass while twisting a cap or adding a garnish.
Raise a spouted dispenser only high enough for the glass to fit underneath. Test the real glass before guests arrive. A pretty stand that leaves two inches under the spigot turns every pour into a tilted-glass trick.
The 48-inch small-space layout
A four-foot table works when you reduce choices, not when you miniaturize a six-foot setup. Use one prepared drink, one water option, and one garnish tray . Keep the backup cooler somewhere else.
| Table section | Width to allow | What belongs there |
|---|---|---|
| Start | 10 inches | One stable stack of cups or 6 to 8 glasses |
| Cold zone | 10 inches | Compact ice bucket and scoop |
| Pour zone | 18 inches | One dispenser or pitcher on a rimmed tray |
| Finish | 10 inches | One divided garnish dish, napkins, and discard cup |
If the table is against a wall, leave the front open from end to end. Do not park a chair, floor basket, or cooler where a guest needs to stand. The refill cooler can go under the table only if knees and feet still have a clear path.
For an apartment without even four feet of spare surface, the small-space drink station guide covers a counter, shelf, and windowsill approach.
When guests can approach from two sides
A kitchen island needs a different map. One straight left-to-right path breaks down when people arrive from both directions.
Put the drink in the center, then mirror only the inexpensive, high-touch pieces:
| Island end A | Center | Island end B |
|---|---|---|
| Cups, napkins, small ice scoop | One or two pitchers on a waterproof tray | Cups, napkins, small ice scoop |
Keep garnish beside the central pitcher rather than duplicating cut fruit. This gives two people a place to begin without making twice as much garnish to refrigerate or discard later.
Use two cup stacks only when the island is genuinely reachable from both sides. If one side faces a stove, sink, or narrow work aisle, close that side and return to the one-way layout.
Where the water goes
Water deserves its own visible place. At a small party, put a water pitcher directly beside the feature drink. At a larger gathering, set a second water point near the dining area so someone who only wants water does not wait behind a guest building a cocktail.
Keep water and the alcohol-free choice at the beginning of the station. Spirits, if offered, go in a clearly separated add-in zone after the shared base. That makes the default route work for every guest and prevents the whole table from reading as an alcohol display.
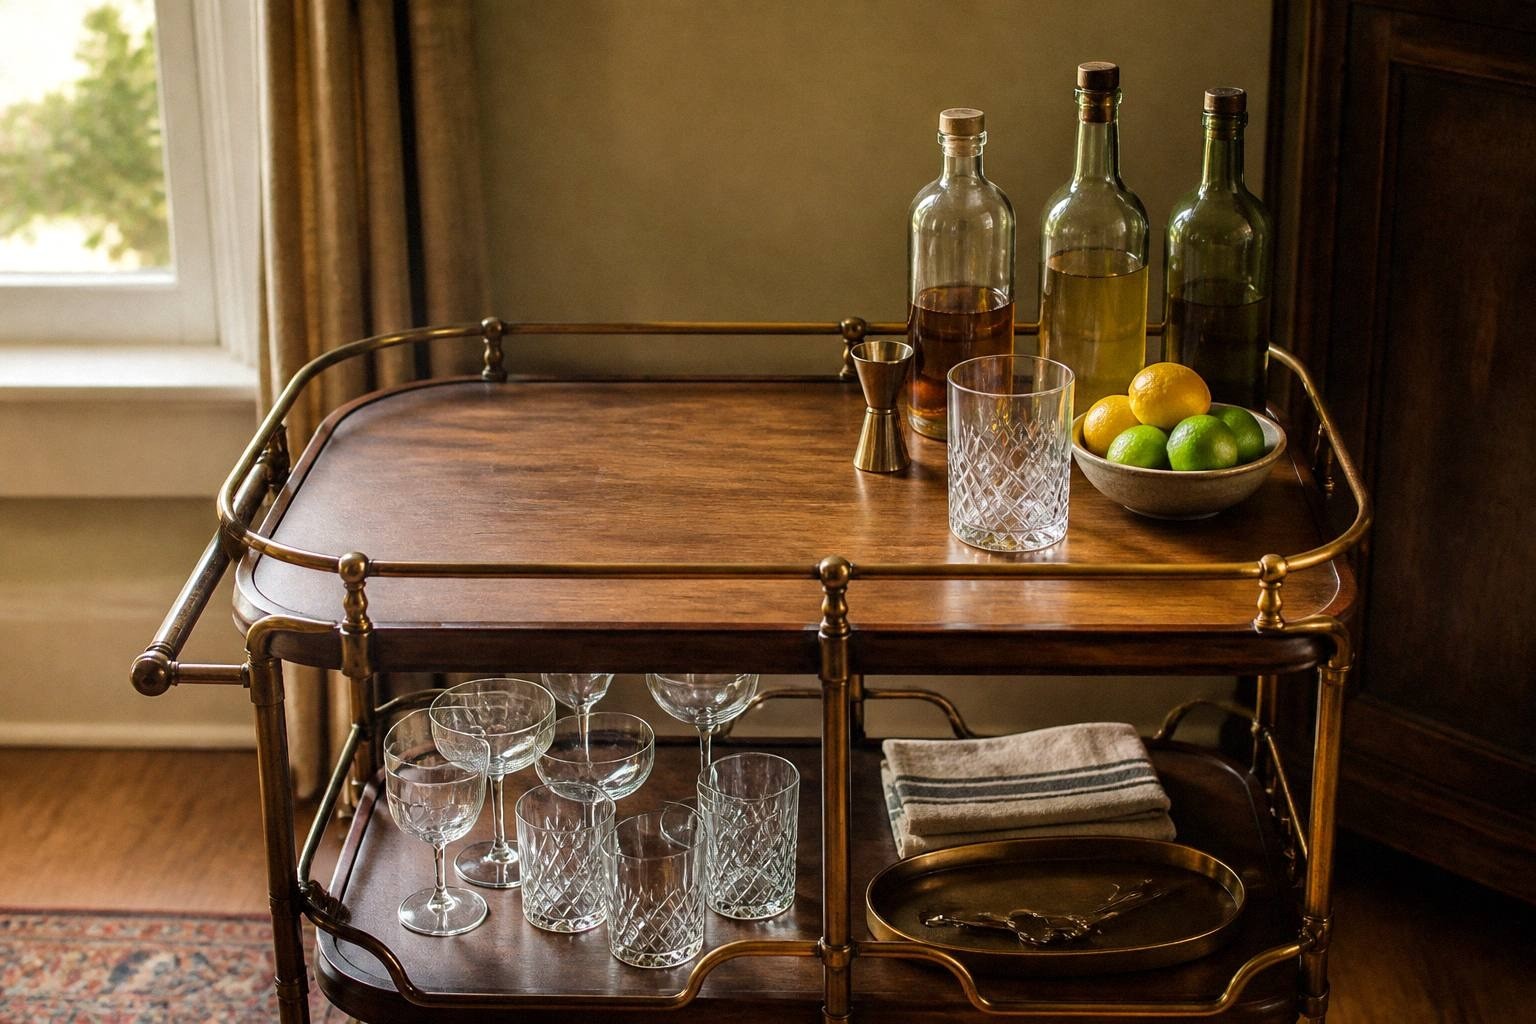
If guests are measuring their own spirits, set out a jigger rather than a free-pour spout. The National Institute on Alcohol Abuse and Alcoholism defines one U.S. standard drink as about 5 fluid ounces of 12% wine or 1.5 fluid ounces of 40% distilled spirits, while noting that actual strength varies. The measurement is more helpful than a vague instruction to “add a splash.”
Put these pieces below, not on top
The top of the table is for the next drink. The space below or in a nearby cooler is for inventory.
Keep these out of the guest path:
- Unopened refill bottles
- Backup ice
- Extra sleeves of cups
- A sealed second pitcher
- Paper towel roll
- Bottle boxes and grocery packaging
- Dirty tools waiting to go back to the kitchen
One exception is the working towel. Fold it beside the pitcher or under the tray where people can see it. A hidden towel cannot catch a drip.
The three zones that prevent a sticky table
Think of the setup as a dry zone, a wet zone, and a finish zone.
Dry zone
Cups, glasses, labels, and unused napkins stay together. They should never sit downhill from a dispenser or inside the condensation ring around an ice tub.
Wet zone
Ice, pitchers, dispensers, and open mixers sit on trays with a lip. Put the towel here. If the table is wood, use a waterproof layer beneath the tray rather than trusting a decorative runner to absorb every spill.
Finish zone
Garnish, stirrers, finished-drink napkins, and a small discard bowl live at the exit. Guests can drop a squeezed citrus wedge or used cocktail pick without walking back to the kitchen.
Cut fruit should not spend the entire afternoon warming on the table. The FDA advises refrigerating cut produce within two hours. Put out a small garnish portion and replenish it from the refrigerator instead of building an oversized fruit display.
Where decorations can go without getting in the way
Use the back corners, the wall above the station, or one raised point behind the pitchers. Those are the places a small lamp, branch, menu, or vase can add mood without taking away a working zone.
Avoid tall arrangements between the cups and the drinks. Also skip loose confetti, scattered citrus, and small objects around the ice bucket. They make wiping the surface harder exactly where condensation collects.
A short menu card belongs behind the drink, not in front of its handle or spigot. Write the choice and the simple build. Guests do not need a paragraph while someone waits behind them.
A five-minute test before the doorbell
Build one complete drink as if you were a guest. Use the cup from the actual stack, lift the ice scoop, fit the glass under the spigot, reach for garnish, and pick up a napkin.
Then check:
- Did you cross your arms over another zone?
- Did you have to put the glass on a wet surface?
- Could you read the label before touching the pitcher?
- Is there somewhere to set the scoop without burying it in the ice?
- Can a second person begin without blocking your exit?
- Is the refill cold and close enough for the host, but out of the guest path?
Move whatever failed the test. This small rehearsal catches more problems than another hour of styling.
Frequently asked questions
Should cups go before or after the ice?
Put cups first so guests have somewhere to put the ice. If the drink is already chilled and you are skipping ice, cups still begin the line.
Where should napkins go on a drink table?
Keep most napkins at the end, where a finished cold glass is most likely to need one. Put one folded working towel beside the pitcher for spills.
Can the ice bucket go under the table?
Backup ice can. The working ice should stay visible and at hand height so guests are not crouching with a full glass or returning a wet scoop to a hidden bucket.
How many drinks should go on one table?
Two prepared choices plus water are enough for most home parties. More choices require more labels, more cold storage, and more reaching. Add a second station before crowding a single table.
What is the best layout for a self-serve drink table?
For a table against a wall, use one direction: cups, ice, drink, garnish, napkin. For an island with access on both sides, center the drinks and mirror cups and napkins at both ends.
The short version
Give every action a place and leave enough empty surface for a glass. Cups start the route. Napkins end it. The drink gets the widest zone, backups stay below, and decor never interrupts a hand moving from one step to the next.
That is how a self-serve drink table stays understandable after the first six guests have used it.